This post may contain affiliate links. As an Amazon Associate I earn from qualifying purchases.
<!-- wp:paragraph -->Making ice cream at home has never been easier or more fun, especially if have a KitchenAid ice cream bowl attachment. With just a few simple steps and a little bit of thinking ahead, you can create a rich and creamy KitchenAid Ice Cream recipe that's perfect for any occasion.
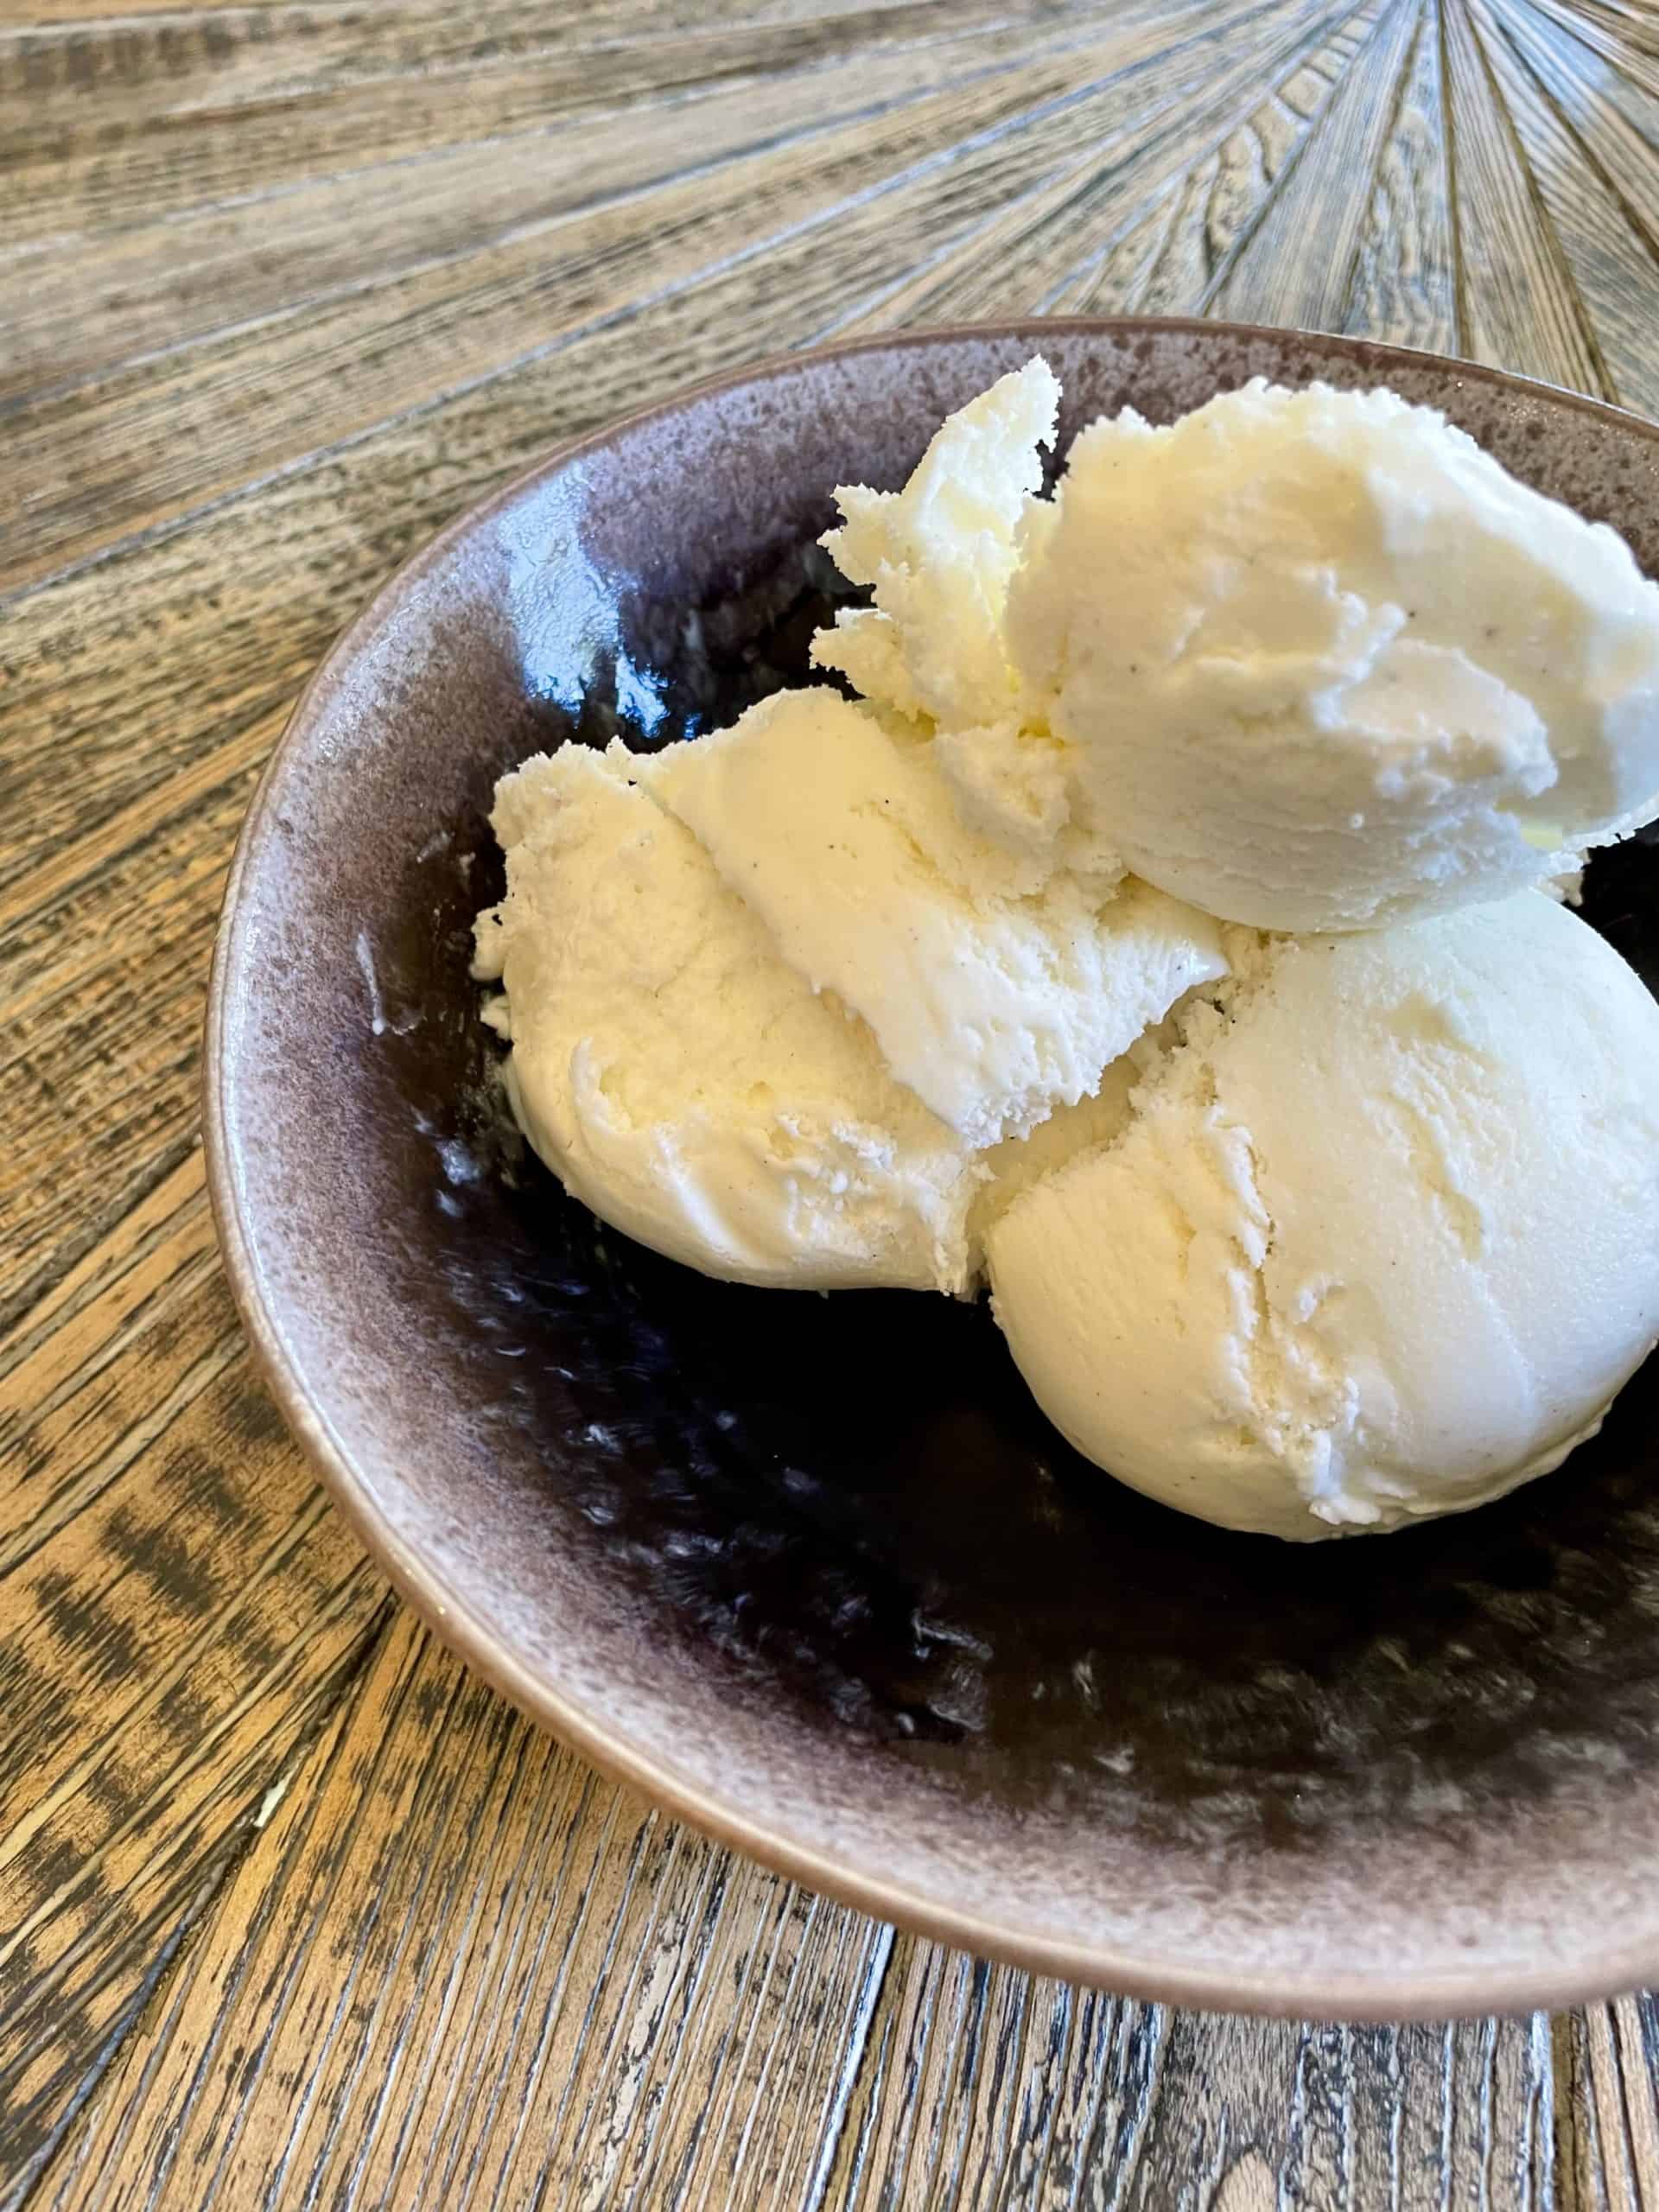
Let's learn how to make vanilla ice cream using your KitchenAid Ice Cream Bowl. Plus some variations that you can easily make with minimal substitutions. Let's jump in!
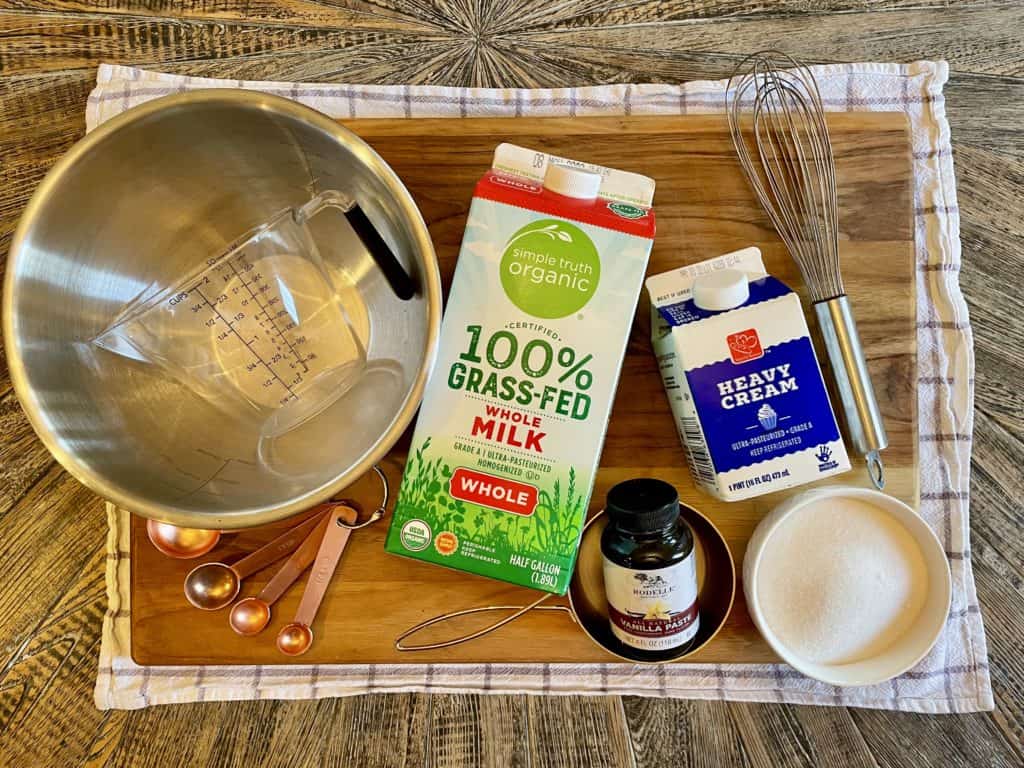
Ingredients
- Heavy Cream
- Whole Milk
- Sugar
- Vanilla Paste (or Vanilla Extract)
- Kosher Salt
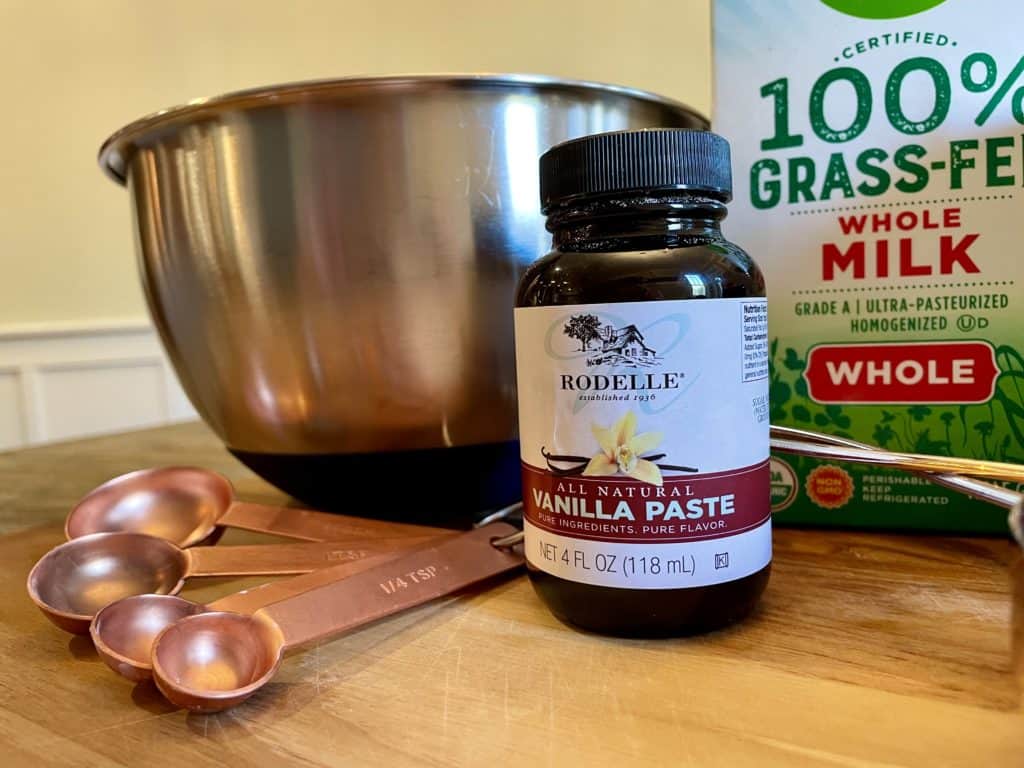
Vanilla Extract vs Vanilla Paste
Classic vanilla extract is made by steeping vanilla beans in alcohol and water. While the vanilla paste is a combination of vanilla extract, vanilla bean seeds, and sometimes sugar or corn syrup. It has a thicker, more concentrated consistency than vanilla extract, and often adds a more intense vanilla flavor to recipes.
When it comes to substituting vanilla extract for vanilla paste, a good rule of thumb is to use one teaspoon of vanilla extract for every tablespoon of vanilla paste. This is because the vanilla extract is a thinner consistency, so you need to use more of it to achieve the same level of vanilla flavor as the thicker paste.
It's worth noting that vanilla paste can also add a touch of sweetness to recipes, due to the added sugar or corn syrup some brands use. If substituting vanilla extract for vanilla paste, you may need to adjust the amount of sugar in your recipe.
Instructions
This recipe is specifically tailored to using the Ice Cream Bowl attachment from KitchenAid. You'll be able to make homemade ice cream from start to finish in 30 minutes (for soft-serve at least).
The very first thing is you'll need to make sure your ice cream bowl has been in the freezer for at least 15 hours. It's critical that the bowl is frozen/cold enough that it can properly churn and freeze our ice cream base.
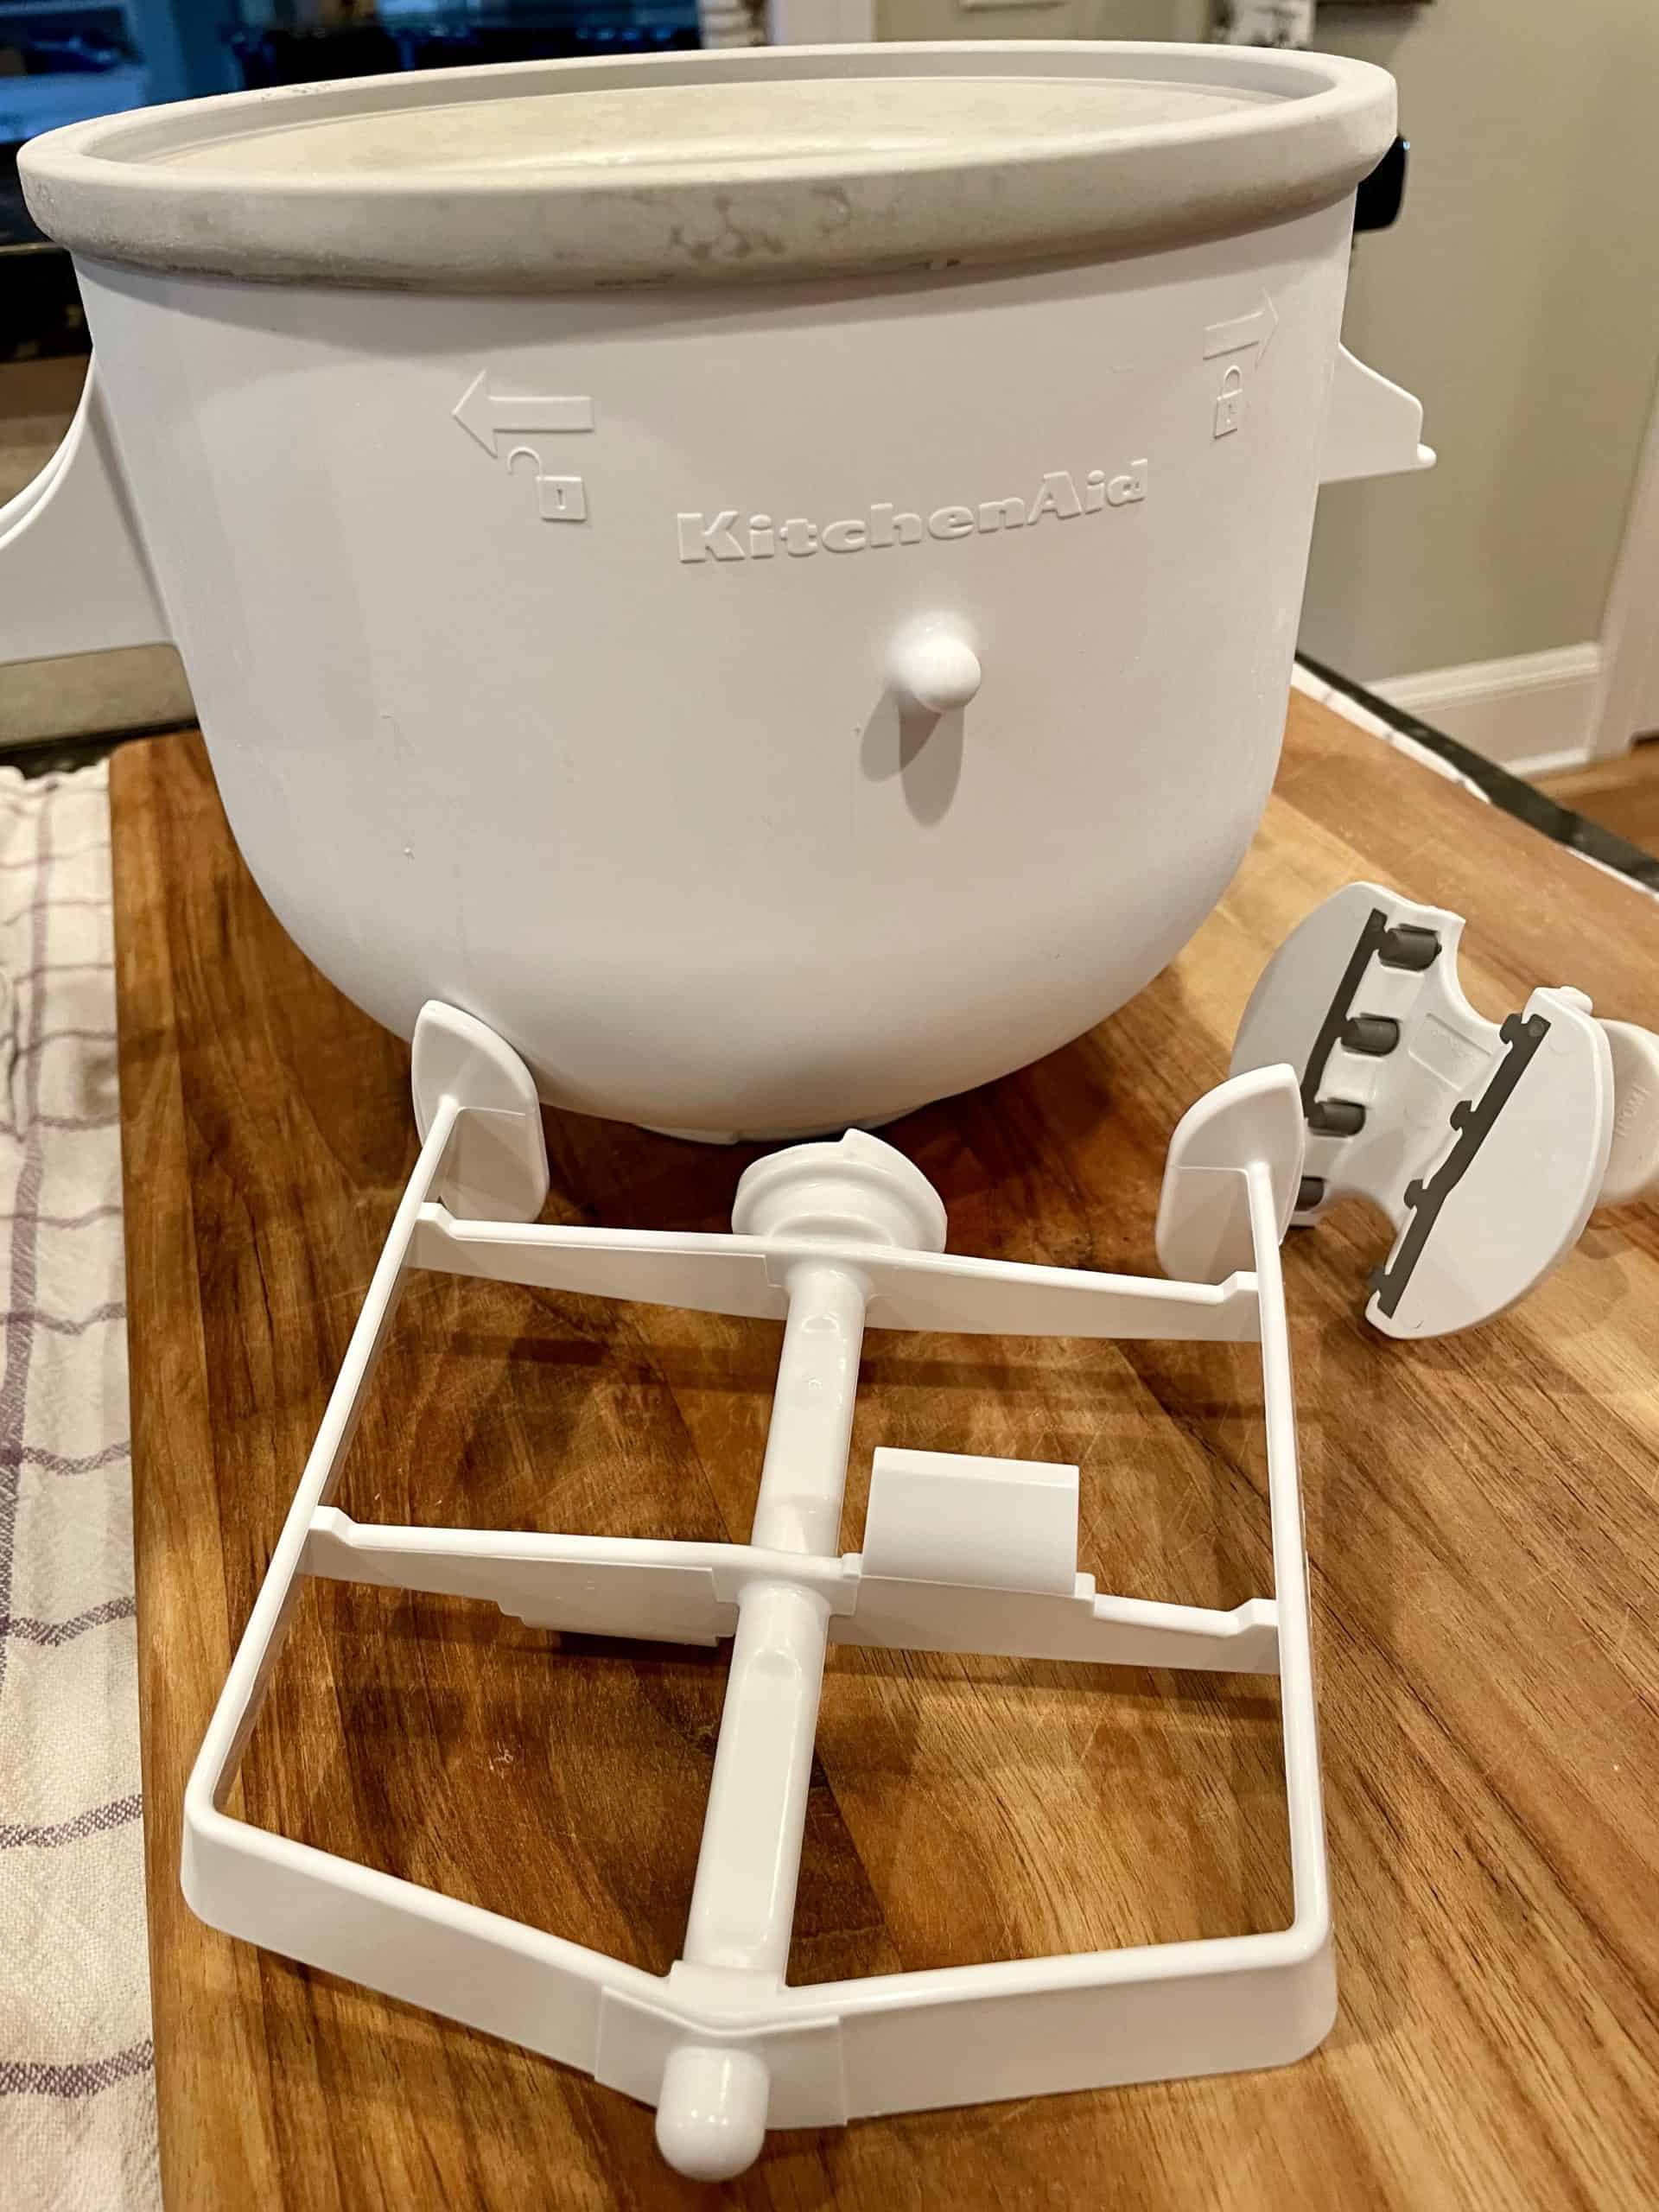
Now, mix all ingredients in a bowl and stir until dissolved. If you have extra time you heat your milk and cream base to make sure every single granule of sugar is dissolved, but I've found you can skip this step if you spend a few extra minutes making sure it's mixed thoroughly.
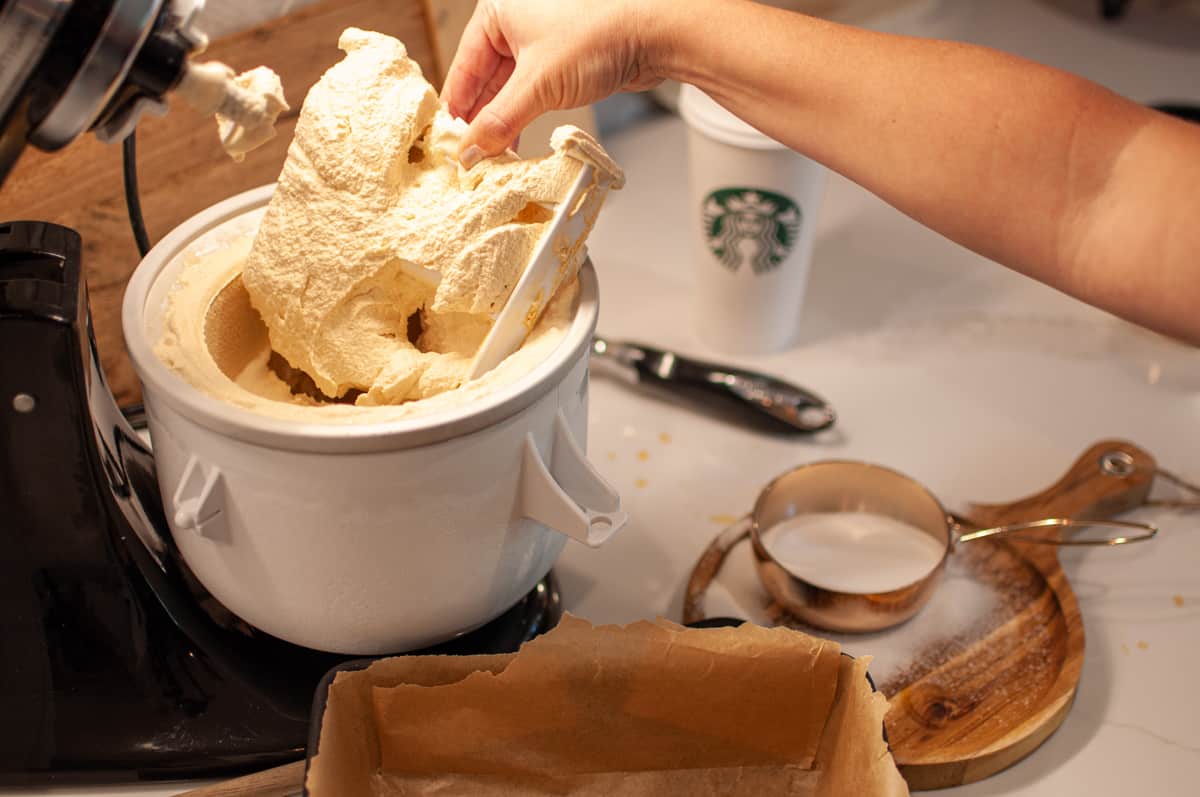
Attach your ice cream bowl to your KitchenAid and turn it on its lowest setting. Slowly add the ice cream base down the side of the bowl and let churn for 15-20 minutes or until it looks like it is about to overflow.
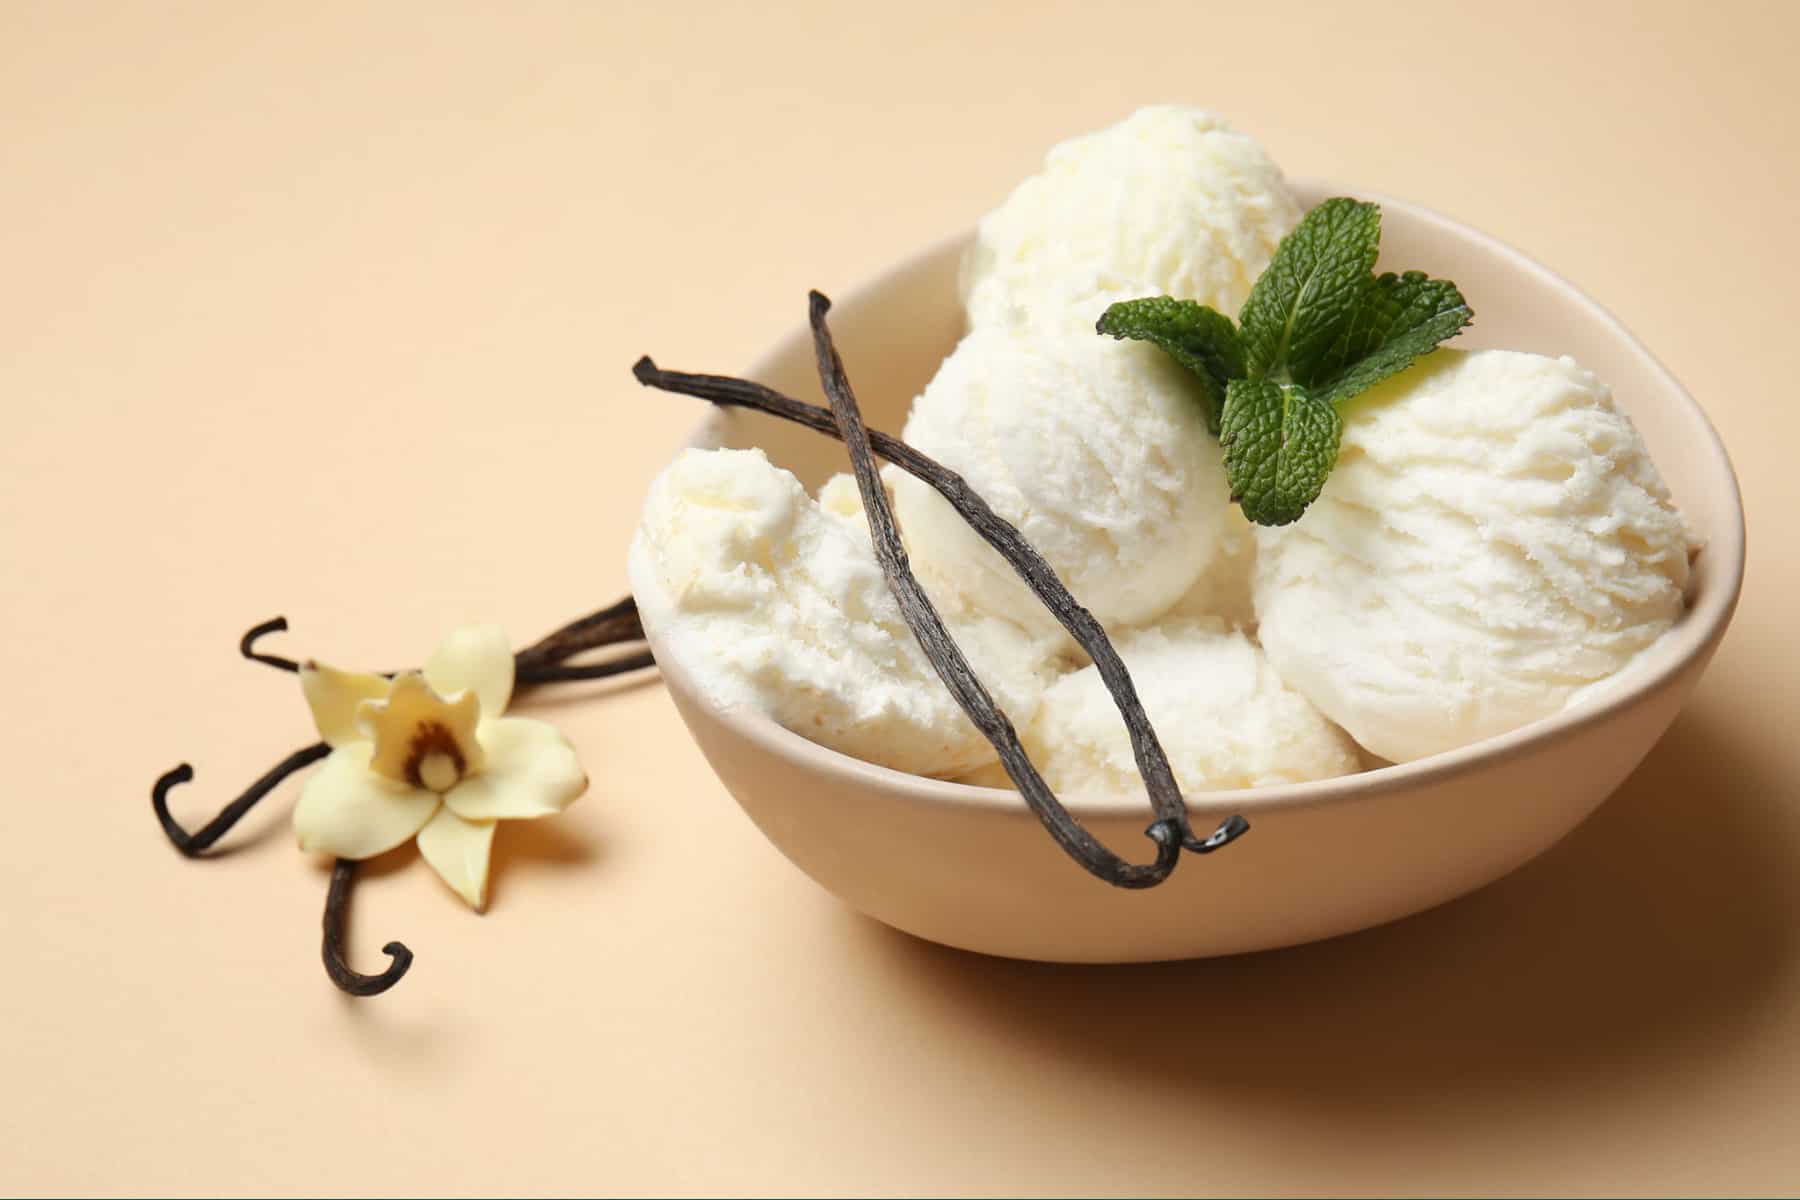
At this point, you can stop, and enjoy a soft serve. For a more traditional ice cream, transfer to a freezer-safe, air-tight bowl and leave for a few hours or overnight.
KitchenAid Ice Cream Attachment
The KitchenAid ice cream bowl attachment is designed to work with your KitchenAid stand mixer. Allowing you to easily make homemade ice cream without the need for a separate ice cream maker. The ice cream bowl works by freezing a special liquid inside the walls of the bowl, which helps to quickly freeze and churn the ice cream mixture as it's being mixed.
Compatible KitchenAids
The KitchenAid ice cream bowl attachment is compatible with all KitchenAid stand mixer models. Tilt head and bowl lift models including:
- Artisan Series
- Classic Series
- Classic Plus Series
- Commercial Series
- Design Series
- Professional Series
- Professional 5 Plus Series
- Professional 600 Series
- Professional 6500 Design Series
- Professional 7-Qt Series
- Ultra Power Series
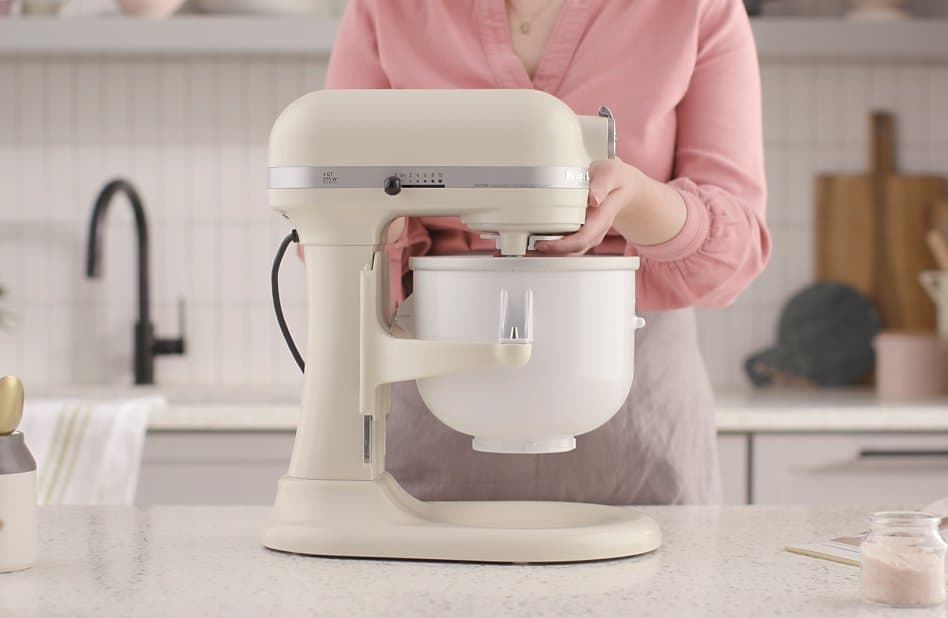
The attachment fits onto the base of the stand mixer and is secured in place by attaching to the side wings or by twisting onto the base itself. It's important to note that the KitchenAid ice cream bowl attachment is not compatible with KitchenAid hand mixers.
Additionally, it's recommended that you use the churning attachment that comes with the ice cream bowl attachment, as this will help to ensure even churning and freezing of the ice cream base.
How It Works
Freezing the Bowl: Before making ice cream, you need to freeze the ice cream bowl attachment. Simply place it in your freezer for at least 15 hours, or until the liquid inside the walls of the bowl has frozen solid.
Making the Ice Cream Mixture: While the ice cream bowl is freezing, you can make the ice cream mixture. Combining your cream, milk, sugar, salt, and vanilla in a mixing bowl.
Assembling the Ice Cream Maker: Once the bowl has frozen, you can attach it to your KitchenAid stand mixer. The bowl fits onto the bottom part of the mixer with the churning attachment inserted inside.
Churning the Ice Cream: With the bowl attached to the mixer, you can start churning the ice cream mixture. Simply turn the mixer on to its lowest setting, and slowly pour the mixture into the bowl. The mixing process helps to freeze and aerate the mixture, resulting in a smooth and creamy texture.
Adding Mix-Ins: Once the ice cream is nearly done churning add any desired mix-ins.
Freezing the Ice Cream: Transfer your ice cream to a freezer-safe container for a few hours to fully set and firm up if desired or eat right away as soft serve.
Cleaning Your Ice Cream Bowl
Cleaning your KitchenAid ice cream bowl attachment is an important part of maintaining its longevity and ensuring that it remains in good condition. Here are some best practices for cleaning your KitchenAid ice cream bowl:
Allow the bowl to thaw
Before cleaning your ice cream bowl, allow it to thaw at room temperature for 5-10 minutes. This will help prevent any damage to the bowl that could occur from sudden temperature changes.
Remove any remaining ice cream
Use a plastic or silicone spatula to remove any remaining ice cream from the bowl. Avoid using metal utensils, as they could scratch the surface of the bowl.
Wash in warm soapy water
Wash the bowl in warm soapy water. Be sure to use a soft sponge or cloth, and avoid using abrasive or harsh cleaning products that could damage the bowl's surface.
Rinse and dry
Rinse the bowl thoroughly with warm water and dry it with a soft towel.
Don't use a dishwasher
The KitchenAid ice cream bowl attachment is not dishwasher safe, so be sure to always hand wash it.
By following these best practices, you can keep your KitchenAid ice cream bowl attachment in good condition for years to come and continue enjoying delicious homemade ice cream whenever you want.
🎥 Video
❄️ Storing Your Ice Cream
While you can eat this soft-serve style as soon as it's done, it is VERY soft. I highly recommend throwing it in the freezer for an hour or two after you make it.
To speed up the process even further, I will put whatever bowl/storage container I'll be using into the freezer to start getting cold too. That way you aren't cooling a bowl & ice cream at the same time.
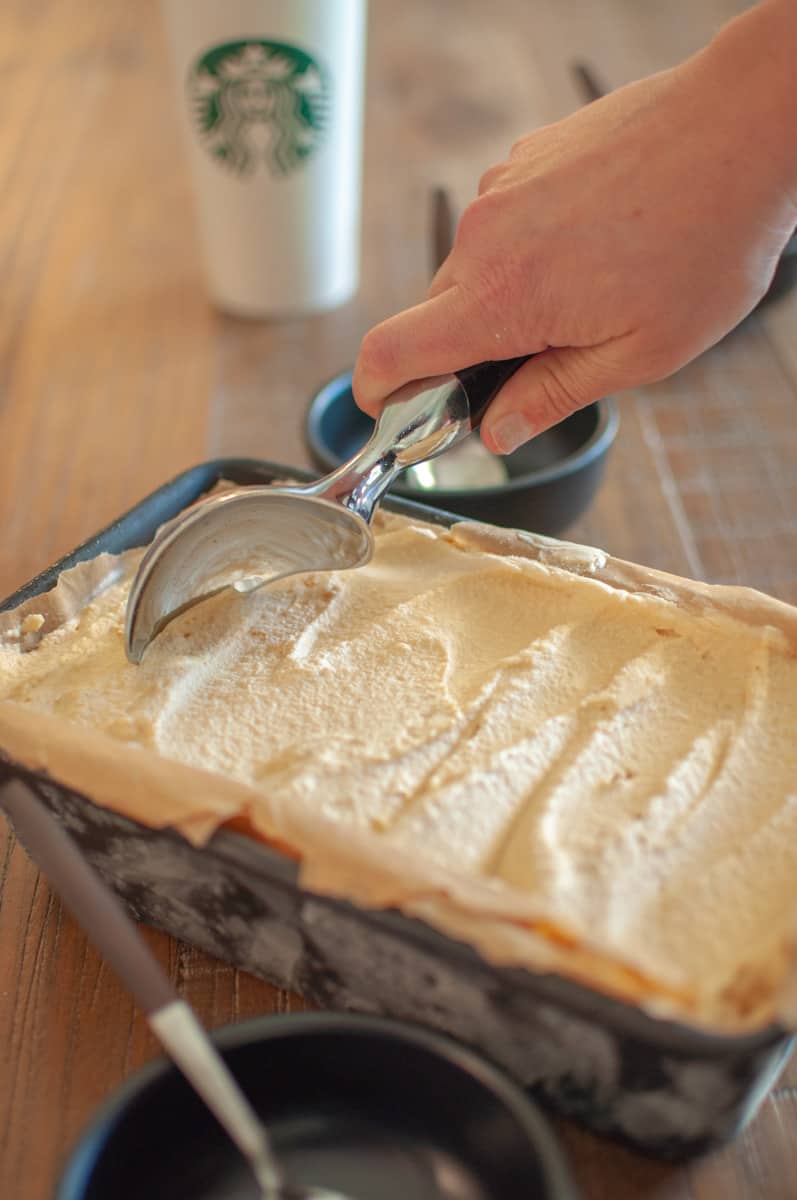
It can stay in the freezer for up to a few weeks. You can avoid some freezer burn by adding a layer of plastic on top and pressing it all the way down onto the ice cream. Removing as much air as possible.
📋 Variations
This recipe is an amazing base and can be jazzed up in a variety of ways. Here are some great ideas to get you started...
Chocolate Chip: Add ½ cup of chocolate chips to the cream mixture before churning.
Strawberry: Add ¼ cup of Strawberry Compote or jelly to the ice cream base right toward the end of churning.
Mint Chocolate Chip: Add 1 teaspoon of peppermint extract before churning, and then fold in ½ cup of chocolate chips once done.
Blueberry: Add ¼ cup of Blueberry Compote or jelly to the ice cream base right toward the end of churning.
Pumpkin Spice Latte: After a few rounds of recipe testing, we absolutely nailed this variation by adding instant coffee and pumpkin spice latte syrup. The full recipe is available too!

Want more than vanilla? The KitchenAid Ice Cream Book has twenty no-egg flavors built on this exact base — chocolate, coffee, salted caramel, cookie dough, eggnog — plus an 11-row troubleshooting chart. Get it here →
👩🏼🍳 Chef Tip
Don't use anything metal inside of your ice cream bowl. I damaged the finish on the inside of ours using a spoon to scrape out extra ice cream from the sides. It still functions perfectly, but it definitely scratched it.
A Quick History of Ice Cream
Ice cream has been enjoyed for centuries, with the first recorded instance dating back to the Persian Empire in 550 BC. From there, it spread to China and eventually made its way to Europe in the 13th century. Ice cream was a luxury item that only the wealthy could afford until the 18th century when the introduction of the hand-cranked ice cream churn made it more accessible to the masses.
More Ice Cream Guides
Love ice cream as much as we do? Check out these related guides: Types of Ice Cream: 10 Varieties Explained, Gelato vs Ice Cream: 6 Key Differences, The History of Ice Cream, and our Mexican Vanilla Ice Cream recipe.
📖 Recipe
Vanilla Ice Cream - KitchenAid Edition
Ingredients
- 2 Cups Whole Milk
- 2 Cups Heavy Cream
- 1 Cup Granulated Sugar
- 2 teaspoon Vanilla Paste - or 1 teaspoon vanilla extract
- 1 pinch Kosher Salt
Instructions
- Mix all ingredients in a bowl and stir until dissolved.
- Turn your KitchenAid on its lowest setting.
- Slowly add the ice cream base down the side of the bowl.
- Let churn for 15-20 minutes or until it looks like it is about to overflow.
- At this point, you can stop, and enjoy as soft serve.
- For a more traditional ice cream, transfer to a freezer-safe, air-tight bowl and leave for a few hours or overnight.
Video
Notes
Mix-In's
Once the ice cream is done churning you can always add more! Make your own Rocky Road or Cookie Dough. Things to add...- Cookie Dough Bites
- Smashed Oreo Cookies
- Fudge Swirl
- Sprinkles
- Strawberry Jelly
- Lemon Extract
Nutrition
Nutrition information is an estimate, calculated from the listed ingredients, and provided as a courtesy.