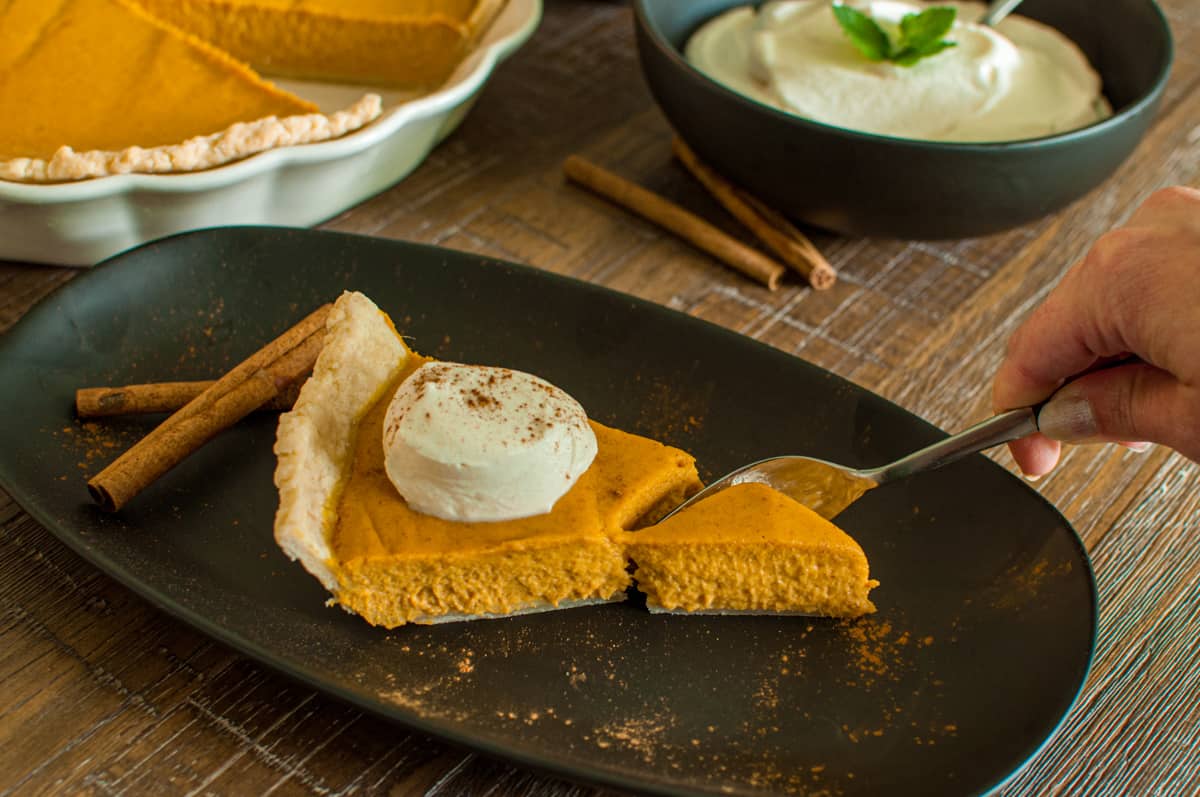
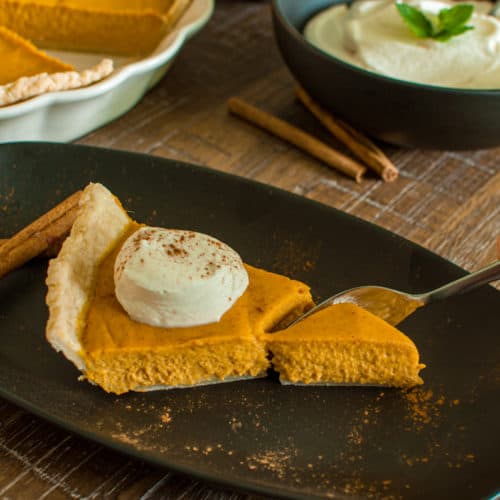
Imagine a dance between the traditional pumpkin pie and the elegant twist of cream cheese. That's what we're creating today: a Cream Cheese Pumpkin Pie that is our most viral recipe on TikTok! It's not just a recipe; it's a culinary adventure.
Jump to:
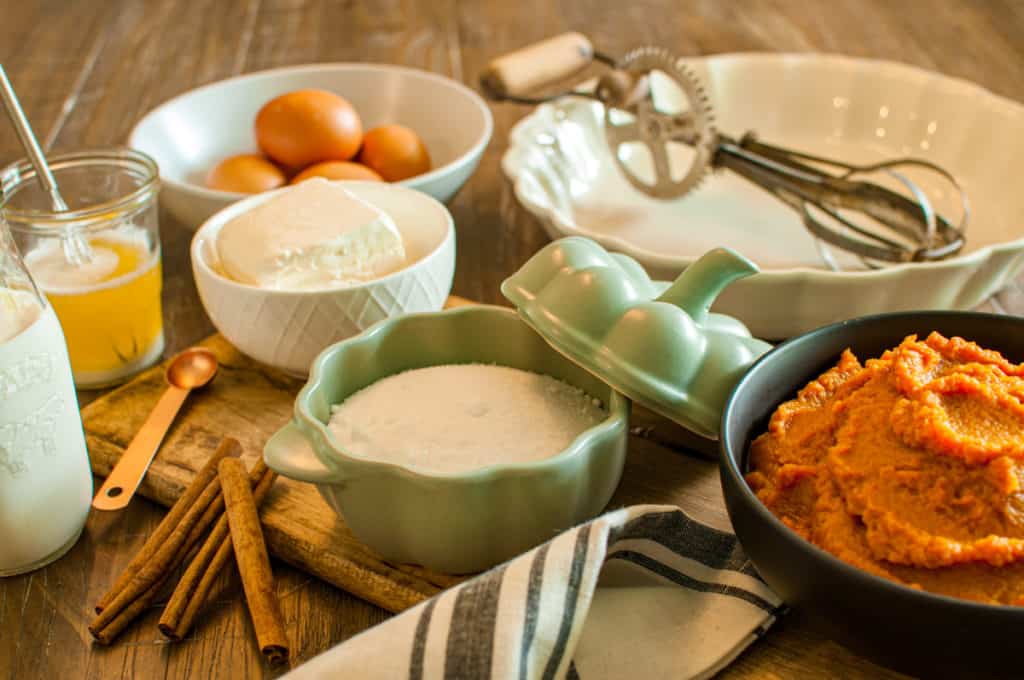
Ingredients
Cream Cheese: Room temperature, for the perfect blend
Canned Pumpkin: Use pumpkin puree, NOT pumpkin pie mix
Eggs: For binding & thickening our pie
Heavy Cream: Adds extra richness
Unsalted Butter, Melted (½ Stick): Adds more yum
Sugar & Salt: Balance of sweetness and a flavor-boost
Vanilla, Cinnamon, & Nutmeg: Classic pumpkin pie flavors
Tools and Extras
Hand or Stand Mixer: For best results
Mixing Bowl: Large bowl preferred
Rubber Spatula: Ideal for scraping down the cream cheese
9" Pie Plate: You can use smaller if needed, see suggestions for leftover filling
Homemade Pie Crust: Our recommendation is our Pate Brisee pie crust, but the store-bought crust is also fine
Oven Temperatures Guide: 350 degrees
Instructions
Creaming the Cream Cheese
Start by mixing the cream cheese, sugar, and salt in a large bowl until smooth. The room-temperature cream cheese ensures a smooth, lump-free base. This is the foundation of pumpkin pie and if we don't get this step right you will be left with little clumps of cream cheese in your finished product.
Adding Pumpkin
The gradual addition of pumpkin, one spoonful at a time, ensures that the cream cheese mixture perfectly absorbs the pumpkin flavor. This creates a harmonious pumpkin cream cheese pie filling, preventing any lumps.
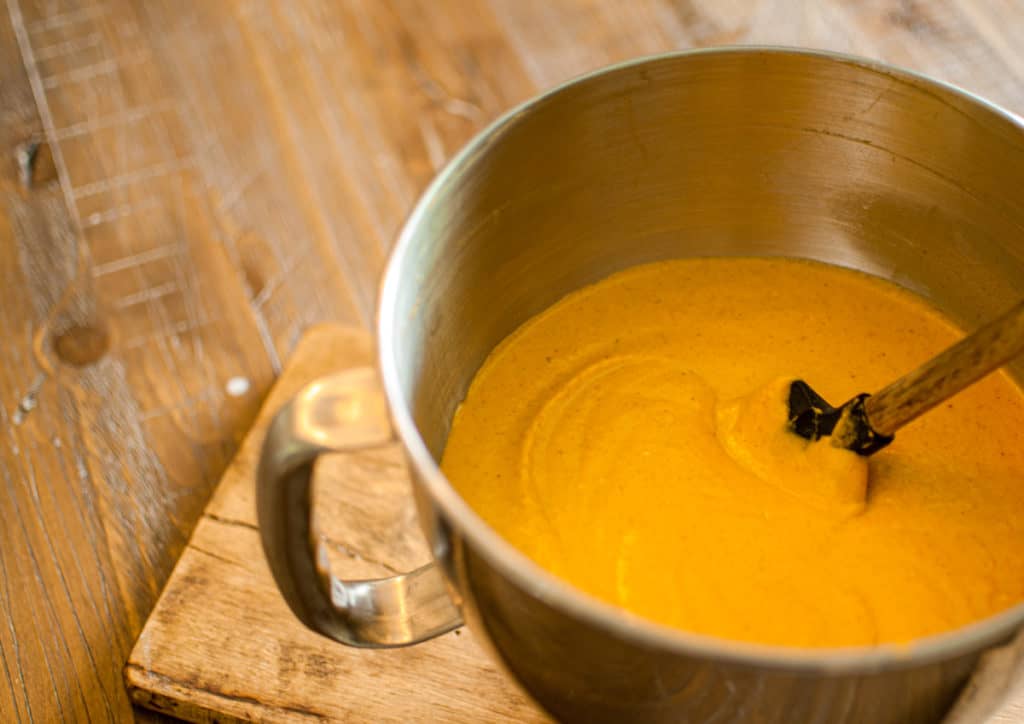
Eggs, Butter, and Cream
Next, add the eggs and additional egg yolk and blend until smooth. Eggs act as a binder, while butter adds richness. The heavy cream brings in that luxurious texture that makes this pie the best pumpkin pie.
Spicing it Right
Finish with vanilla, cinnamon, and nutmeg for the perfect fall dessert. These spices add depth and warmth, elevating the pumpkin flavor. If you really love all the classic fall spices, try subbing pumpkin pie spice in place of cinnamon and nutmeg!
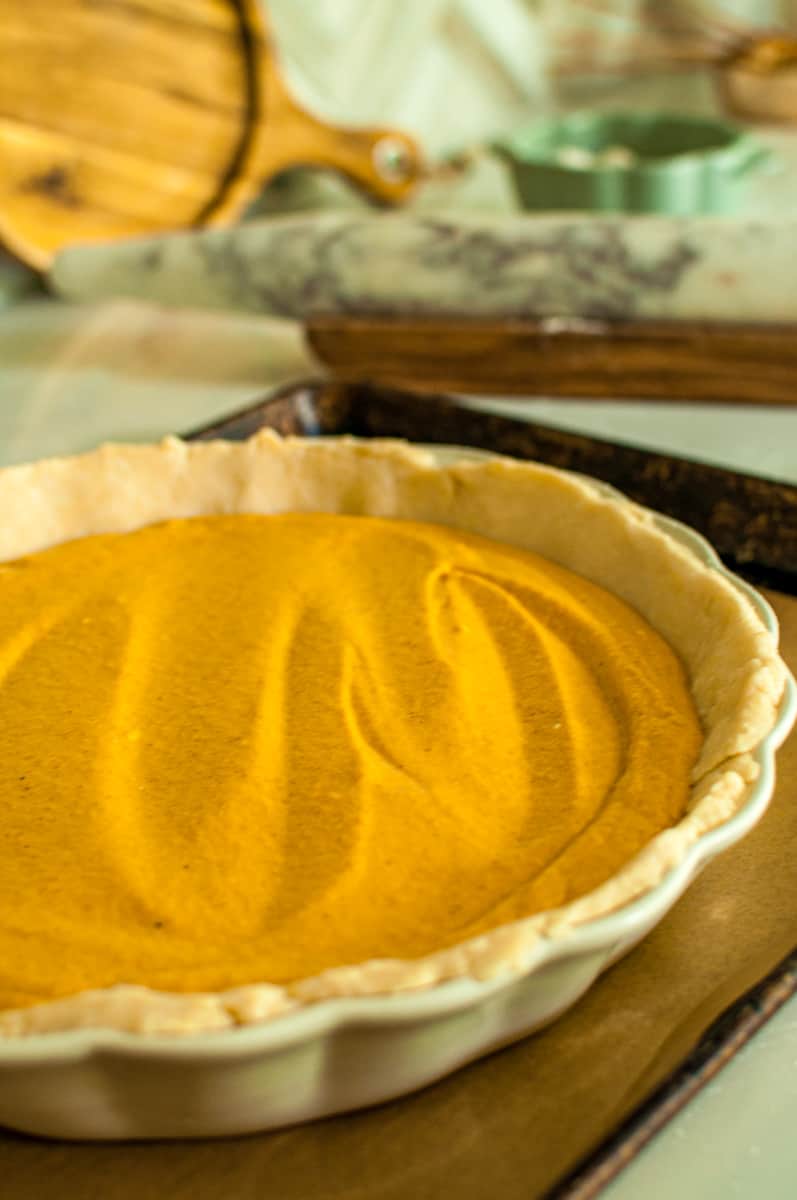
Baking and Cooling
Pour the mixture into our recommended pate brisee pie crust or store-bought crust. There is no need to blind baking or pie weights needed with this pumpkin pie, as the crust will bake at the same time as the filling.

Bake the pie at 350 degrees for 50 minutes or until the center doesn't giggle. I refer to this as the Jurrasic Park Test. Gently giggle your pie, and if just the center moves like the glass of water in the classic movie scene with the T-rex, then it needs a bit more time.
Once baked, cool it down to room temperature. It's even better to let it rest in the refrigerator for a few hours after that to allow the flavors to mingle and the structure to finish setting. Making the pie easier to slice.
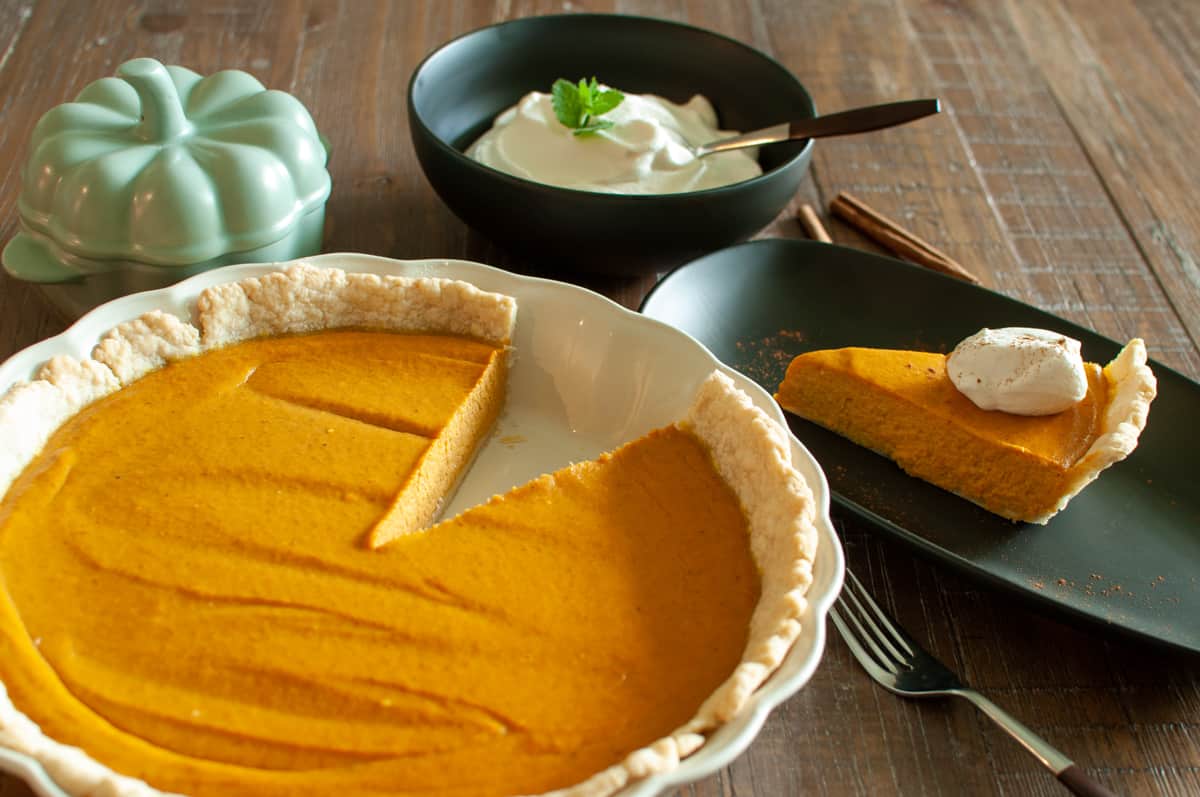
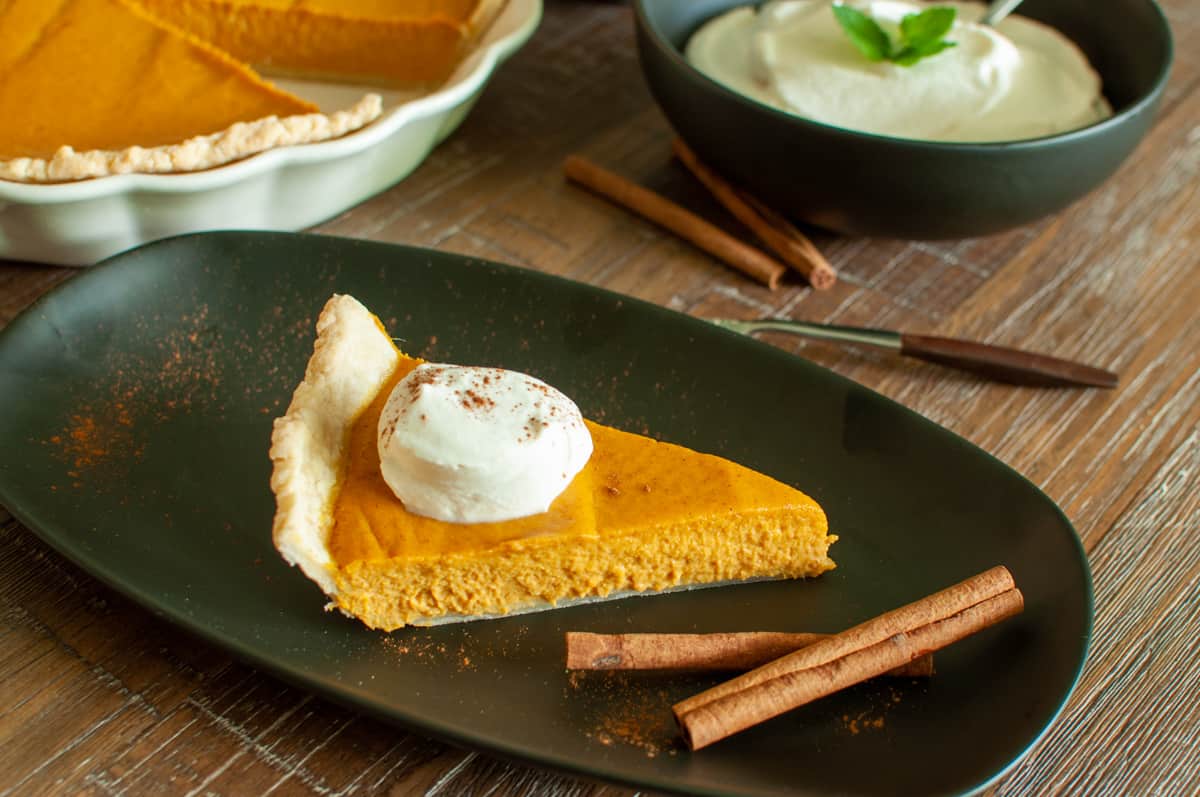
The Final Touches
Pile that thing up with whipped cream or cool whip, adding a little pinch of cinnamon to finish. It's not just about the taste but also the presentation. The whipped cream adds a creamy texture that complements the dense pumpkin layer.

Full Recipe Video
Below, you'll find a full video walkthrough that guides you through each step of this delicious recipe. Watch as we blend, mix, and bake our way to a pie that's as delightful to make as it is to enjoy. Whether you're a seasoned baker or trying this recipe for the first time, this video will provide you with visual insights and tips to make the process a breeze. Grab your apron, and let's get started!
How to Store Leftover Pie
Leftovers of this delicious cream cheese pumpkin pie are a good idea - more pie for later! Here's how to store it:
- Cooling: Allow the pie to cool down to room temperature.
- Wrapping: Place in an airtight container or wrap tightly with plastic wrap.
- Refrigerating: Store in the refrigerator if you plan on enjoying it within 3-4 days.
- Freezing: If you have a substantial amount left, you can freeze individual slices. Wrap them in parchment paper and then place them in an airtight container. They can last up to 3 months.
Note: Always store the pie in the coolest part of the fridge or freezer to ensure the best results.
Pumpkin Pie Milkshake
Got some pie left even after sharing it with family and friends? How about transforming it into a delectable pumpkin pie milkshake? It's one of our favorite things to do with leftover cream cheese pumpkin pie.
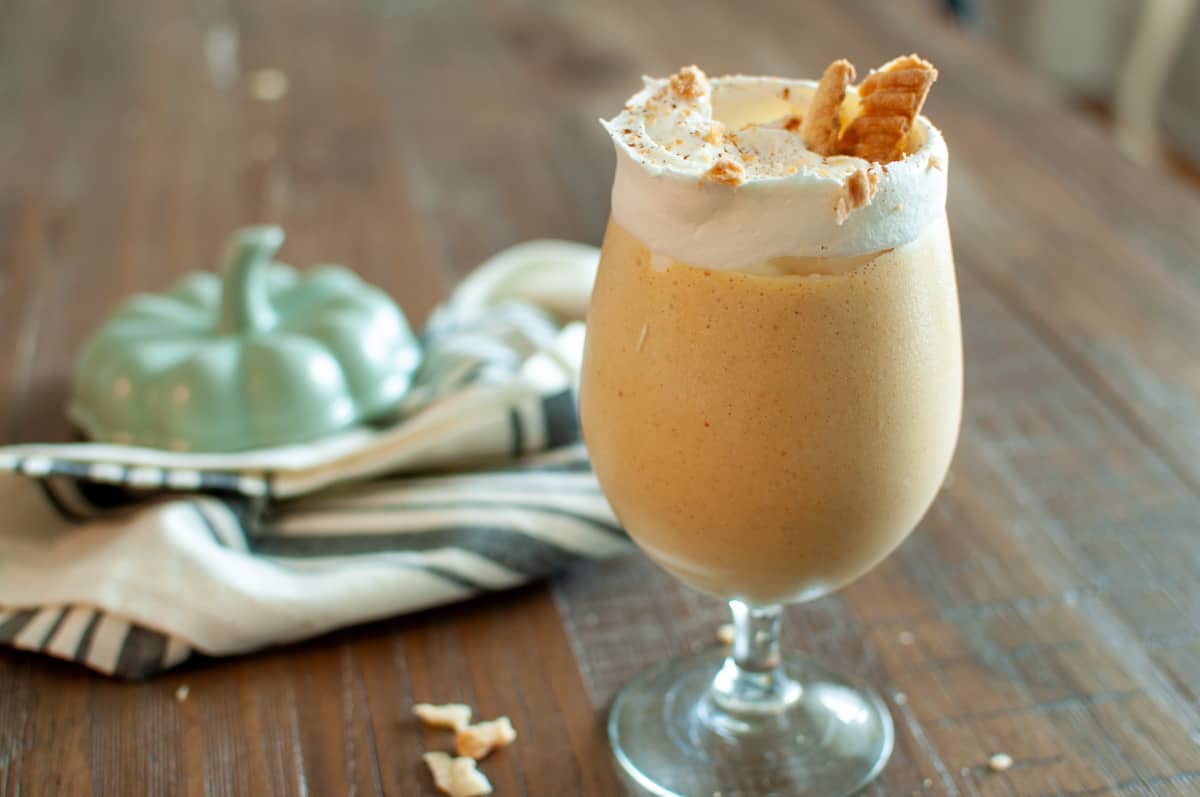
Check out our full recipe for more detailed instructions and variations. It's a great twist on the traditional pie and a perfect fall dessert that you and the kids will love.
TikTok Community Notes
The TikTok video for this recipe reached an astonishing audience of over 220,000 people, garnered more than 10,000 likes, and was saved by viewers over 4,500 times! I know it's wild! I made sure to take note of the top questions and comments and have provided answers below.
One notable comment concerned the pie's texture being runny, despite being baked for an additional 30+ minutes. This triggered a panic and prompted me to remake the recipe live at 8:30 am with over 2,000 friends and followers tuning in. After this careful re-examination, which attracted 600,000 views, the recipe emerged perfect, as it always does. Below are the key insights and takeaways the TikTok Community and I took from this experience...
TIP # 1 - Baking & Cooling
This recipe is a classic custard-style pie, and that means eggs are the superstars that thicken up the pie mixture. Now, baking this beauty just right is the key to avoiding a runny slice.
Think of it as your own kitchen version of 'Jurassic Park.' You'll want to look for the whole pie to have a gentle giggle, not just the middle. If you notice a ripple effect that reminds you of that famous scene with the T-rex and the trembling water cup, then it's time to let it bake a bit longer.
Next, cooling your pie is crucial. First, let it chill on the counter until it reaches room temperature. Then, tuck it into the fridge for a few hours if possible. Follow this method, and you'll be rewarded with a thick, sturdy pie that holds its shape like a champ. No runniness allowed here!
TIP # 2 - Altitude
Since we live at sea level, we haven't had the chance to recipe-test this pie at higher altitudes. But here's what I've gathered from my research (though I'm no scientist, so don't hold me to it!):
Altitude tends to play tricks with baking recipes that use leveling agents like yeast, baking soda, and baking powder. It's all a matter of science, involving pressure and gases, and how they interact at different heights above sea level.
That said, this particular recipe doesn't include those tricky leveling agents, so it shouldn't be affected by altitude. So whether you're baking by the beach or up in the mountains, this pie should turn out just as scrumptious!
TIP #3 - Make Yourself a Mini
If your pie dish is on the smaller side, you might end up with a bit of extra filling. Don't fret! This is your golden opportunity to make a little chef's treat. Grab a small Pyrex, ramekin, or oven-safe ceramic dish and pour that extra filling right in. No crust is needed for this mini pie!
Bake it alongside your main pie, but keep an eye on it as it'll bake faster. Think of it as your sneak peek taste test of the grand masterpiece. The best part? You get to enjoy a delicious bite of pie before everyone else. It's one of the tasty perks of being the chef!
A New Tradition in Your Kitchen
With our Cream Cheese Pumpkin Pie, we've created something more than a recipe. It's a tradition, a memory, and a delightful surprise for your holiday season. A delicious twist on the classic pumpkin pie recipe we all love. Bon Appetit!
📖 Recipe
Cream Cheese Pumpkin Pie
Ingredients
- 1 cup Granulated Sugar
- ¼ teaspoon Salt
- 8 oz Cream Cheese - room temperature
- 16 oz Canned Pumpkin
- 2 Egg
- 1 Egg Yolk
- 1 cup Heavy Cream
- ¼ cup Unsalted Butter - melted
- 1 teaspoon Vanilla Extract
- 1 teaspoon Cinnamon
- ¼ teaspoon Nutmeg
Instructions
- Preheat oven to 350 degrees.
- In a mixing bowl with a hand or stand mixer, add the cream cheese, sugar & salt to the bowl and mix until smooth.
- Scrape the bottom of the bowl to confirm we didn't leave any chunks on the bottom.
- Continue mixing adding large spoonfuls of pumpkin one at a time, making sure the last spoonful is fully incorporated before adding the next. This is mission-critical to make sure you don't get lumps of cream cheese.
- Next, add the eggs + additional egg yolk and mix until smooth.
- Add the melted butter and heavy cream next.
- Finish with vanilla, cinnamon, and nutmeg.
- Pour mixture into a pie crust (recipe available) and bake for 50 minutes or until the center doesn't giggle when you give it a little shake.
- Let cool on the counter until room temp, and then move to the fridge if desired.
- Pile that thing up with whipped cream, and a little pinch of cinnamon, and enjoy!
Video
Nutrition
FAQ
Using cream cheese at room temperature and scraping the sides of the bowl during the initial creaming step ensures a smooth cream cheese mixture. Also, add pumpkin puree gradually, scraping down between additions, and use an electric mixer will give you the best results.
Absolutely! Once cooled to room temperature, place in an airtight container. You can enjoy it during the entire holiday season!
Yes! Feel free to use graham crackers, graham cracker crumbs, or even a gingersnap crust. Making your own graham cracker crust can be a great thing, or you can opt for store-bought or pre-made crusts. The original recipe calls for pate brisee pie crust, but these alternatives can add a nice twist.
Cream cheese pumpkin pie adds a rich cream cheese flavor that contrasts with the traditional pumpkin flavor, almost giving it a pumpkin cheesecake vibe. It offers a great twist and becomes the best pumpkin pie for those who love a creamier texture.
Lindsey Grubbs says
Tabetha's pumpkin cheesecake has been a family favorite for 20 years, and for good reason. The filling is thick and creamy, with a delightful blend of flavors including vanilla, nutmeg, and cinnamon. I was ECSTATIC to see Tabetha was willing to share the recipe with us all! This is an ABSOLUTE MUST HAVE for the holidays!
Tabetha Klein says
You are the sweetest! Sharing this recipe was one of the reasons Tabetha's Table got started so thanks for the love 🥰