
This post may contain affiliate links. As an Amazon Associate I earn from qualifying purchases.
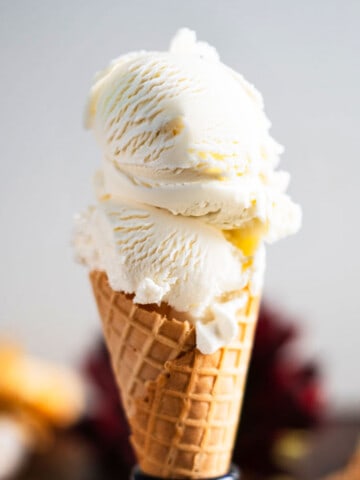
Today we're making homemade ice cream - but not just any ice cream. Mexican Vanilla Ice Cream, and guess what? No eggs involved!
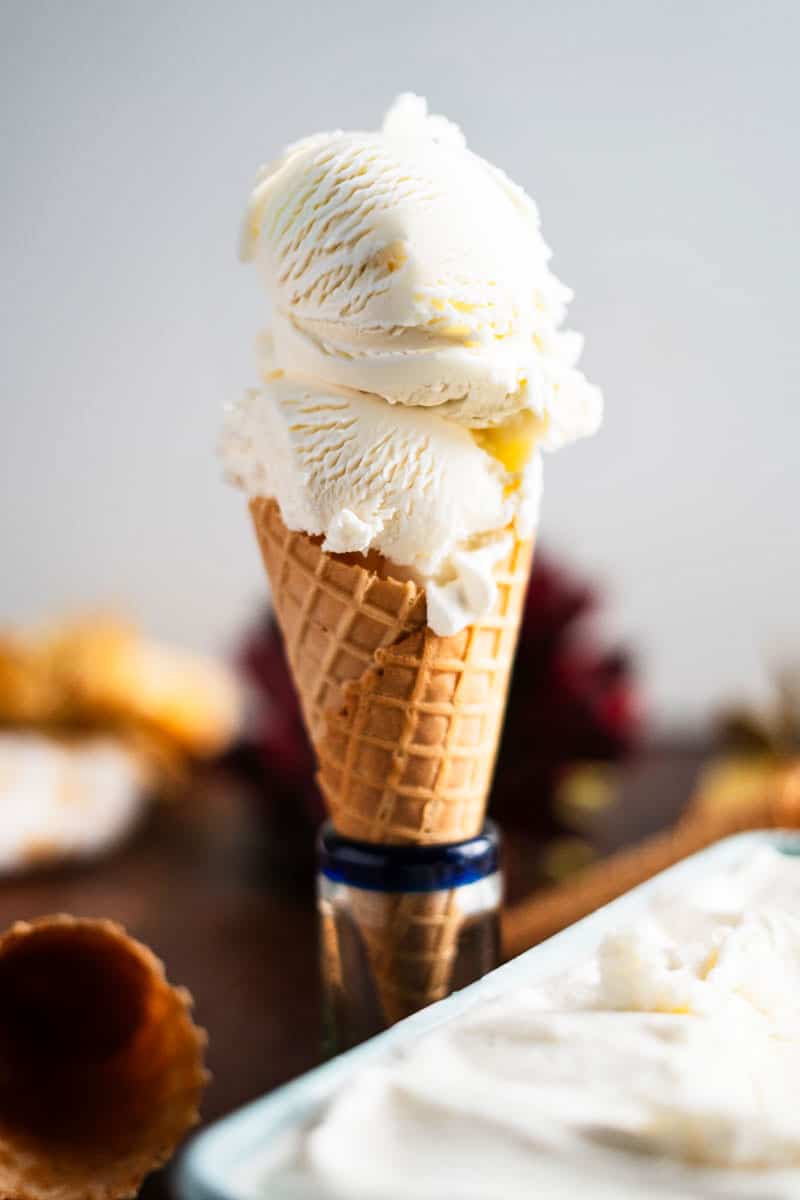
Chef's note · Whisk until the sugar is fully dissolved, then churn on the slow setting. Less air in means denser, creamier scoops out.
This is a great recipe, easy for those who want to skip the custard base but still crave that rich, distinctive flavor of Mexican vanilla extract. So, grab your ice cream maker, and let's get churning!
Jump to:
Ingredients
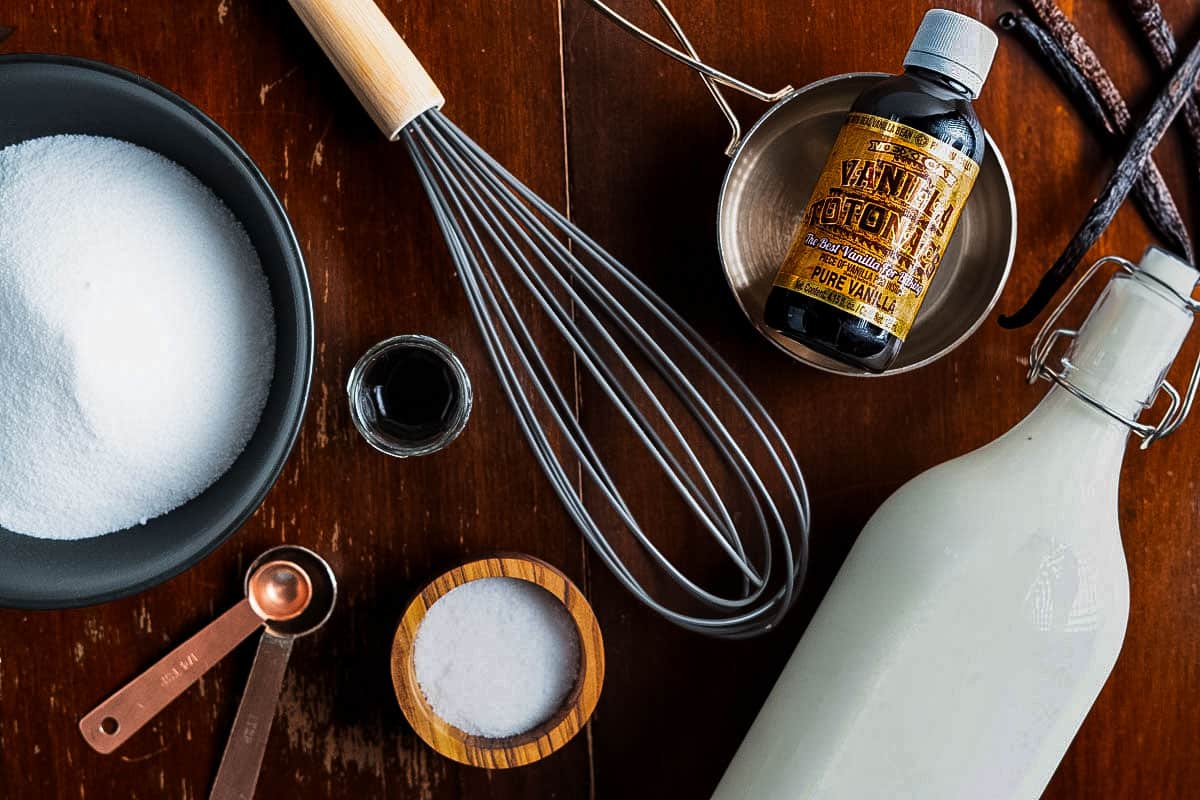
Heavy Cream: The backbone of our creamy texture.
Whole Milk: Adds a touch of lightness to balance the heavy cream.
Sugar: Sweetens the deal and balances the flavors.
Mexican Vanilla Extract: The whole reason this recipe exists - distinctive, rich, and worth seeking out.
Kosher Salt: A pinch to enhance all the other flavors.
Equipment
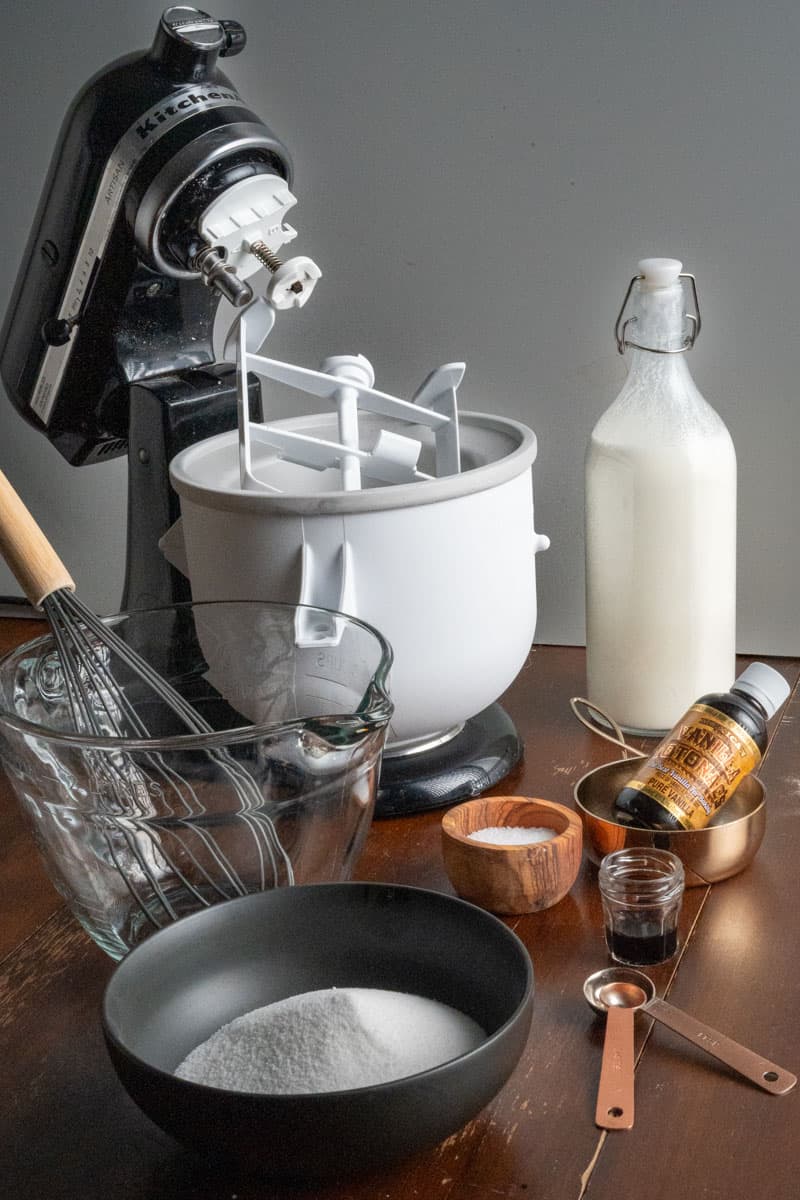
Ice Cream Maker: This is non-negotiable for the best texture. See our KitchenAid suggestion below.
Whisk: Perfect for helping the sugar dissolve in your creamy base.
Rubber Spatula: For getting out every last bite from your ice cream maker.
Ice Cream Scoop: Makes serving a breeze.
Airtight Container: For storing any leftovers-though I doubt there will be any!
Freezer Bags: Optional if you're looking to store your ice cream for more than a couple of weeks. Consider transferring it to a freezer bag and squeezing out all the air.
Instructions
Let's start making homemade ice cream!
Step 1
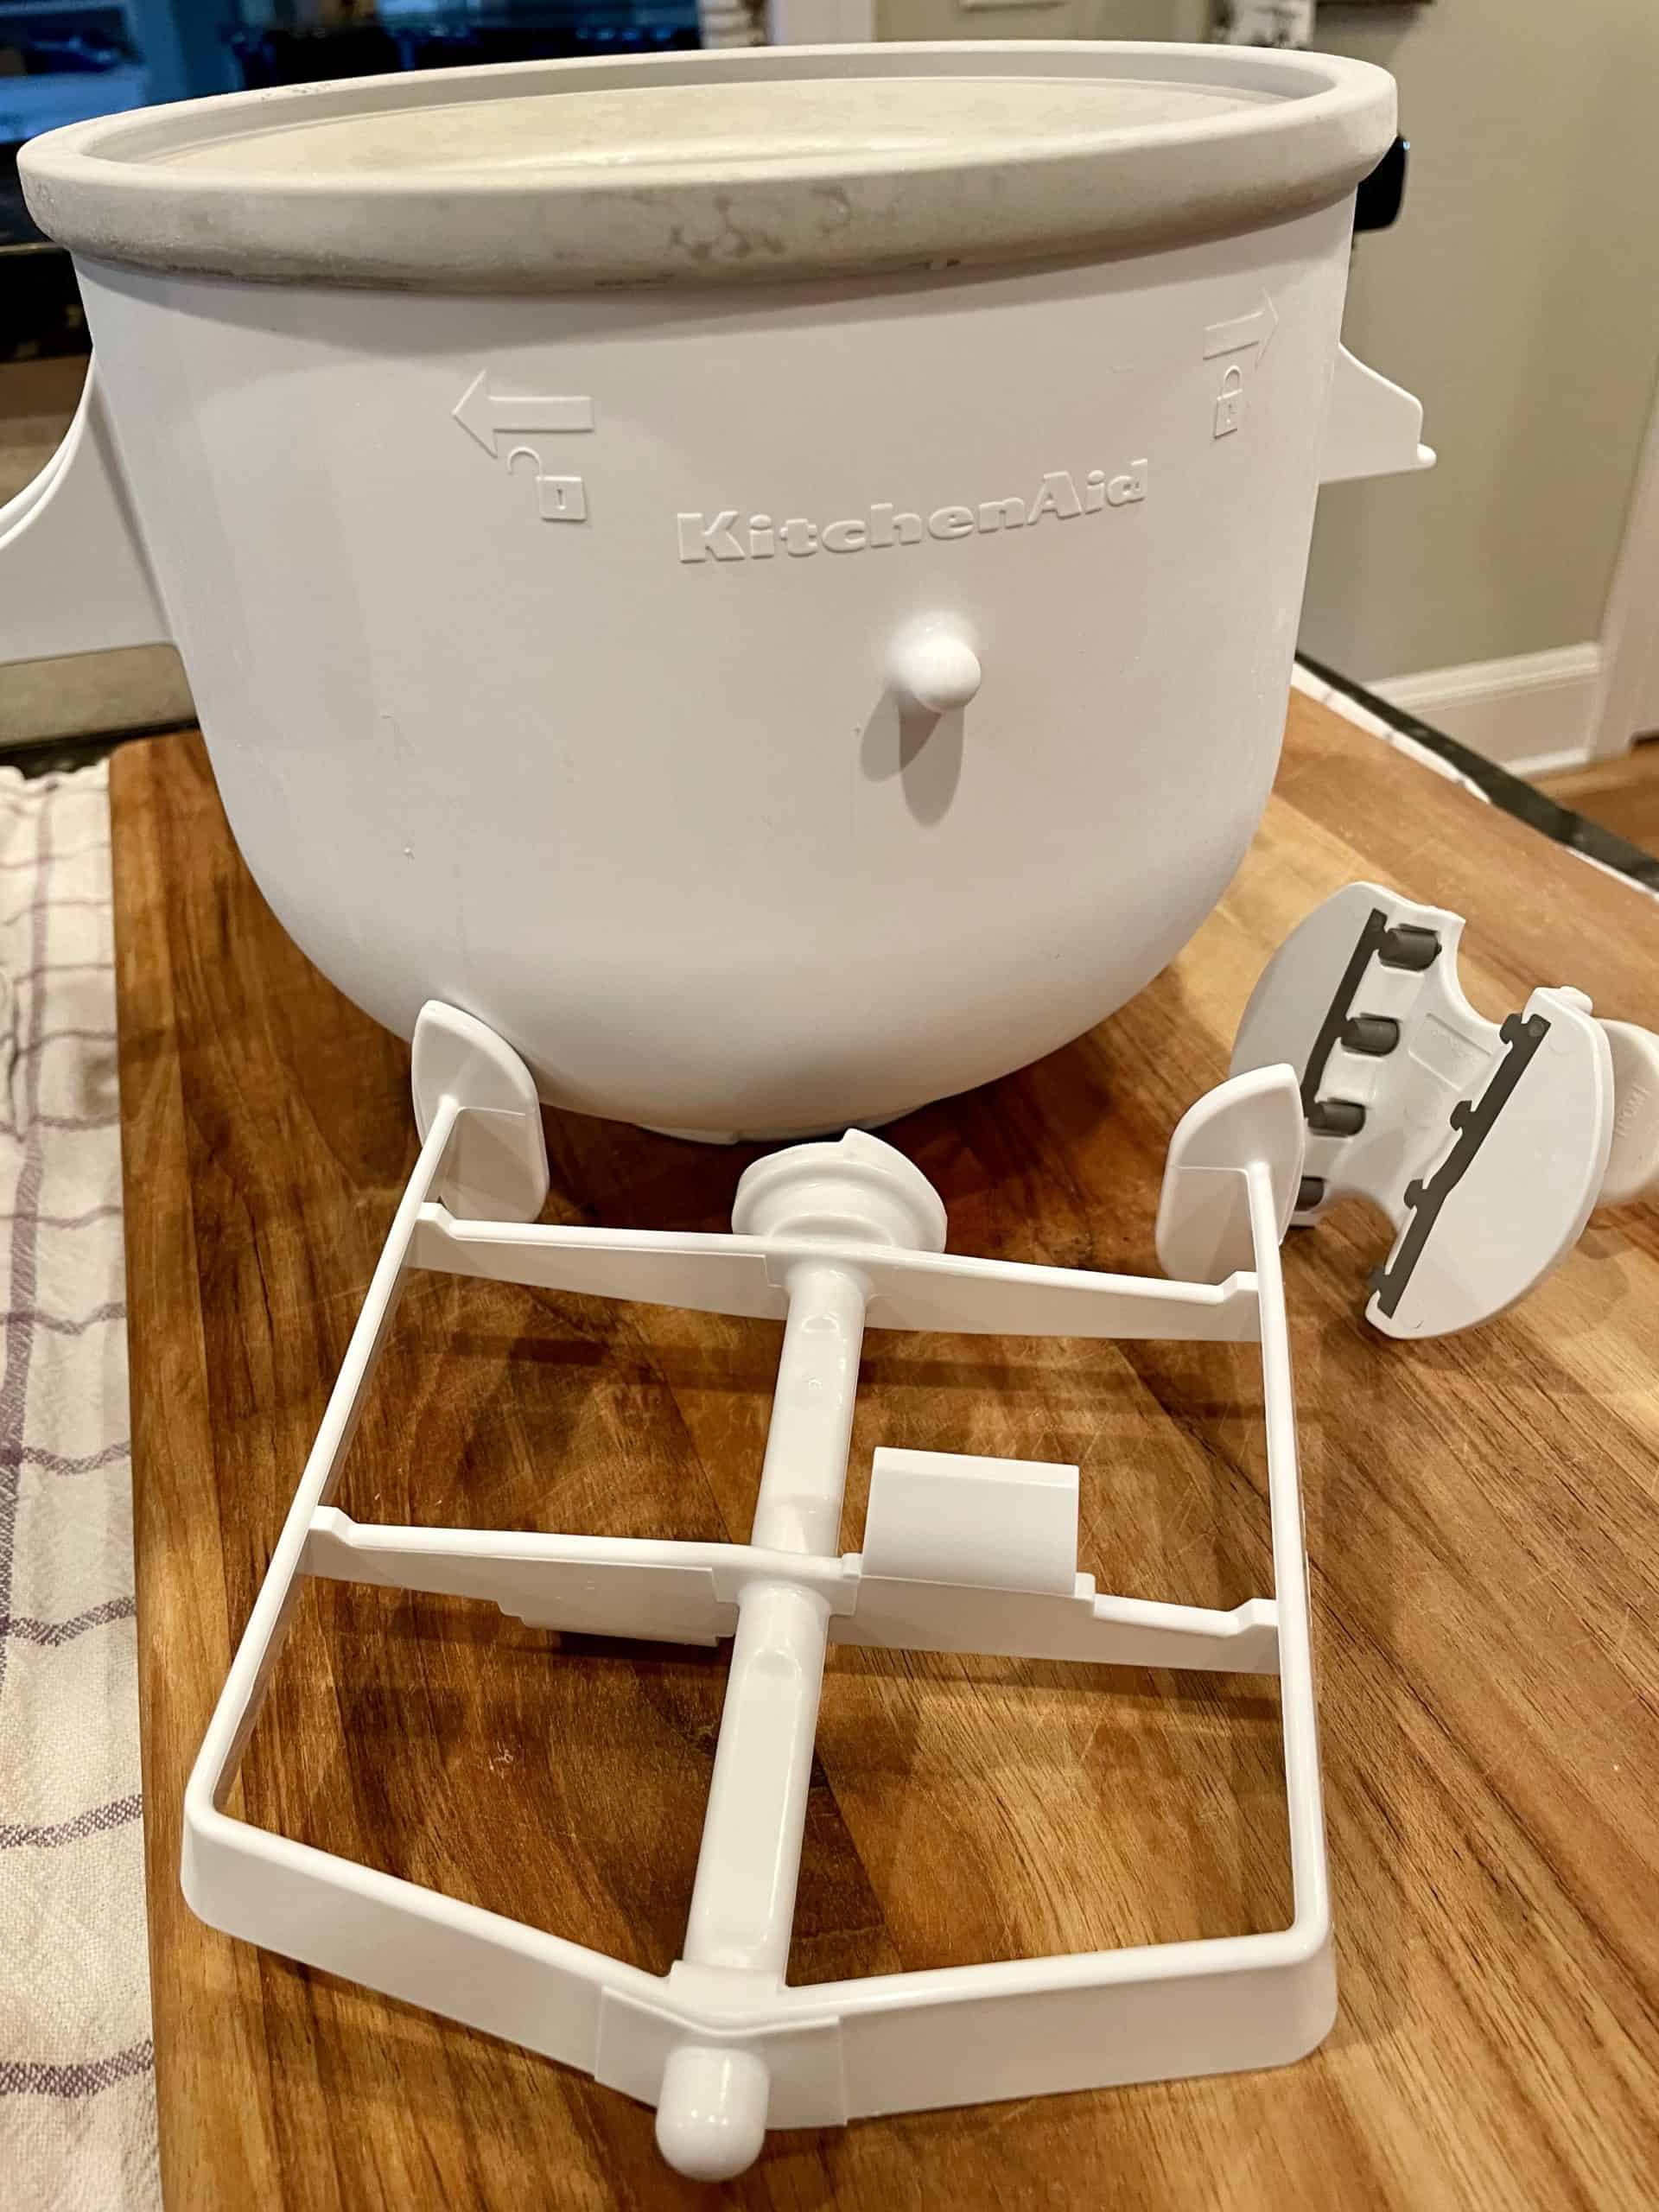
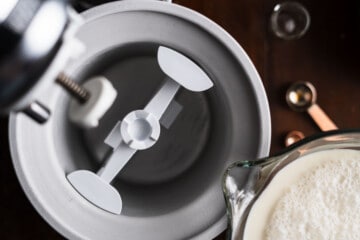
Before we dive into the creamy texture of our ice cream, make sure your ice cream maker is ready to go. Follow the manufacturer's instructions to prep the machine. This is key to ensuring the final product turns out just right, and generally takes 12-24 hours to fully freeze.
Step 2
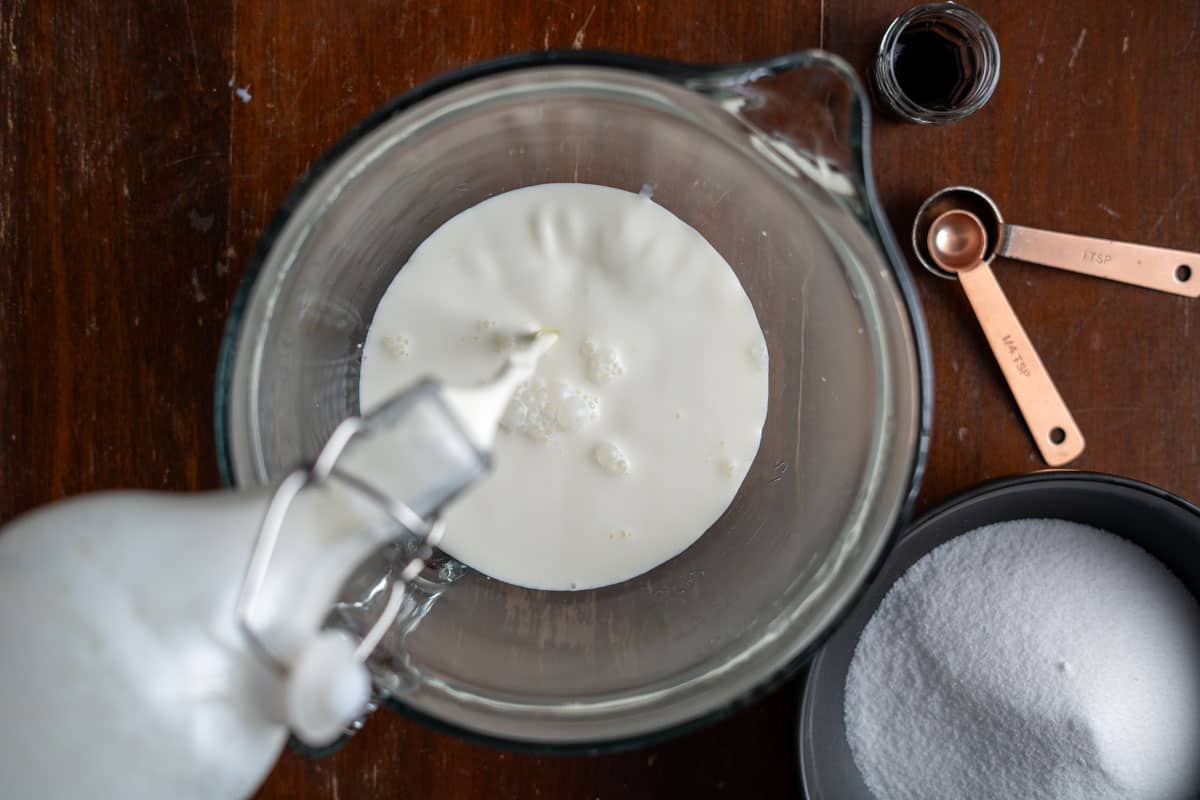
In a medium bowl combine your cold heavy cream and whole milk.
Step 3
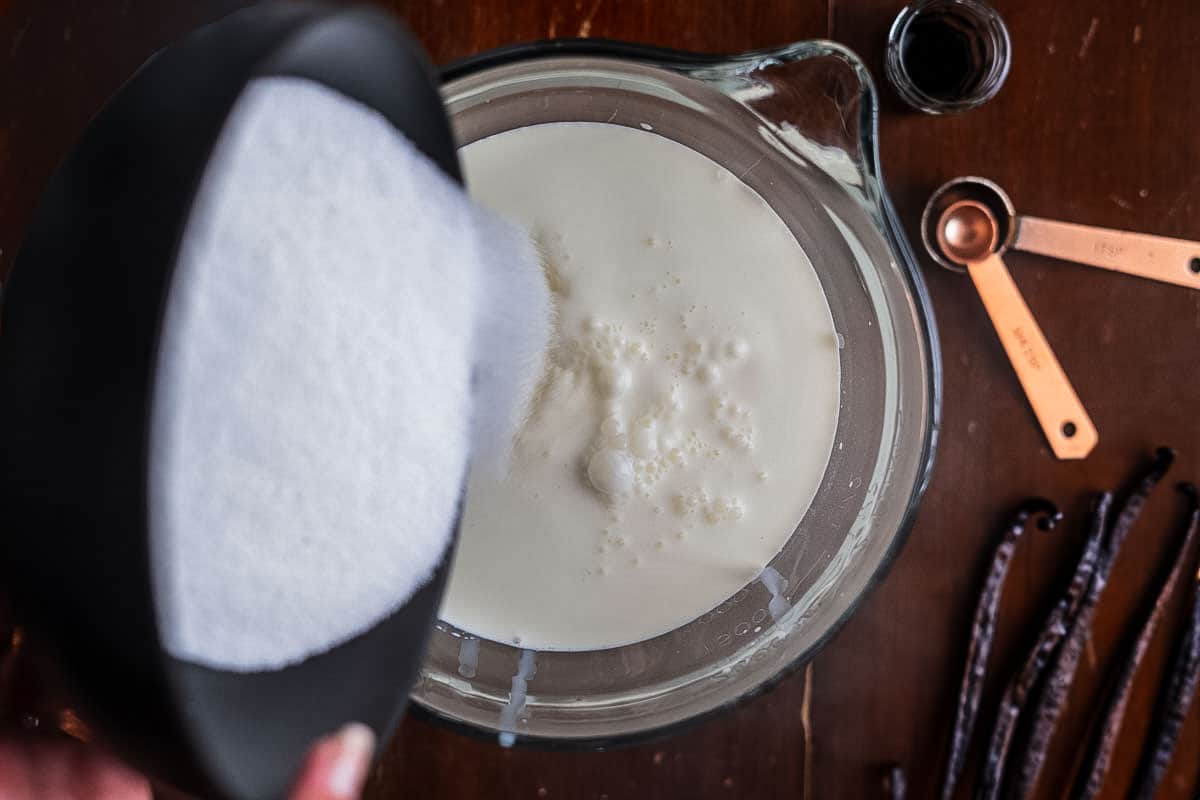
Add your granulated sugar to your cream base.
Step 4
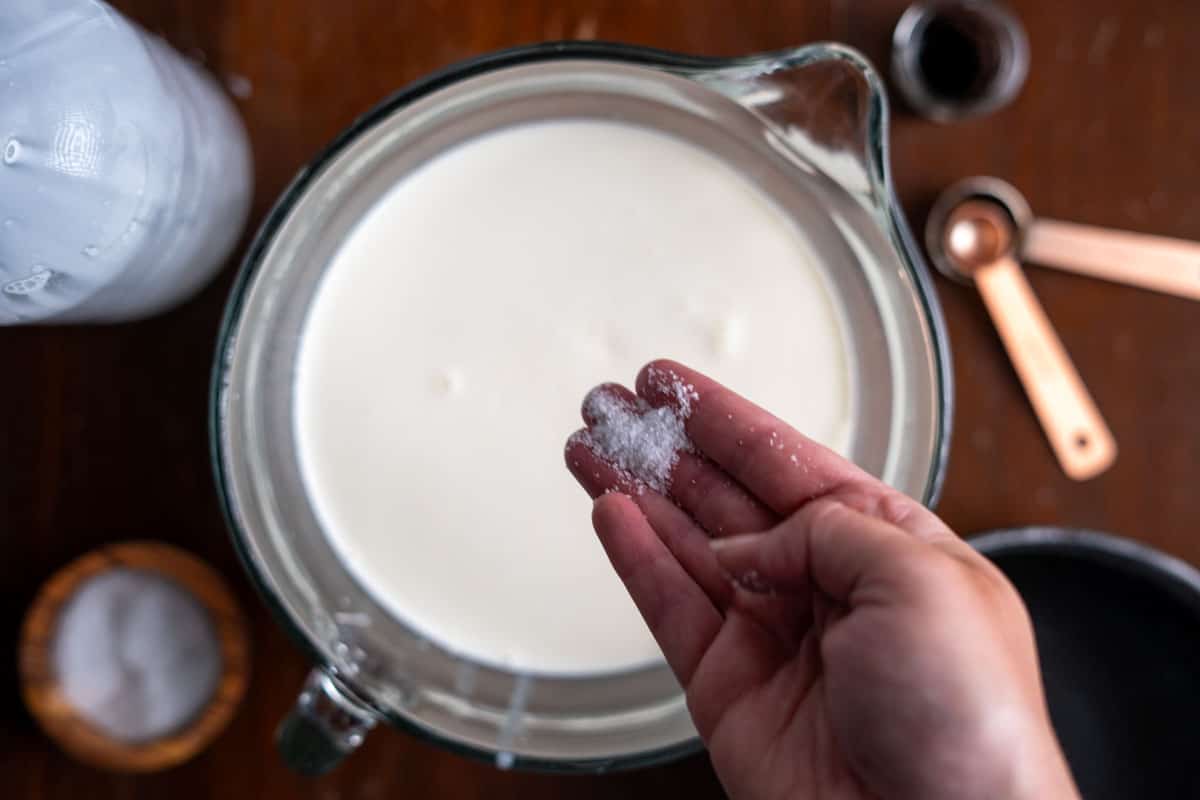
Don't forget that pinch of kosher salt!
Step 5
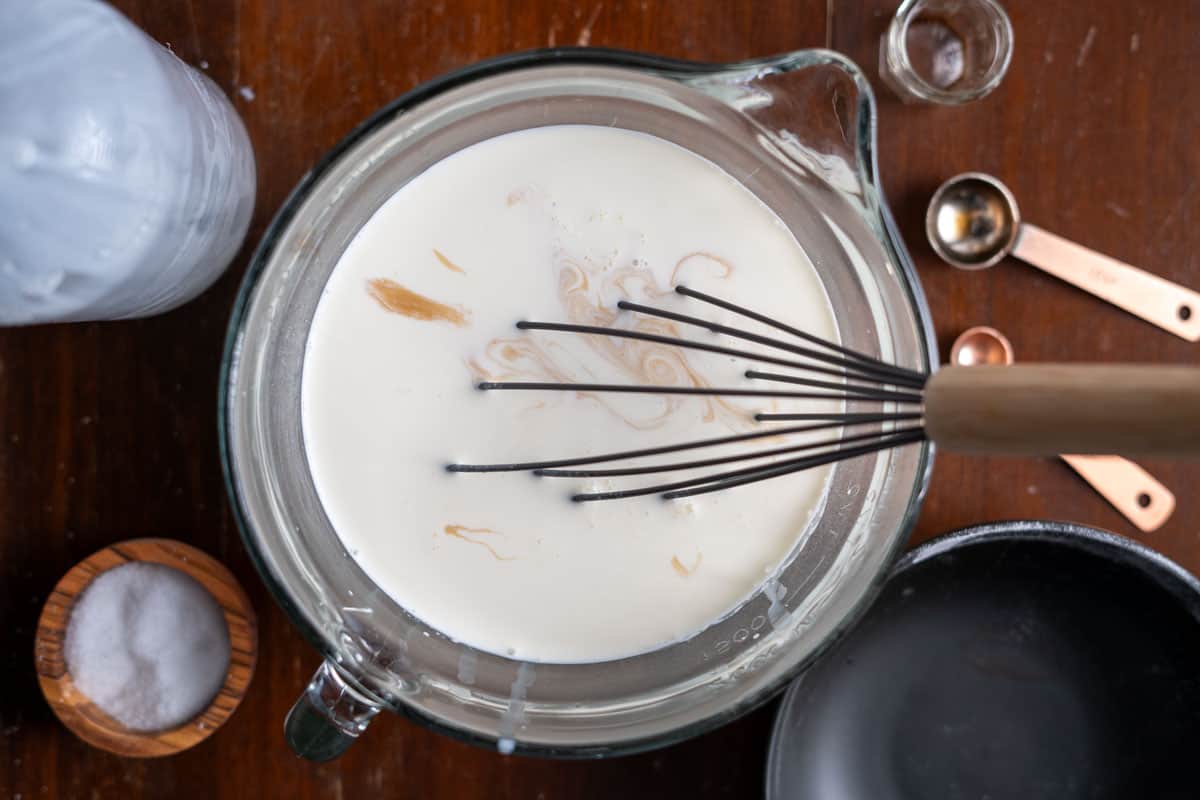
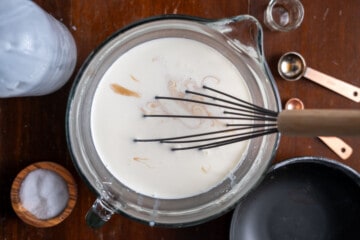
Finish with your Mexican Vanilla and whisk until the sugar has fully dissolved.
It's important to not rush this, or the sugar will sink to the bottom of your ice cream maker. Taste your mixture, and feel free to add additional extract if needed. Taste and adjust if you want more Mexican Vanilla flavor.
Step 6
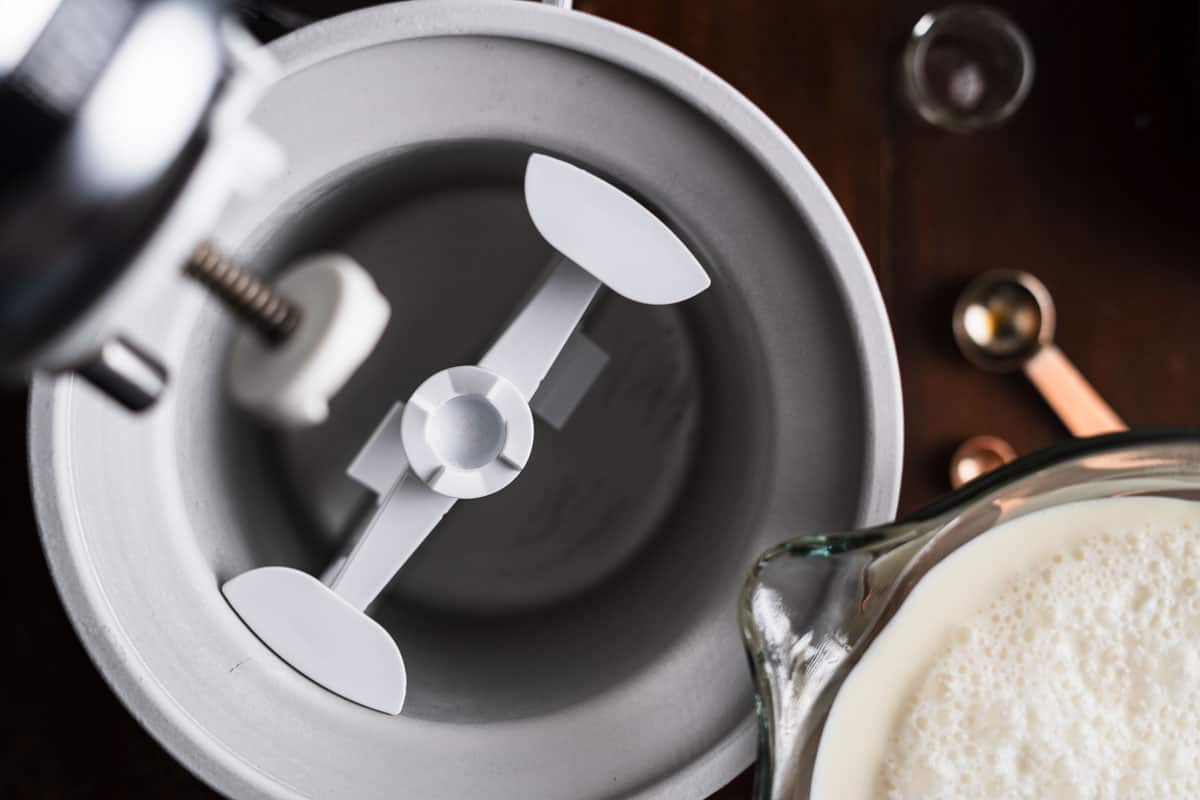
Once your dairy and sugar mixture is well-blended, it's time to introduce it to your ice cream maker. Turn on your ice cream machine and pour the mixture in slowly. Following the manufacturer's instructions for your specific machine is critical!
Step 7
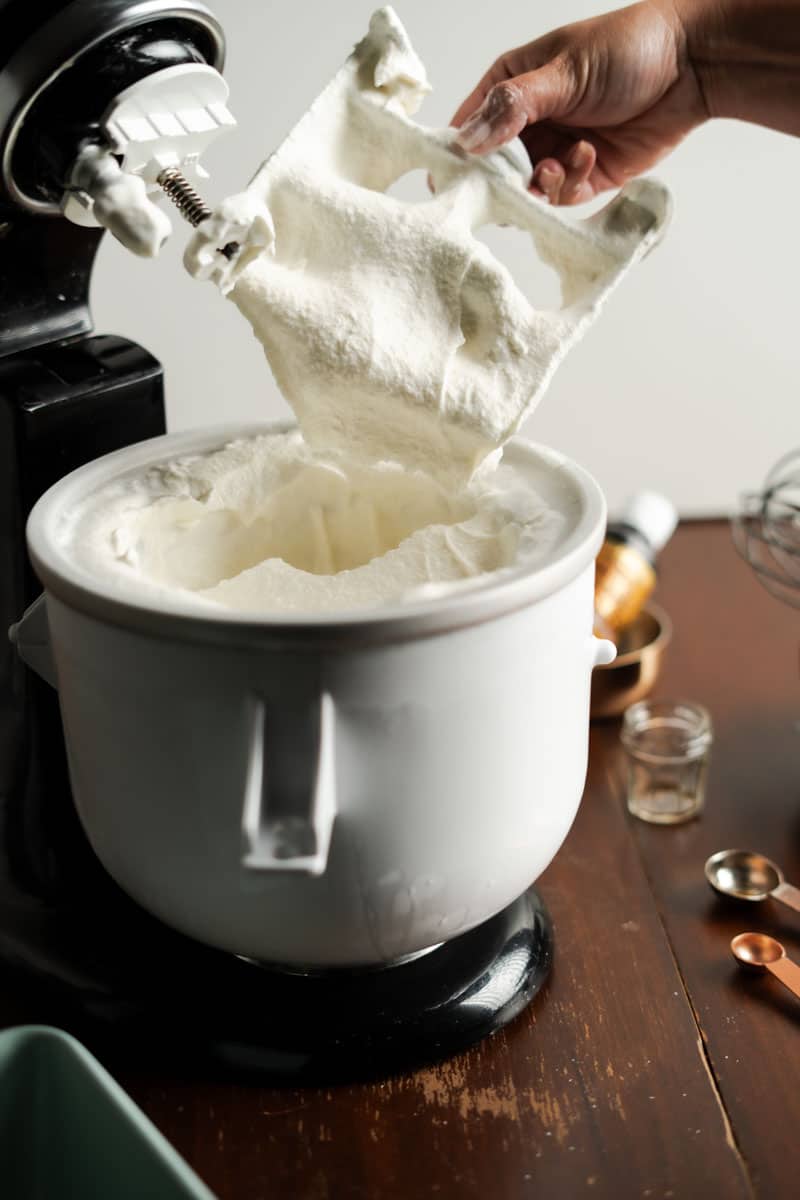
Turn on your ice cream machine and let it churn away. You'll know it's ready when the mixture starts to overflow slightly, which usually takes about 20-30 minutes. At this point, you've got yourself some delicious soft-serve ice cream. Feel free to dig in right away!
For Scoopable Perfection
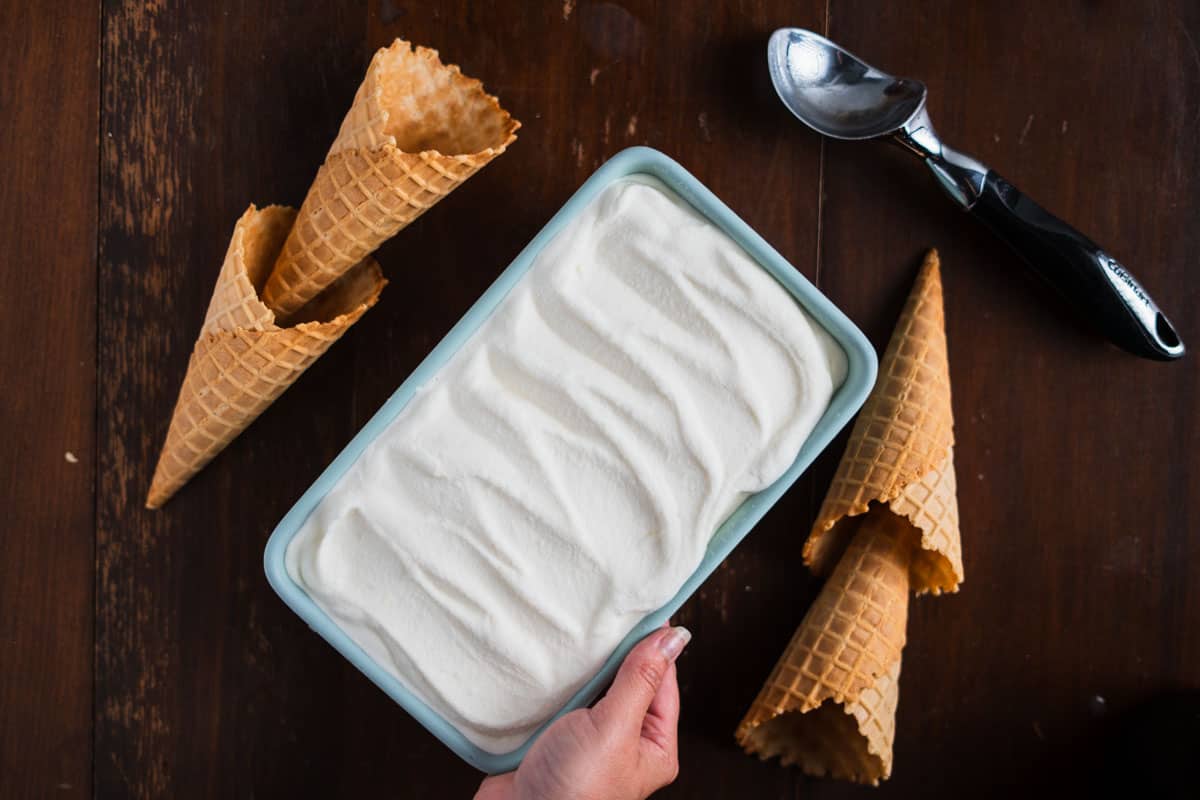
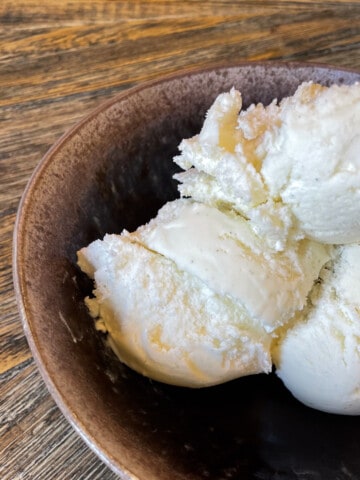
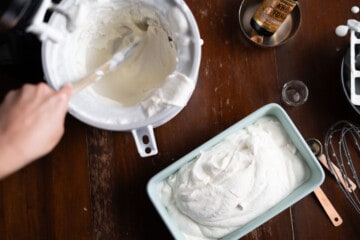
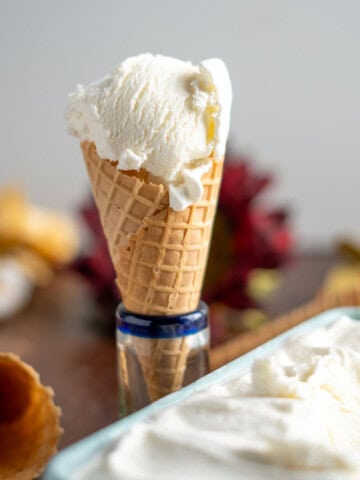
If soft-serve isn't your jam and you're after that perfect scoopable texture, transfer your churned ice cream into a bowl or loaf pan that's been chilling in the freezer. Wrap it tightly in plastic wrap and let it freeze overnight. The next day, you'll be greeted with ice cream that's ready to be scooped and savored.
Optional Toppings
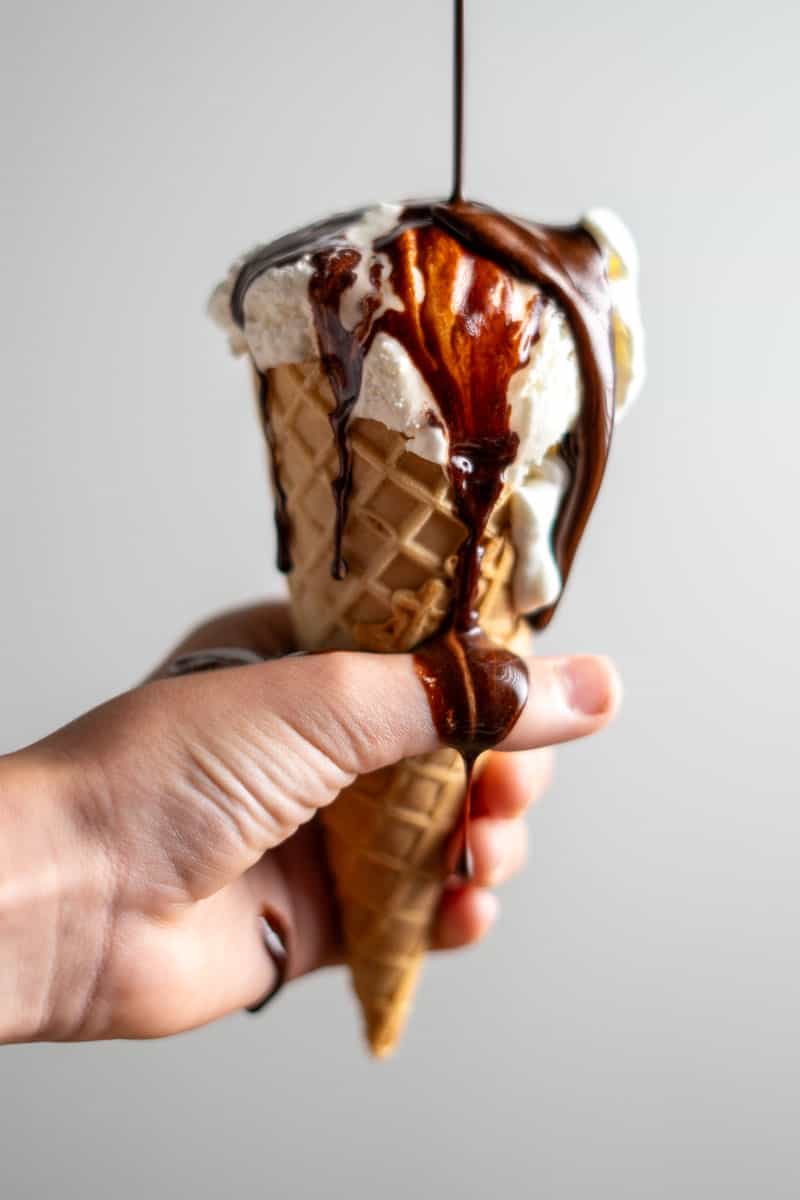
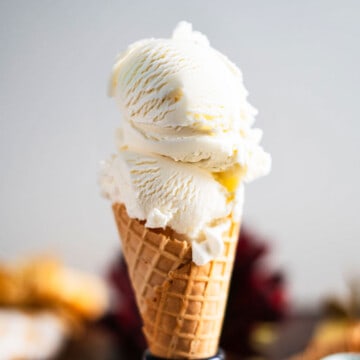
Shout out to my son Noah for being the best ice cream cone holder ever! Here are a few more ideas for toppings for ya...
- Hot Fudge or Chocolate Syrup
- Chocolate Sprinkles or Chocolate Chips
- Caramel or Butterscotch Drizzle
Mix-In's
Mexican Chocolate: Add some grated Mexican chocolate for a spicier kick.
Mexican Vanilla Beans: If you want to go all-natural, scrape one of these into your mix.
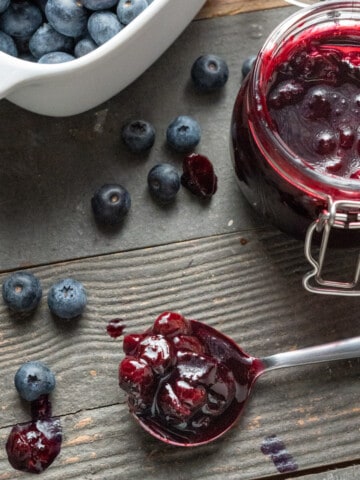
Strawberry Compote: A classic pairing with vanilla.
Storage
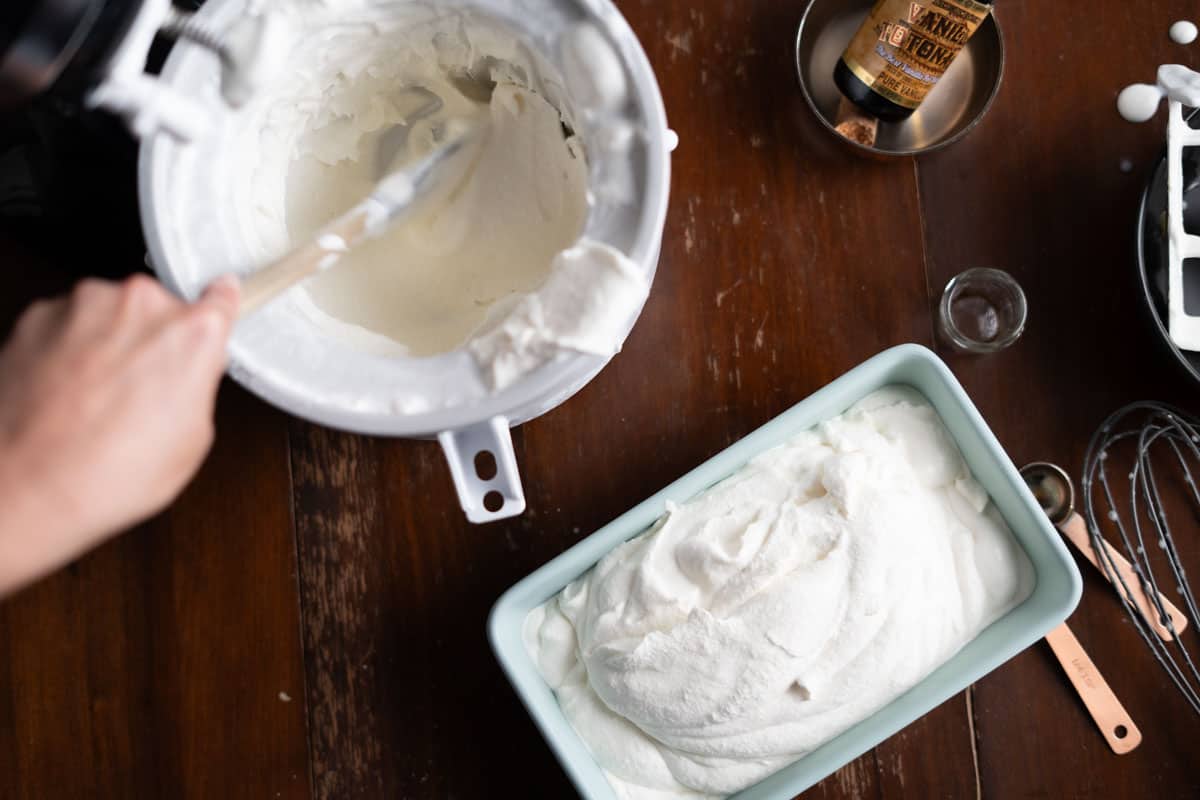
Freezer-Safe Bowl: We used a loaf pan, but any freezer-safe container is fine. Cover with multiple layers of plastic wrap to prevent freezer burn.
Airtight Container: An airtight container will keep your fresh ice cream from absorbing any other flavors in your freezer.
Plastic Wrap: For an extra layer of protection, press a piece of plastic wrap against the surface of the ice cream before sealing the container. This helps prevent ice crystals from forming.
Top Tip
Want to know the secret to achieving that ultra-creamy texture for this Mexican Vanilla Ice Cream recipe? It's all about the churning speed of your ice cream maker. A slower churn will incorporate less air, making your ice cream denser and creamier. So, if your machine has speed settings, opt for a slower churn.
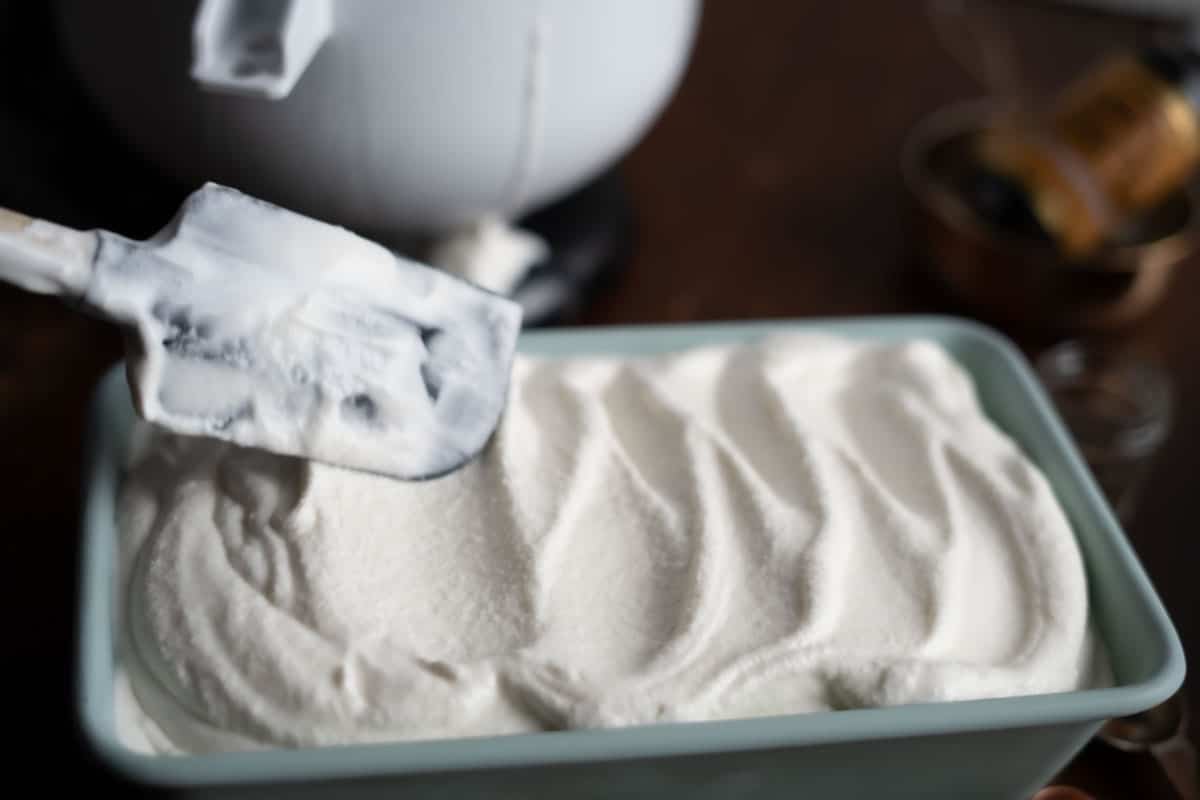
Heating Your Milk Mixture: If you have extra time, you can ensure an even smoother ice cream base by dissolving the sugar in your milk and cream mixture. On medium heat, add milk, heavy cream, sugar, and salt to a medium sauce pot on medium heat until just dissolved. Add the vanilla very last. Note that your mixture will have to be completely cooled again before you can add it to your ice cream bowl.
Mexican Custard Classic
In Mexico, making ice cream is an art form that dates back centuries. The classic Mexican vanilla ice cream method involves using a large, cylindrical metal drum filled with the ice cream mixture, which is then placed in a wooden barrel packed with ice and rock salt. The drum is hand-cranked, slowly churning the mixture into a creamy delight. Egg yolks are often used in traditional recipes to create a custard base, adding richness and a velvety texture.
The Role of Egg Yolks
Egg yolks serve as an emulsifier in many ice cream recipes, including traditional Mexican versions. They help to blend the fat and water in the mixture, resulting in a smoother, creamier texture. The yolks also contribute to the ice cream's pale yellow color, which many people associate with homemade goodness.
Why We Chose an Eggless Version
We understand that not everyone can or wants to consume eggs. Whether it's due to allergies, dietary restrictions, or personal preference, an eggless version makes this delicious treat accessible to more people.
Skipping the eggs also simplifies the process, eliminating the need to cook a custard base. This makes the recipe quicker and easier, perfect for a fun dessert that you can whip up on a whim. Plus, the absence of eggs allows the distinctive flavor of the Mexican vanilla extract to shine through even more.
By opting for an eggless recipe, we're putting a modern spin on a beloved classic. Rest assured, the heavy cream and whole milk provide enough fat for the rich, scoopable texture you want in homemade ice cream.
Mexican Vanilla Beans
If you're a purist at heart, you might be tempted to go straight to the source and use real vanilla beans. These beans are the dried, unripe fruit of the vanilla orchid and are native to Mexico. Using the beans gives you the freshest, most authentic vanilla flavor possible.
To use them, you'd use split vanilla beans, scrape out the tiny seeds inside the pod, and add them to your mixture. The seeds not only infuse your ice cream with intense vanilla flavor but also add those lovely black specks that scream "homemade!"
Why We Chose Extract for This Recipe
Convenience: Extract is easier to find and store and less expensive, making it a more practical choice for most home cooks.
Consistency: The flavor of the extract is more uniform, ensuring that every batch of ice cream you make will taste the same.
Accessibility: While vanilla beans offer a unique experience, they can be expensive and harder to find. Extract makes this recipe accessible to everyone, no matter where you're shopping.
KitchenAid Ice Cream Bowl
The KitchenAid ice cream bowl attachment is designed to work with your KitchenAid stand mixer. Allowing you to easily make homemade ice cream without the need for a separate ice cream maker. The ice cream bowl works by freezing a special liquid inside the walls of the bowl, which helps to quickly freeze and churn the ice cream mixture as it's being mixed.
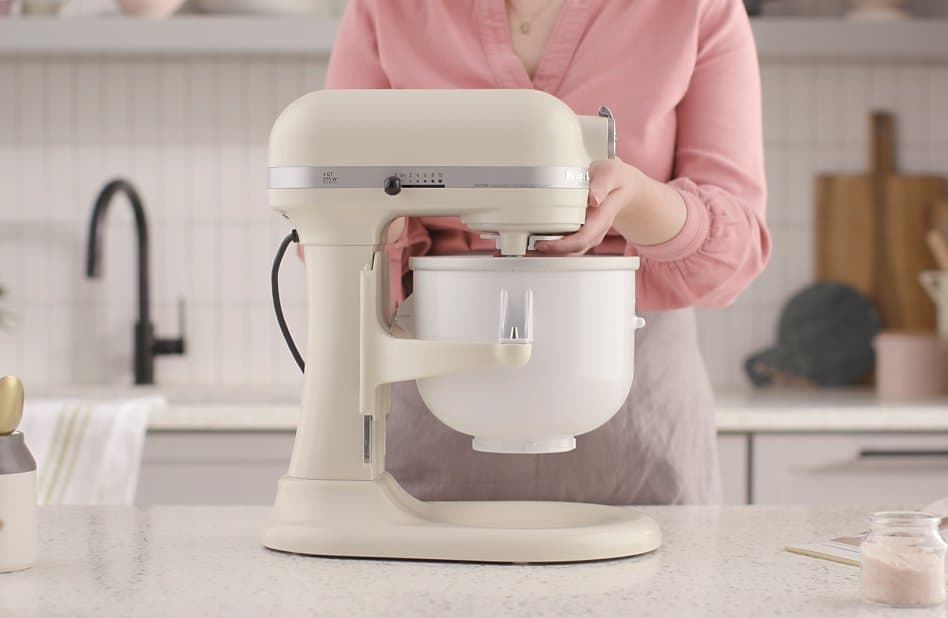
The attachment fits onto the base of the stand mixer and is secured in place by attaching to the side wings or by twisting onto the base itself. It's important to note that the KitchenAid ice cream bowl attachment is not compatible with KitchenAid hand mixers.
Additionally, it's recommended that you use the churning attachment that comes with the ice cream bowl attachment, as this will help to ensure even churning and freezing of the ice cream base.
Similar Recipes
FAQ
What Makes Mexican Vanilla Different?
Mexican vanilla has a unique flavor profile, often described as deeper and more nuanced than regular vanilla. Making this one of the best vanilla ice cream recipes I've made. It's the key ingredient that sets this recipe apart.
Why No Eggs?
Custard-based ice cream recipes require egg yolks. The egg mixture also needs to be cooked very carefully to achieve the best results. We designed this recipe to still deliver delicious Mexican Vanilla flavor, without the extra steps. For an authentic custard recipe, check back soon!
📖 Recipe
Easy Mexican Vanilla Ice Cream Recipe: No Eggs
Equipment
- Freezer Safe Bowl for storage
Ingredients
- 2 cups Heavy Cream
- 2 cups Whole Milk
- 1 cup Granulated Sugar
- 1 teaspoon Mexican Vanilla Extract
- 1 pinch Kosher Salt
Instructions
- Freeze your ice cream bowl overnight, or per your ice cream maker directions.
- Mix all ingredients in a bowl and stir until dissolved.
- Turn your KitchenAid on its lowest setting.
- Slowly add the ice cream base down the side of the bowl.
- Let churn for 20-30 minutes or until it looks like it is about to overflow.
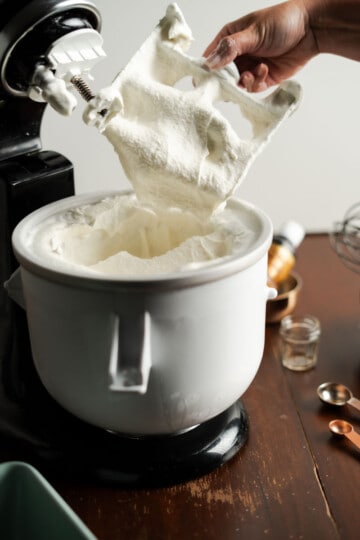
- At this point, you can enjoy your ice cream as soft serve.
- For a more traditional ice cream, transfer to a freezer-safe, air-tight bowl and leave for a few hours or overnight.
Notes
Nutrition
Nutrition information is an estimate, calculated from the listed ingredients, and provided as a courtesy.





Comments
No Comments