First of all Congrats! You made it to the one-year mark! Now let's roll up our sleeves and start planning your baby's first birthday. Cake vs cupcakes? A 4-inch vs a 6-inch smash cake? It can get a little confusing trying to pick what might work best for your family. I'm here to share all the things I've learned. Two smash cakes and many birthday cakes later.
Jump to:
Sizing: 4 Inch vs 6 Inch Smash Cake vs Cupcake
Let's be real for a second... Your one-year-old will NOT be eating a whole 4-inch or 6-inch cake, a cupcake is still more than enough. However, I will be brutally honest with you. I've always been a little extra when it comes to my kid, and they have always had very excessive smash cakes (and birthday cakes). So truly the sizing all boils down to aesthetics & personal preference.
With Smash Cake photoshoots and extravagant 1st Birthday parties becoming the norm, I've come up with some ideas to help point you to which choice might be better in which situations.
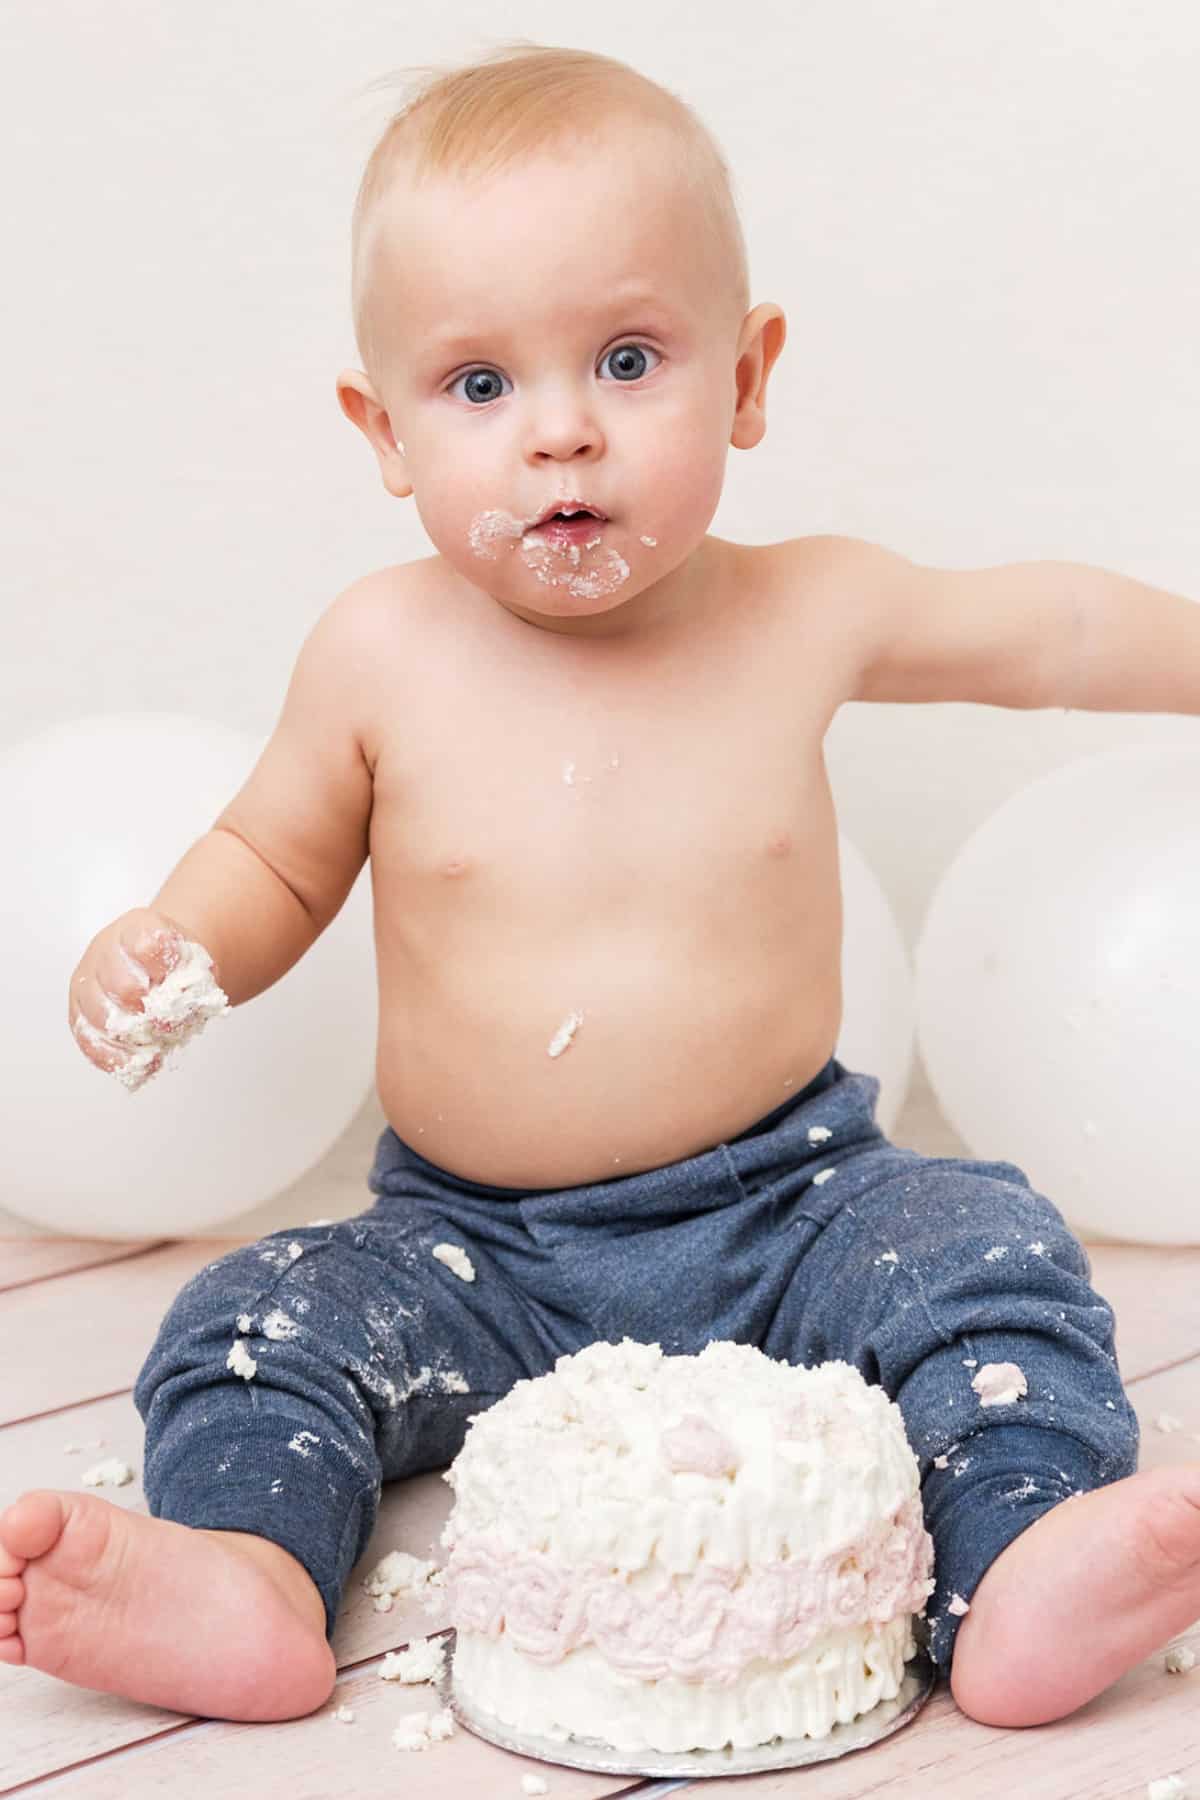
4 Inch Round Cakes
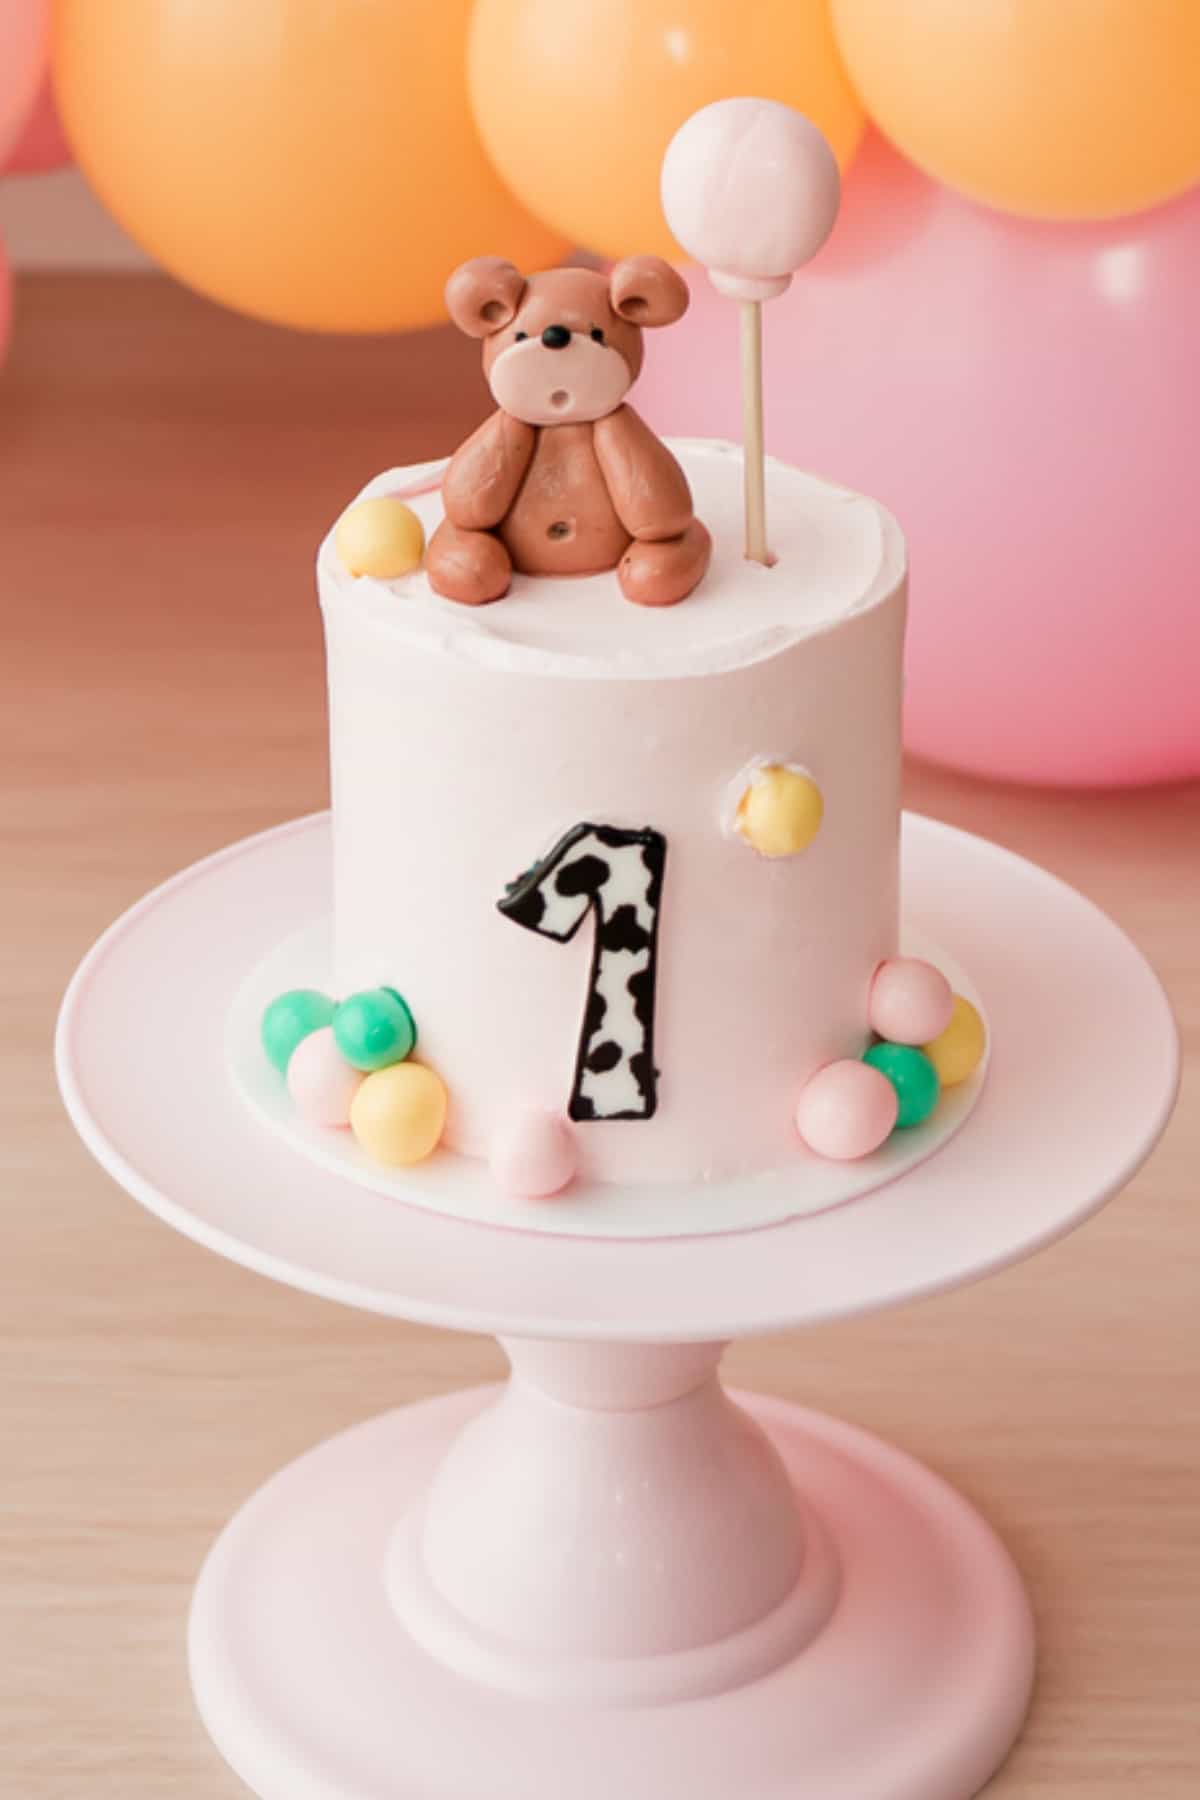
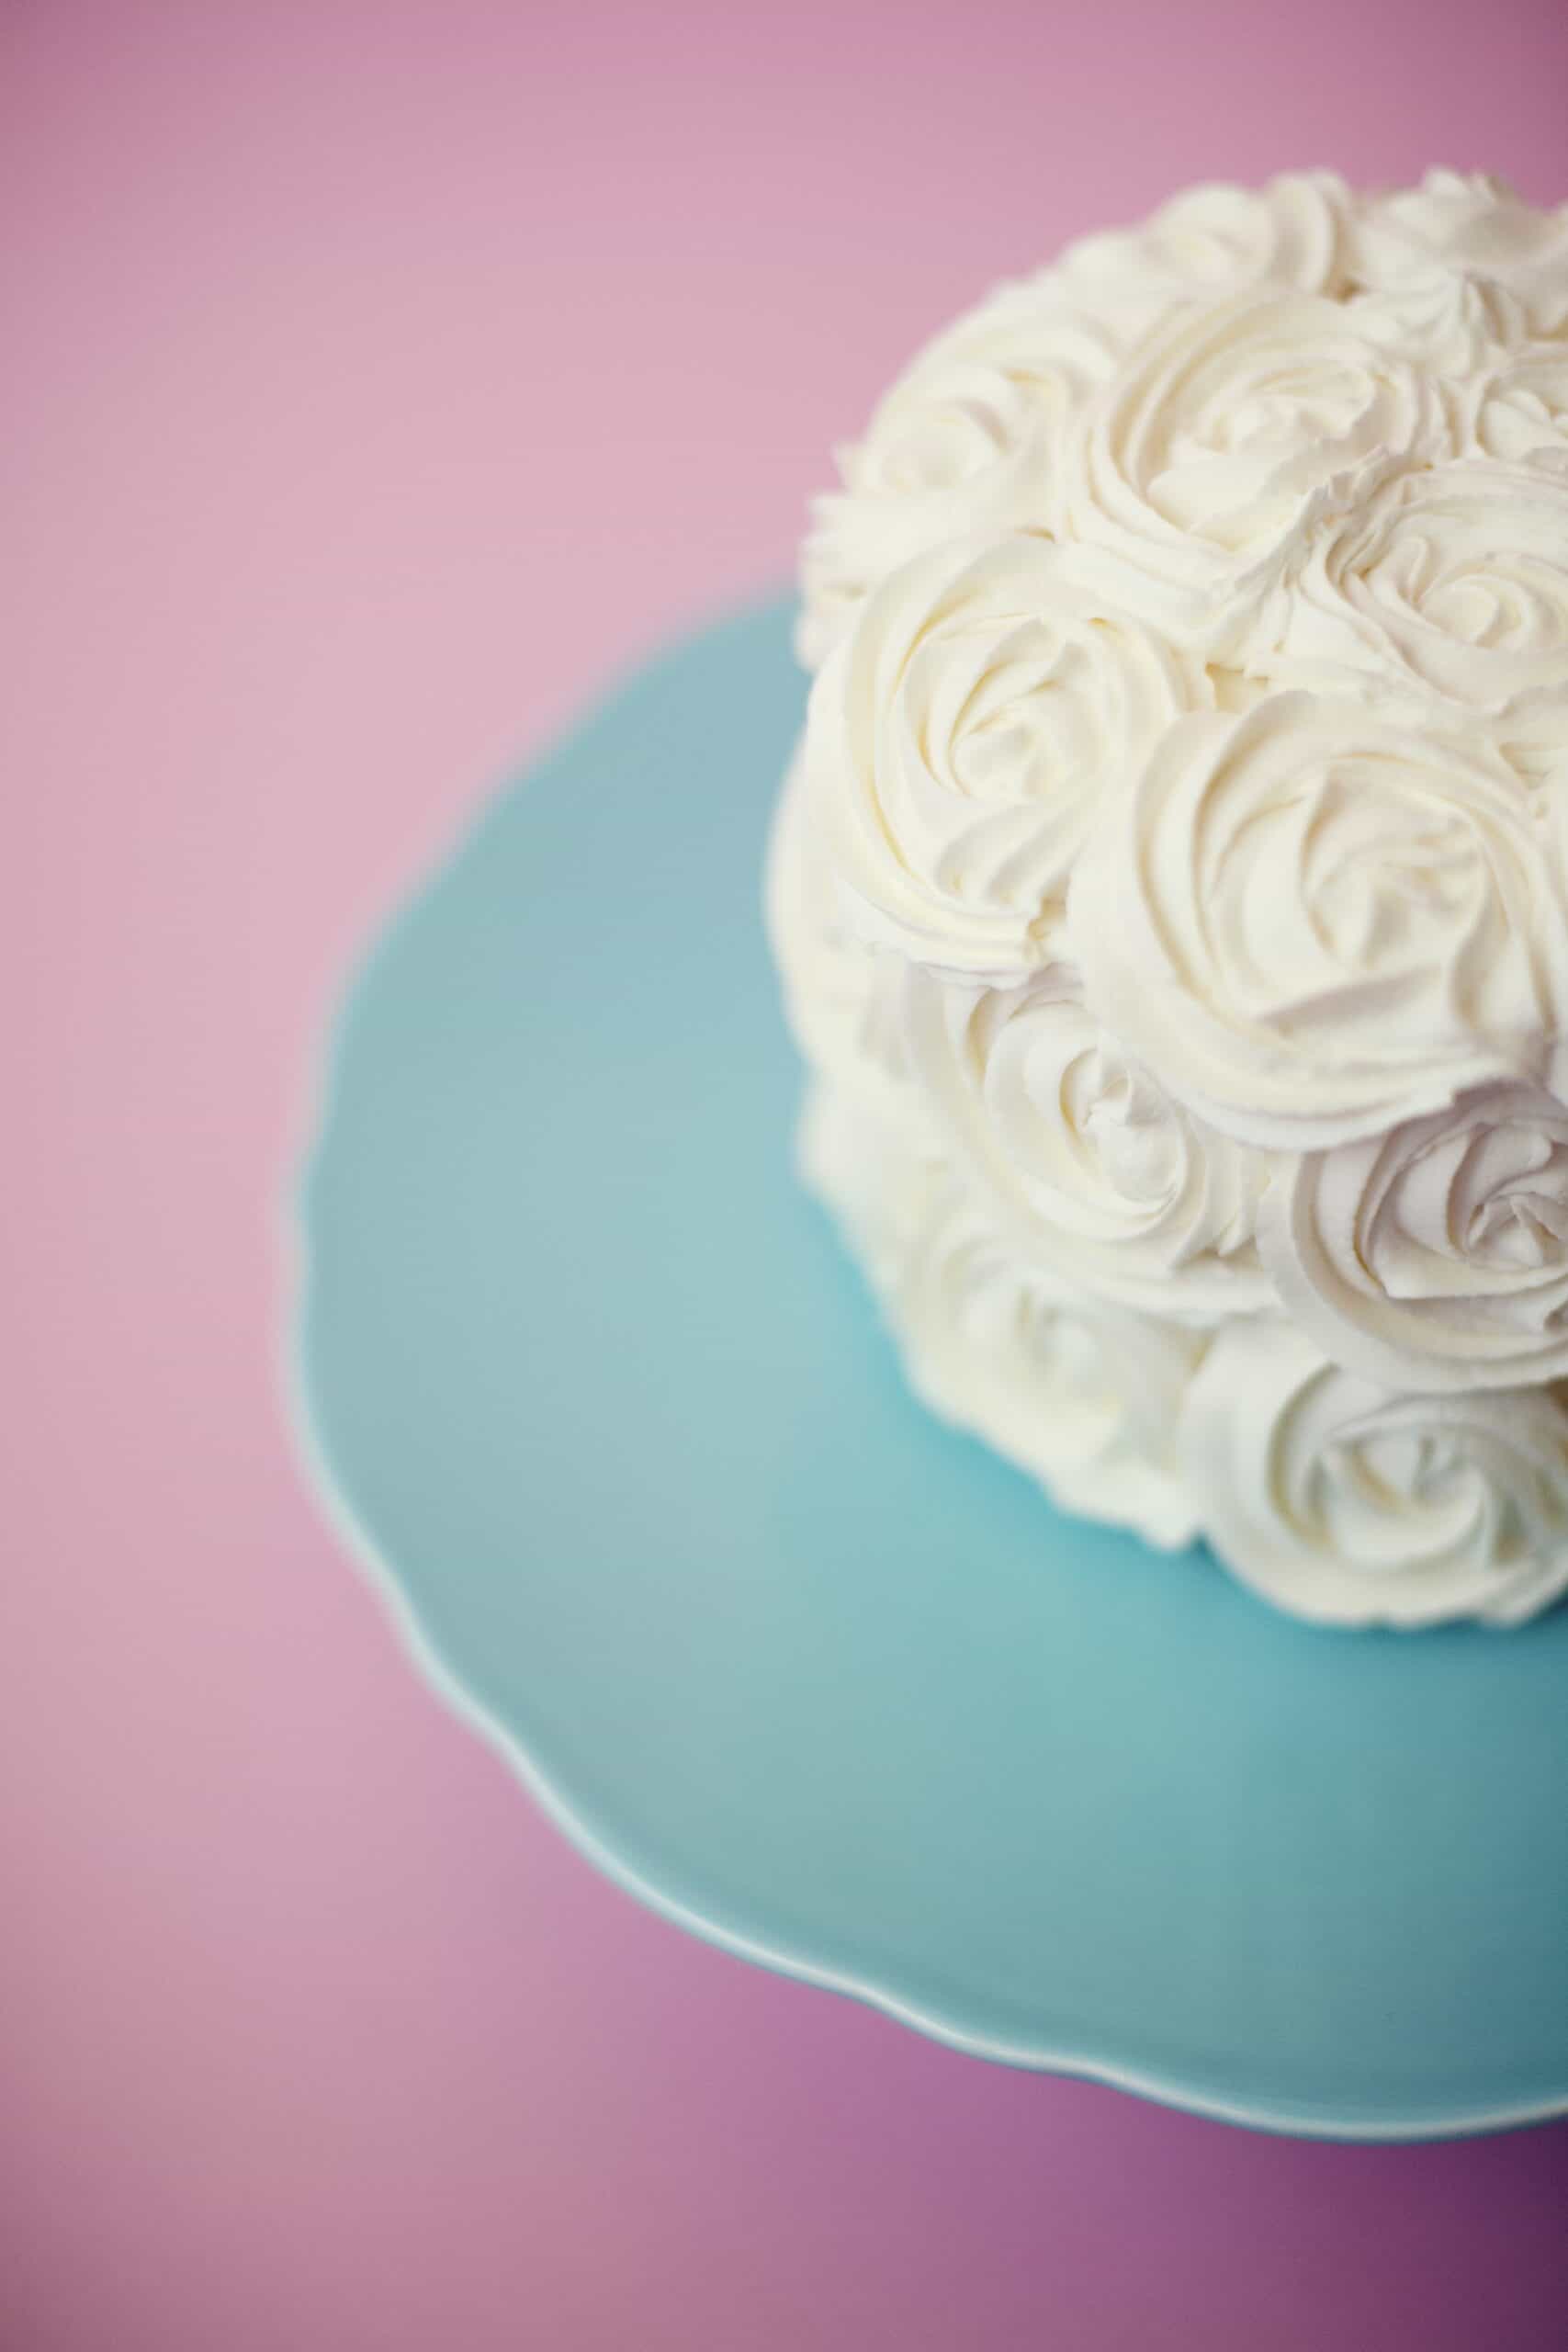
A 4" round cake is more than enough for your Birthday Boy or Girl. This cake pictured below is a 4" round small cake with 2 cake layers. We recommend this size if you are looking for the perfect proportion for a highchair-style smash cake.
Not small enough to not stand out, but also not too big that you can't see your kiddo. This mini cake can be a great choice and because of its size, it's very easy to make at home.
This could technically feed up to 4 people, but there is a special level of love needed to eat after a toddler 😉
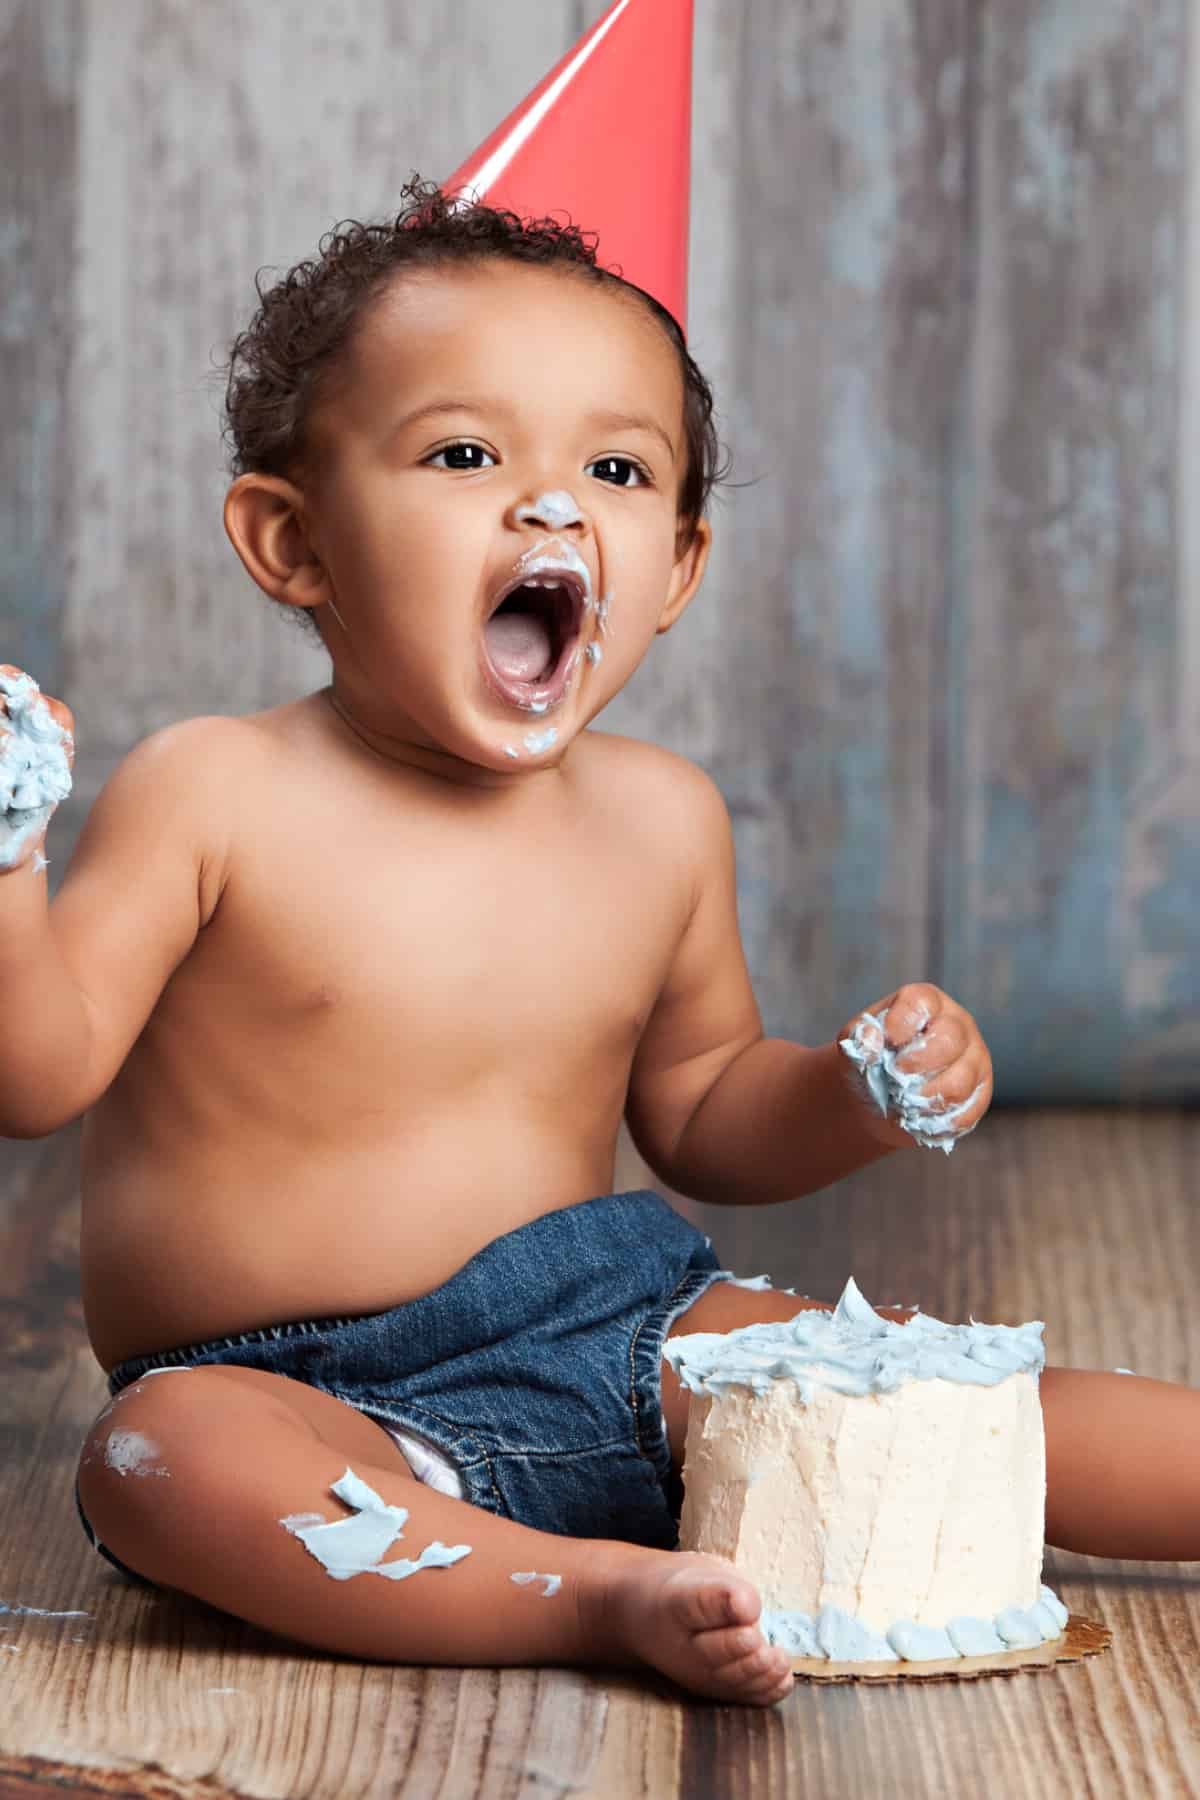
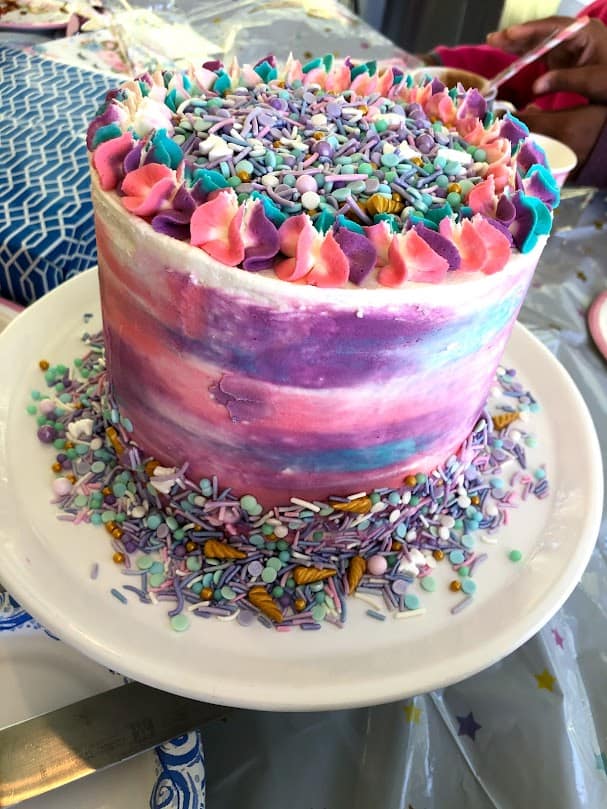
6 Inch Round Cakes
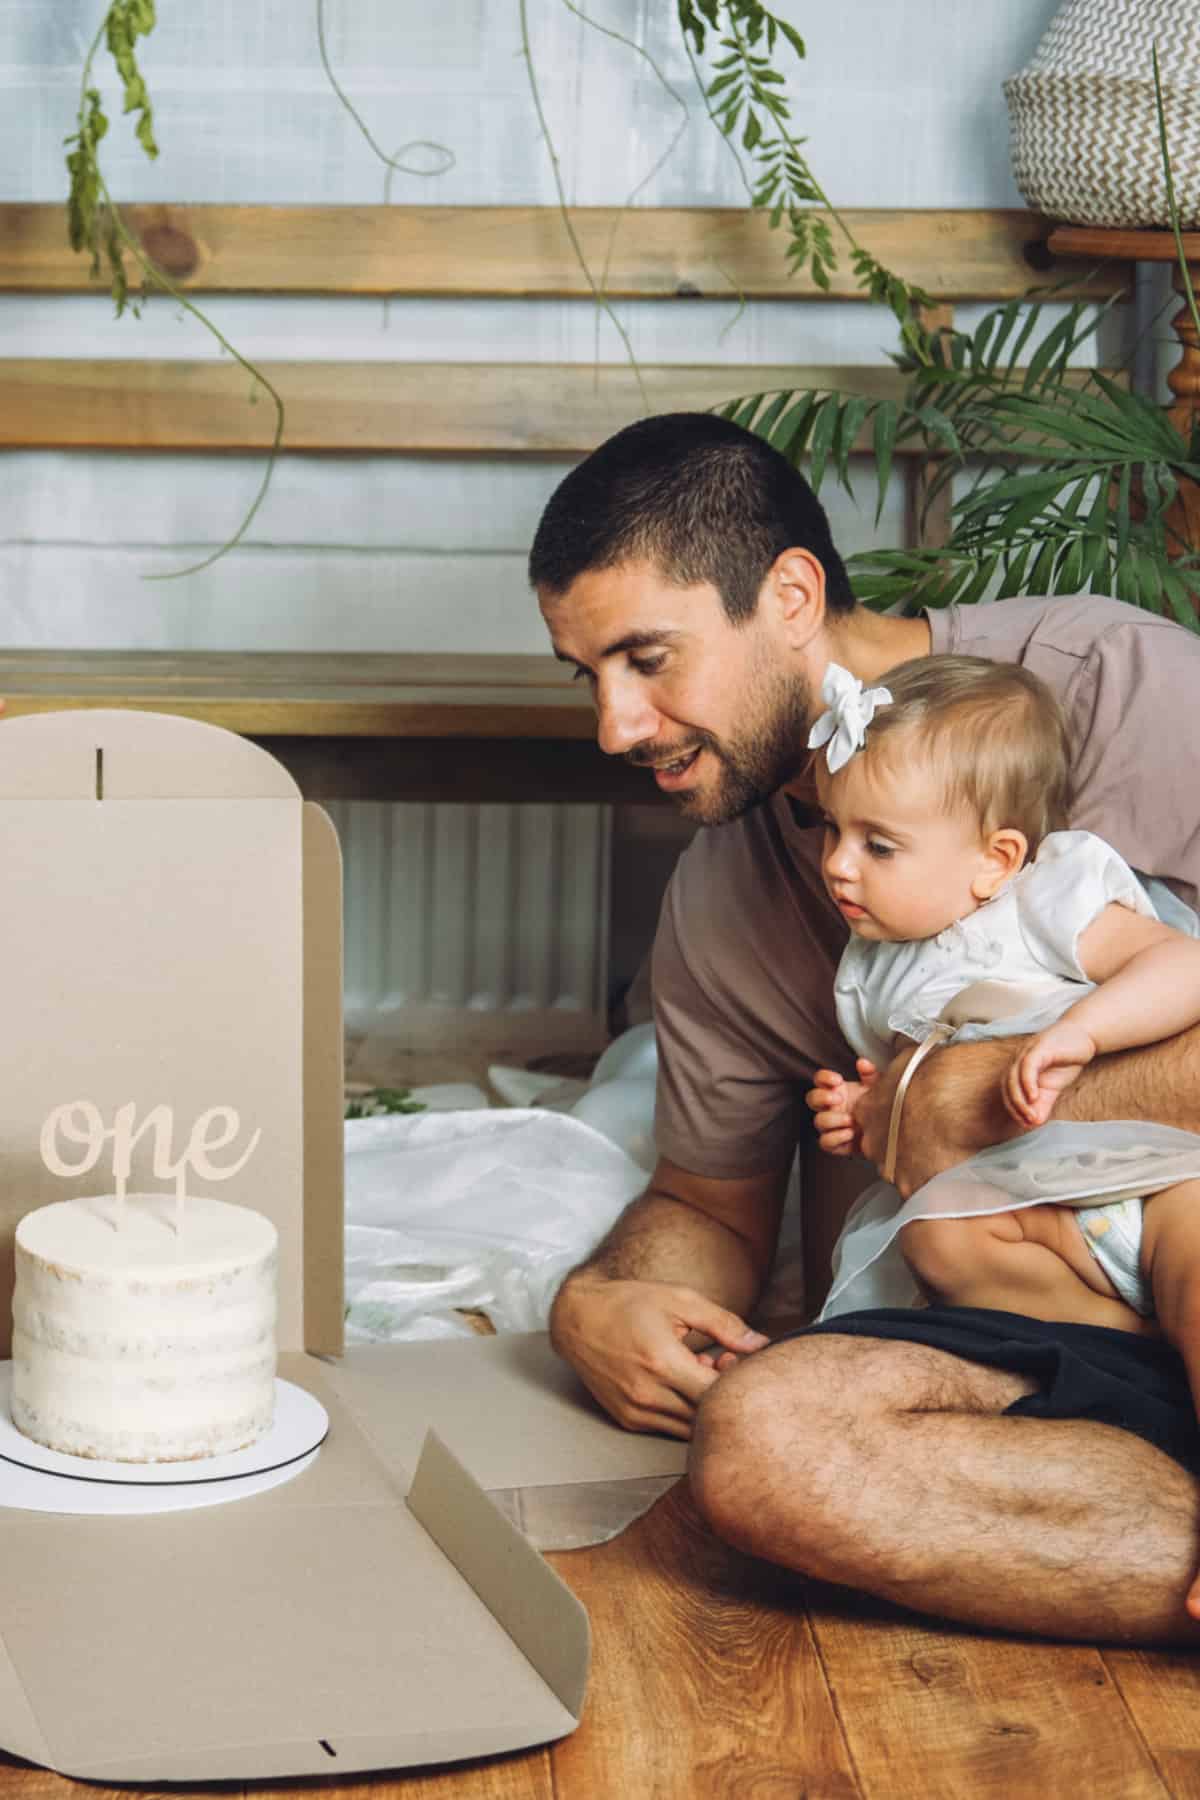
A 6" round cake is what we recommend for a cake smash session where the Birthday Boy or Girl is coming at their cake from ground level. Especially if you are looking to take adorable pictures at the moment or even hire a photographer. The "baby on the floor towering over a cake" style photo shoot looks better in my opinion when the cake is a little bit bigger. This specific cake pictured above is 3-4 layers high.
Feeding closer to 6-8 people, there is obviously a waste factor to consider. It's absolutely more aesthetics, but parents might be able to sneak a bite or two out of it as well.
Cake Stands, Sprinkles, & Other Considerations
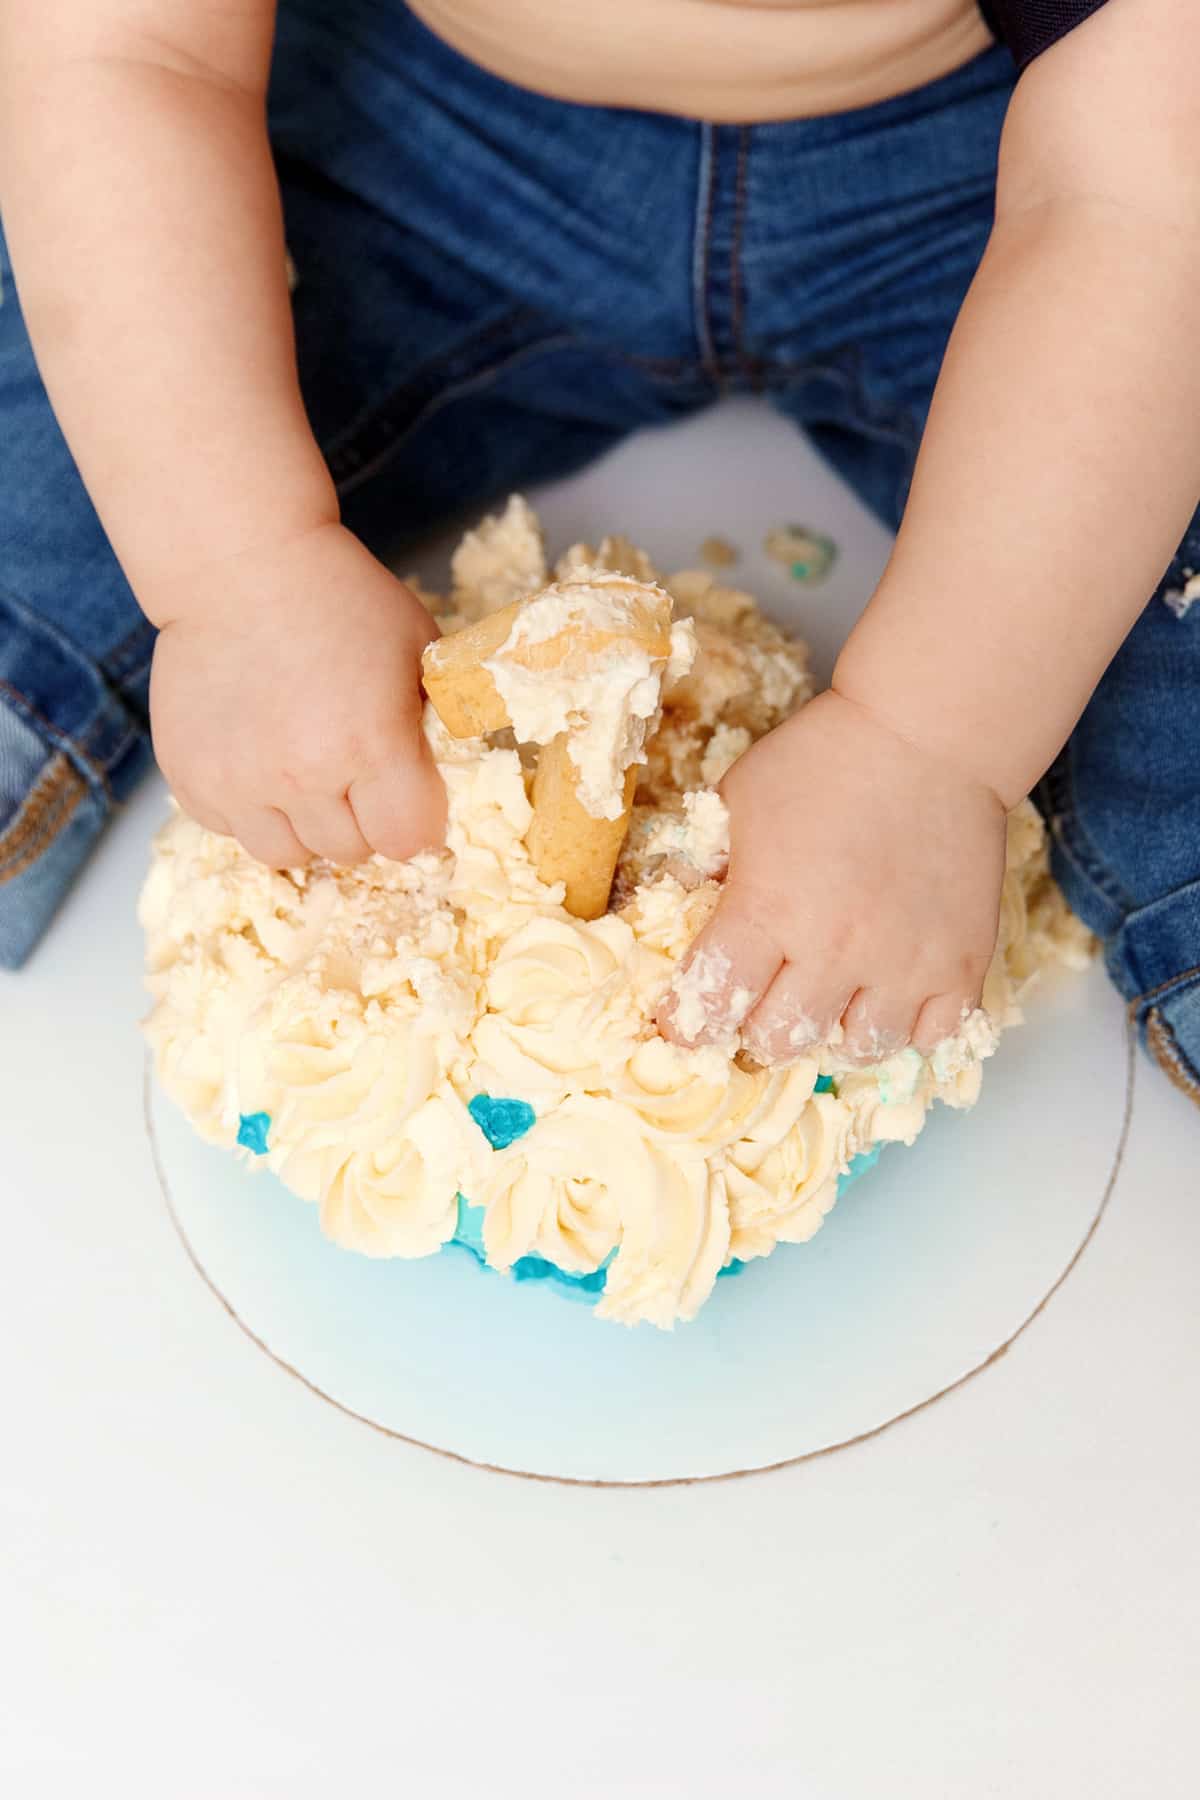
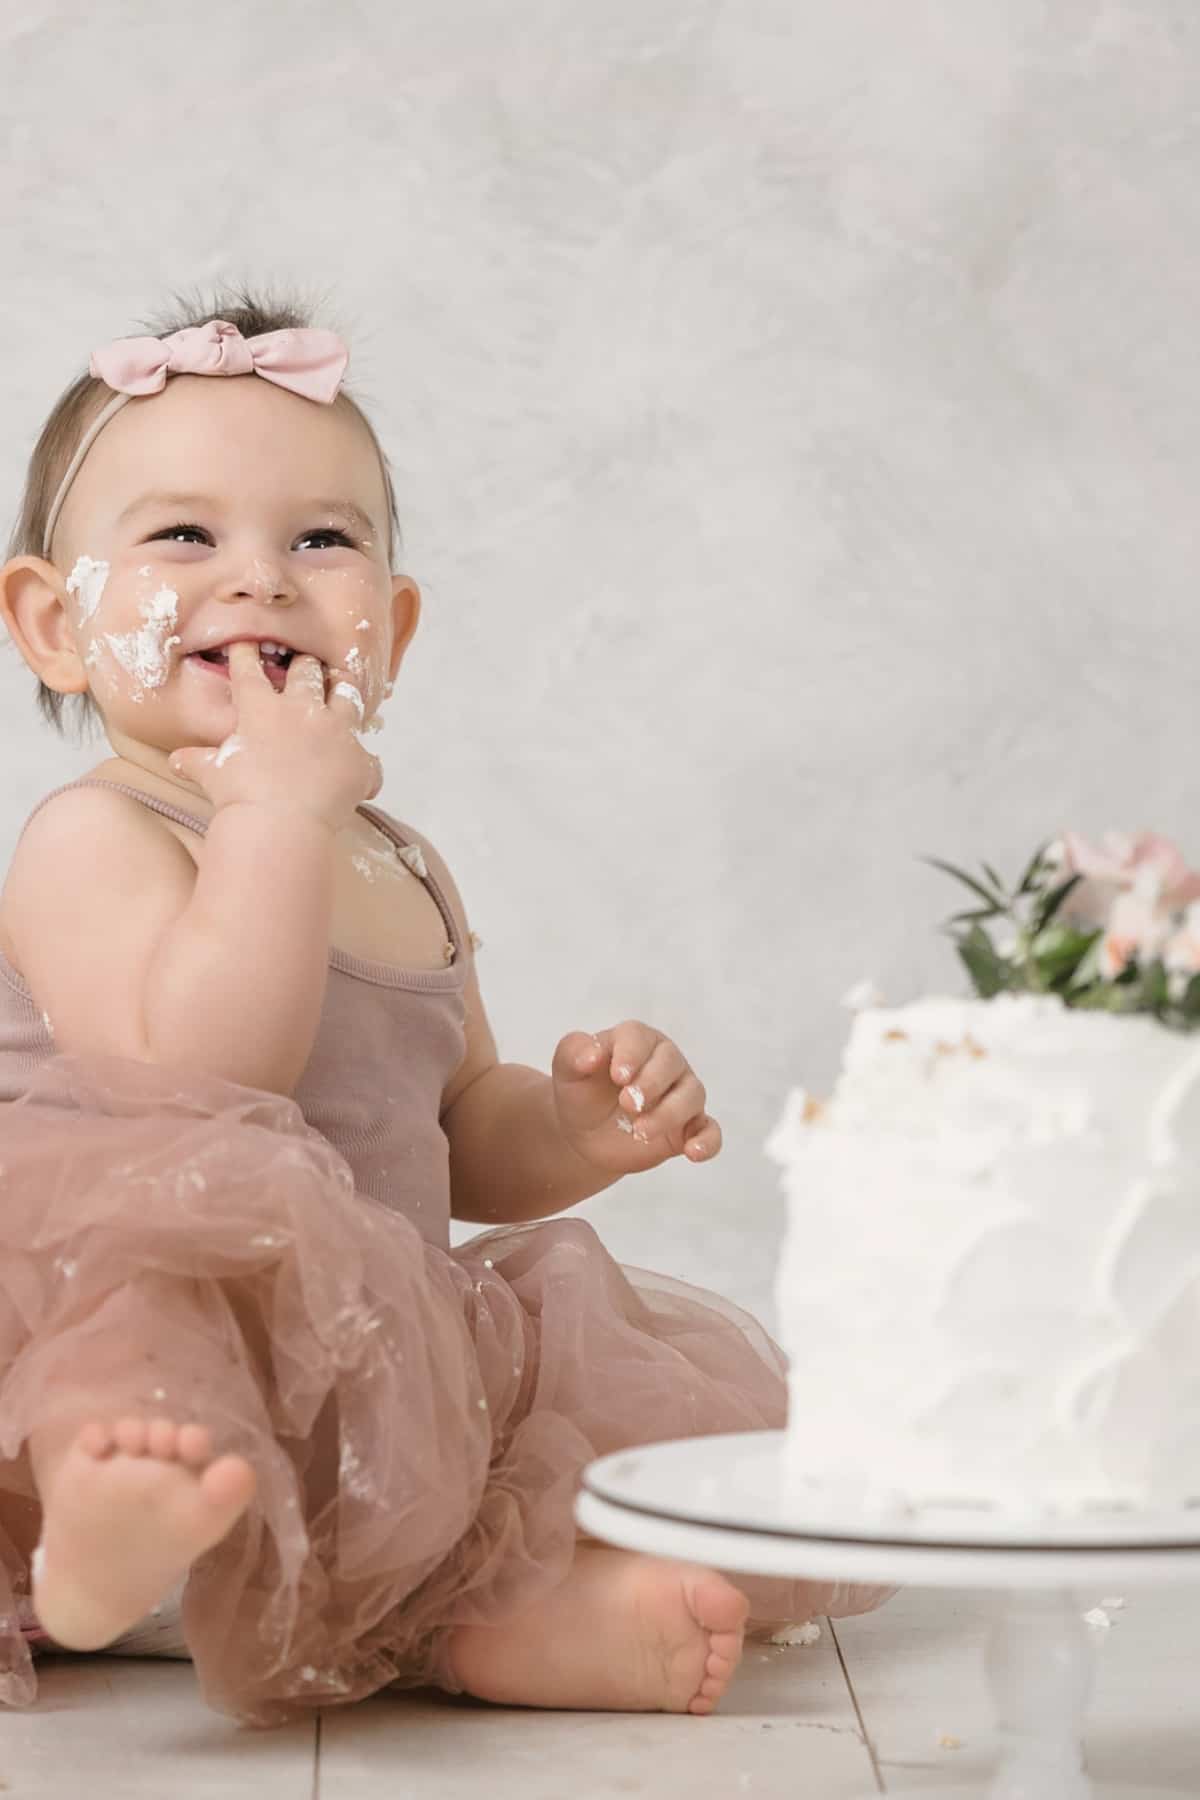
- I would recommend staying away from dark food coloring as much as possible. Light tones are fine, but bright blue or reds tend to stain skin. Something to consider if you're planning on getting those really cute Smash Cake-style photos. Simple white frosting can get pretty messy without taking away from the overwhelming cuteness of your kiddo knee-deep in a cake.
- Large round sprinkles can easily become a choking hazard. Standard rainbow or chocolate sprinkles would add some fun while still being safe.
- Consider the cake stand! A single pedestal cake stand might look amazing but could easily fall over. Instead, look at full-bottom cake stands, and wooden circles. Or keep it simple with the standard silver or gold-wrapped cake boards.
- Adding a filing to your cake might be unnecessary. Technically more complicated to decorate and/or expensive to buy, it's a corner you can cut without your little ones knowing.
What About Party Guests?
My secret formula for having enough cupcakes at an event is 1.25 per person. This takes into account the person who might eat 2, the kid who might grab a second off the table, and the friends who will pass up the cake together. You could also make or order another larger cake to eat on the side. Again personal preference.
How much cake you'll need really boils down to home many attendees you'll have. However, the recipe we've linked below will give you enough batter to serve about 24 people. Our typical 6-inch cake recipe makes enough for 3-4 layers and feeds roughly 10-12 adults.
You could also totally just order a sheet cake for your guests. No judgment from me.
Making Your Own Smash Cake
If your goal is to make your kiddos' birthday cake moving forward, I would look into getting the right tools from the start. If you were to buy everything below, you would spend around $100. Which is getting too close to what you would pay for a 6" round custom cake from a bakery. It's up to you and how much of a commitment you want to make, but I personally think it's a great investment and give you everything you need to make birthday cakes for years to come.
- Cake Decorating Table
- Off-set Spatula
- 4" or 6" Round Cake Pans
- Bench Scraper
- Pastry Bags
- Frosting Tips
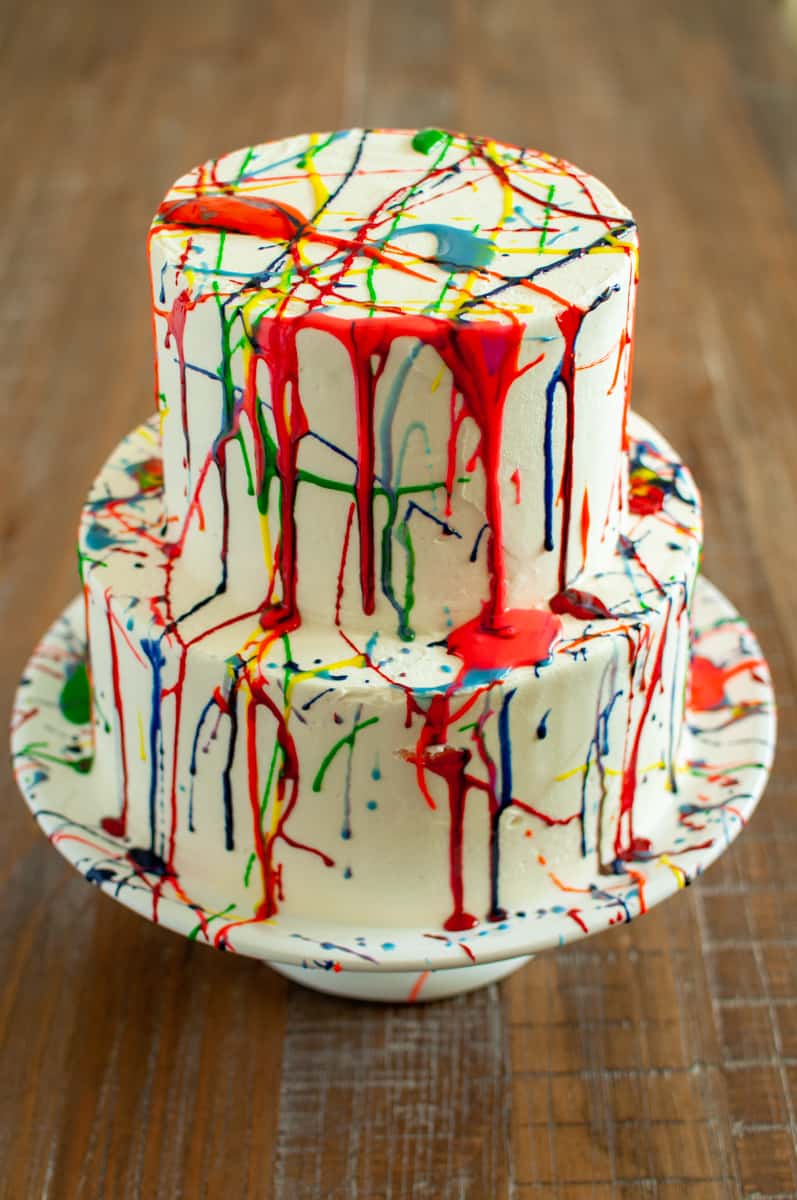
Simple & Easy Decorating Ideas
You don't have to be a professional baker to pull this off. I really only started making layered cakes after my kids were born and kept practicing as they got older. Throw in birthday cakes every year for your husband, in-laws, and best friends. All of a sudden you get good at it pretty quickly.
Here are a few really simple decorating ideas even a beginner cake decorator could master.
Check out this video of how we evenly stack and layer our 6" round cake!
Our OG Vanilla Honey Cupcake Recipe
This isn't only a smash cake recipe! I've made this Vanilla Honey Cupcake more times than I could count. Adding different fillings and layers as the years have gone on. Don't forget to save this recipe for later!
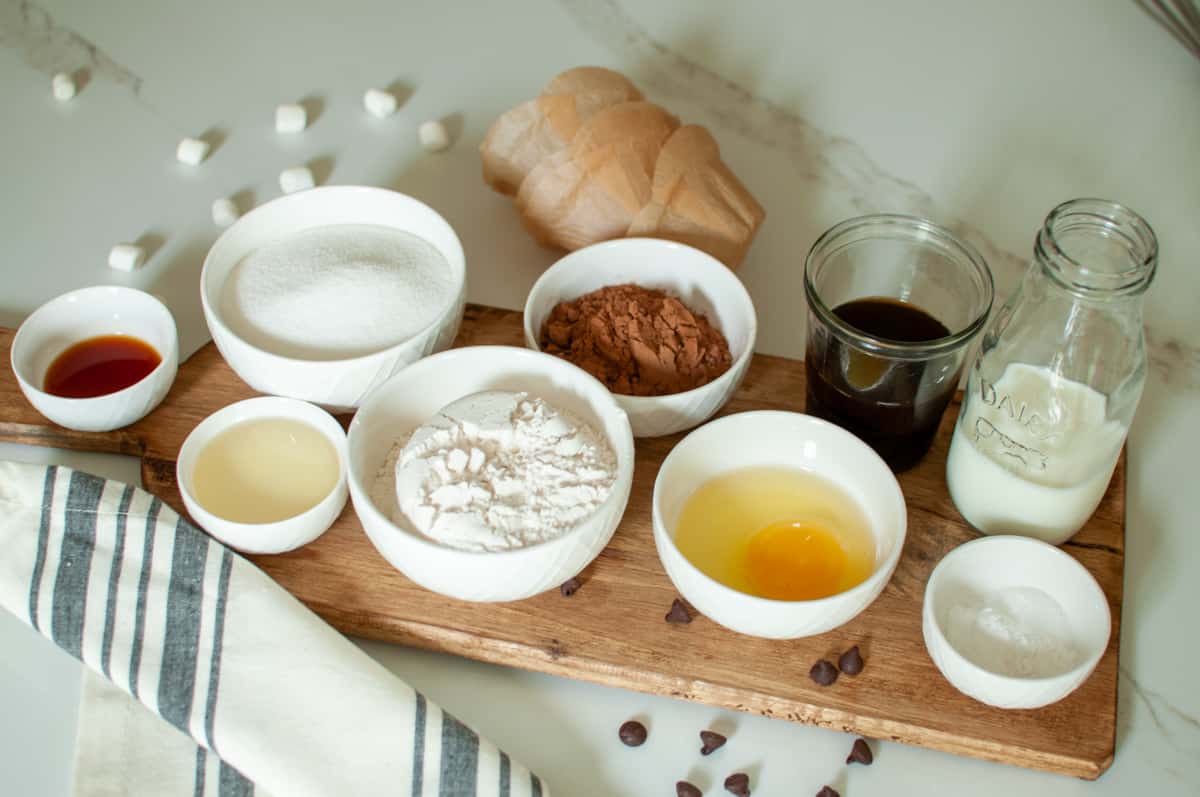
Ingredients
- Unsalted Butter - Room Temperature
- Sugar
- Vanilla Extract
- All Purpose Flour
- Whole Milk
- Salt
- Baking Powder
Put the Dry Ingredients (Flour, Baking Powder, Salt) in a bowl and set it to the side.
In the stand mixer bowl with the paddle attachment add the BUTTER & SUGAR and mix on medium until it's light yellow. Add eggs one at a time. Don't add the next one until it's completely disappeared.
Tricky part. Add ⅓ ish of the FLOUR mixture (don't panic, it doesn't have to be exact) and mix until combined.... then ½ of the MILK and mix. Then another ⅓ of the FLOUR mixture - mix...Add the remaining ½ cup of the MILK - mix, then the remaining flour.
Add your vanilla and honey and give a final mix. At this point, I taste the batter but for legal reasons, I can't suggest you do so. I'm a bad example. Sorry, not sorry.
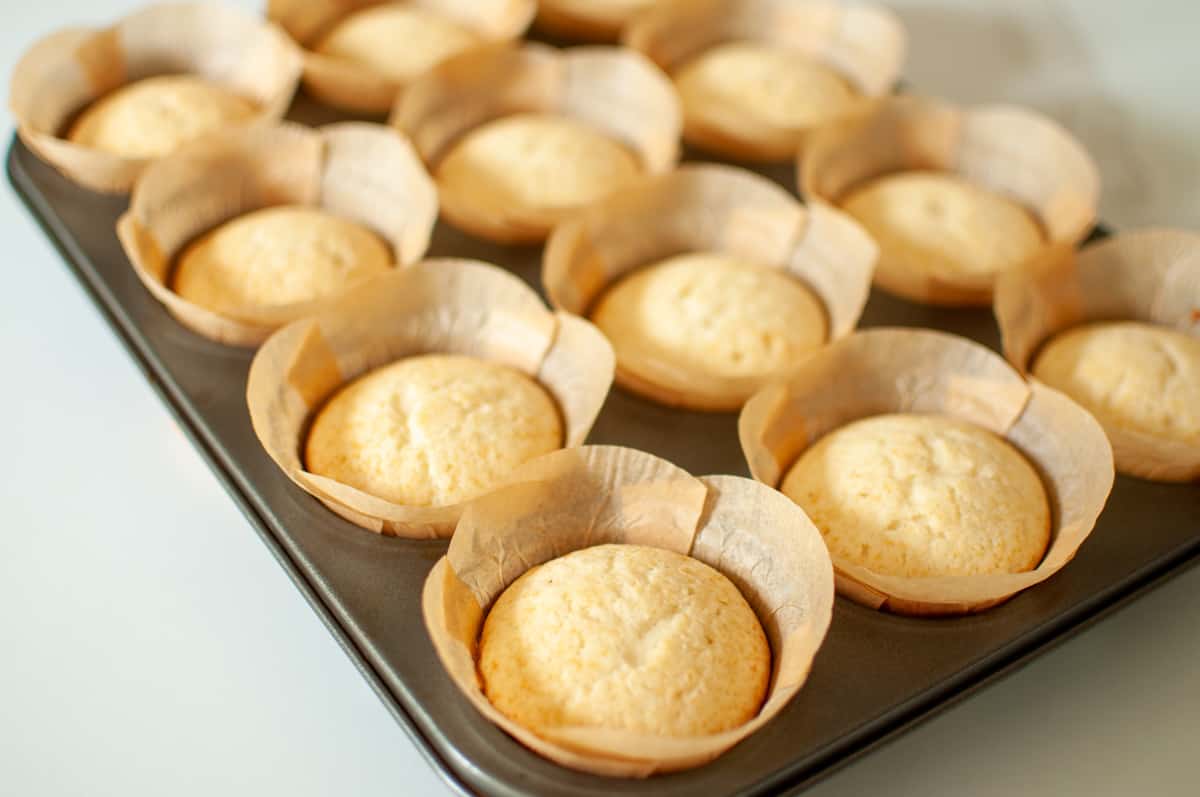
Bake for 22 minutes @ 350 degrees or until lightly golden in color and slightly firm to the touch.
Carefully remove your cake from the pan and let rest on a wire rack until it comes to room temperature and then wrap it in plastic wrap. Refrigerate for a few hours (or overnight) until cold. This will make stacking and frosting your cake significantly easier. If you are new to making layered cakes, this would be the step to not skip!
Don't forget to save your cake tops and mix them with your remaining frosting for CakePops! A super fun way to use up your leftovers.
Vanilla Buttercream Frosting Recipe
This is a super simple "why have I been buying jar frosting" American Buttercream recipe. It comes together in around 5 minutes and easily tastes 10 times better than the jarred frosting at the store.
Pro Tip: The jar frosting doesn't work very well for decorating cakes!
Ingredients
- Powdered Sugar
- Heavy Cream
- Vanilla Extract
- Piping Bags
With an electric mixer with a whisk attachment, add the room-temperature butter to a bowl and whip for about 30 seconds or until evenly distributed. Add about ½ of your powdered sugar and mix slowly until incorporated, then the other half. Again, slowly mix until it's no longer throwing powdered sugar at you.
Next, you will whip on high speed for 3-4 minutes or until you can notice it growing in volume. The air from whipping is getting trapped in the frosting making it super light and fluffy.
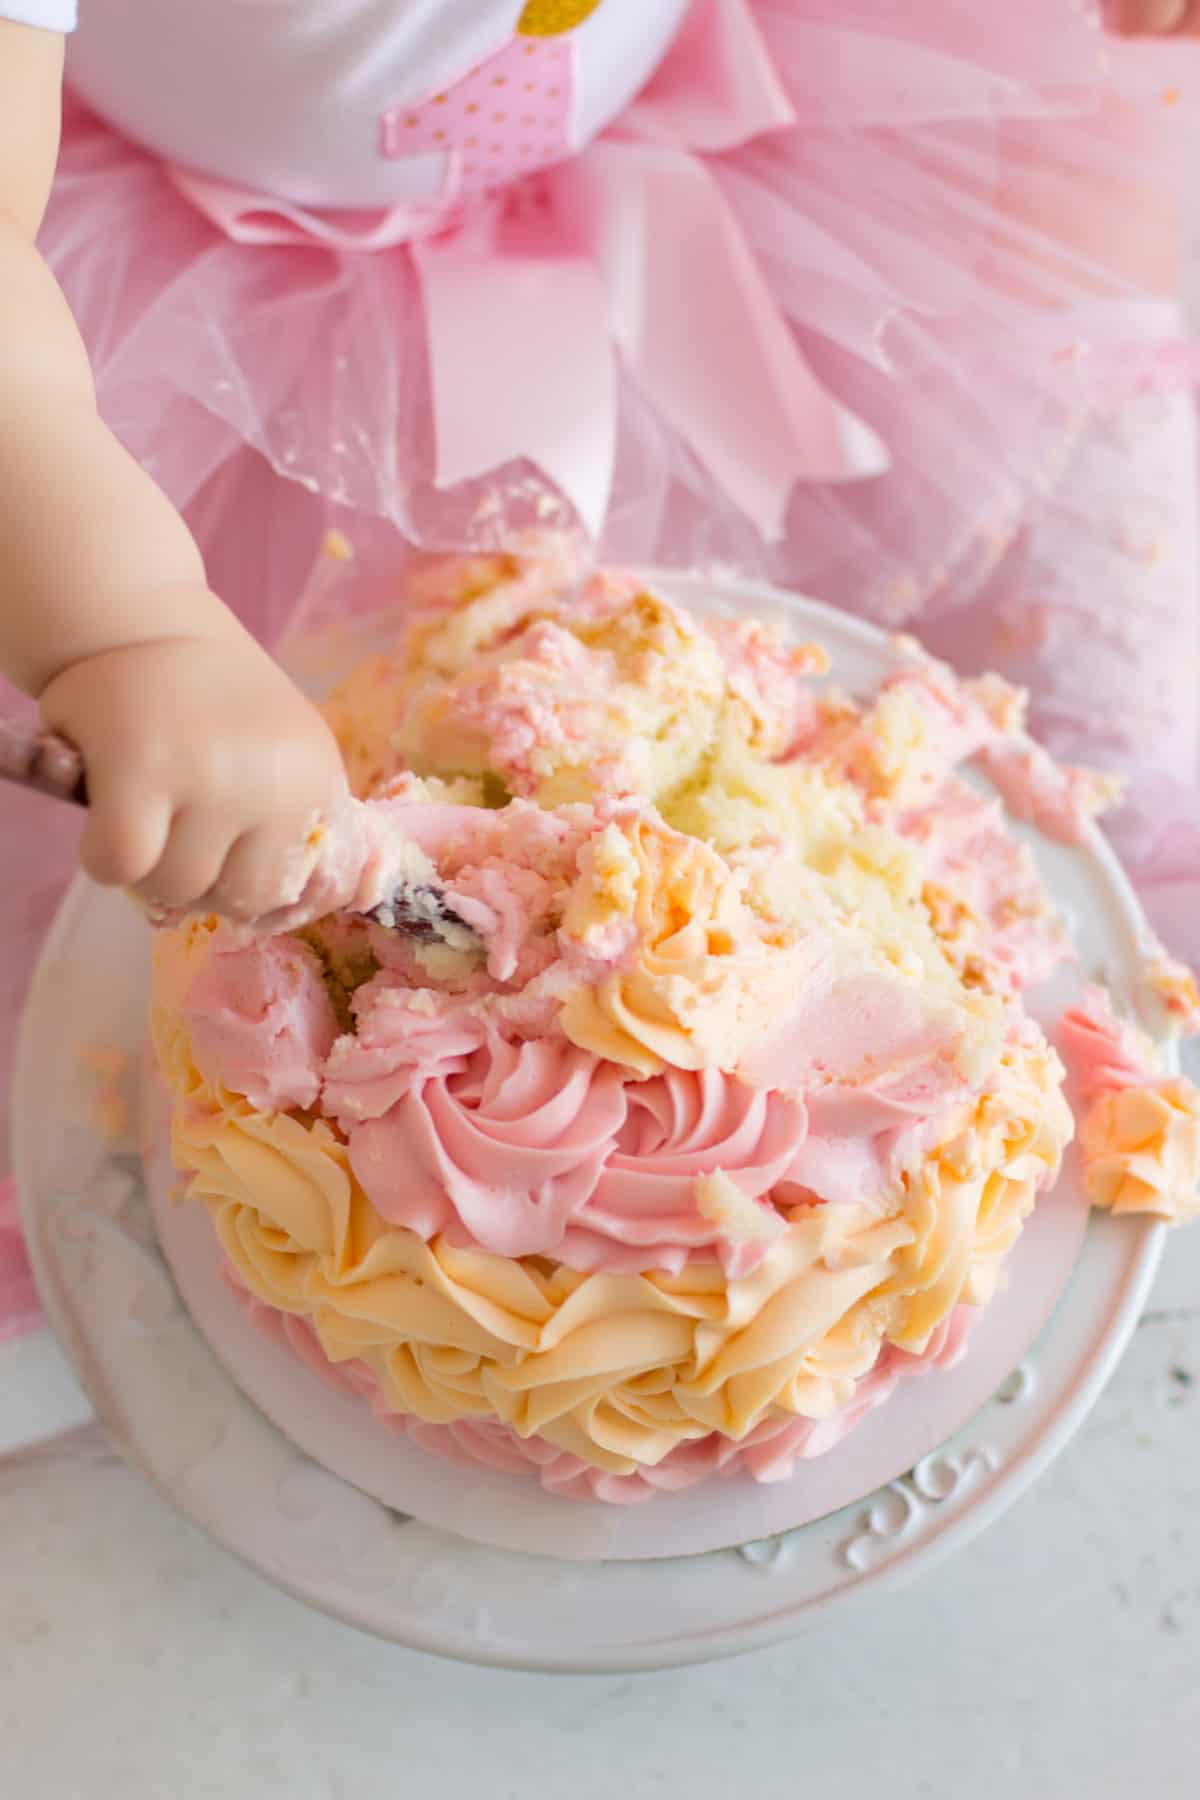
Add your crumb coat (a thin layer of frosting on the outside of the cake). It's a beautiful, simple cake
Planning my baby's first birthday parties is some of my favorite memories. Noah was The Very Hungry Caterpillar, and Addie's was Her 1st Tea Party. It can be a mixture of emotions and planning this special day so I hope this helped you in your journey and congrats again on your kiddo's very 1st birthday!
Comments
No Comments