Decorating cake can be a really fun creative outlet or pure torture. This cake-decorating starter kit is the perfect first step.
I'm making a pretty big guess here, but I'm assuming you've made at least one cake in your lifetime. I used to decorate cakes on a dinner plate and apply my frosting with a butter knife. I am here to tell you that given those same tools, I would not be able to make the beautiful cakes I make today.
While yes, any artist can improvise and still pull out a masterpiece even when they don't have the best tools, I am also sure most would tell you that it wouldn't be their first choice either.
Jump to:
Recommend Tools
Below I have linked what I now know I could not live without. I imagined what I wish I had been given at the very very beginning of my cake-making journey. Working from the bottom up...
If you were to buy everything on this list, you would be all in under $100. The SIMPLE cakes I used to make I would sell for $50 easily. Some of the bigger cakes were $250-$350 cakes.
Need more justification? These tools would pay for themselves in less than a year, even if I was buying grocery store birthday cakes for our family of 4 instead. If you were looking for a sign to take the jump... here it is.

Metal Cake Decorating Stand & Tool Set - $40
Having a spinning cake stand is mission-critical for getting nice even level sides. This set was $2 more than the cake stand by itself, and it includes an offset spatula, a flat-bladed spatula, and a few plastic frosting smoothing/decorating tools. It's also pretty and can be used as an actual cake plate.
Recommend: 10/10

Metal Bench/Pastry Scraper - Under $10
This is a multi-purpose tool in my house. Its primary function is indeed decorating cakes. It is also used for scraping cookie dough from the counters, cleaning up flour messes, and cleaning out the cast iron skillet.
Recommend: 10/10

Offset Spatulas - Under $10
This tool makes spreading frosting between layers, as well as soothing cake sides, incredibly helpful. This three-pack ends up being less than some of the individual options, and depending on the size of cakes you are working with, they do come in handy. A very handy tool for removing cookies from a sheet pan as well.
Recommend: 9/10

Pastry Bags - Under $20
This set comes with two different size bags, a 12" & a 16". Why? 16" bags are perfect for decorating cakes and cupcakes. 12" bags are ideal for when you are adding different colors to one project and need multiple bags in multiple colors. Also included are these neat little rubber ties to help with the frosting overflowing out of the ed of the bag. Very useful for beginners.
Recommend: 9/10

Wilton Tip Set - Under $10
Including my go-to 2D tip as well as 3 other very standard tips, this starter kit is a great place to start. They also throw in 8 free plastic pastry bags which are always handy to have around. While you don't need tips to get started, they will 100% level up your look.
Recommend: 8/10
Cake Decorating Inspiration
Over the years I've made more cakes than I can actually remember. Here are some that I've grabbed photos of. If you want a tutorial on how I made these cakes, seriously reach out! I'd love to create a video or workshop based on what you guys want help with.
Naked Cake
I recommend everyone start right here. It's the most simple possible cake to decorate. I often joke that whatever baker sold this style of cake to a potential client was a genius. It's considered a "dirty-iced" cake and literally how almost every cake starts off.
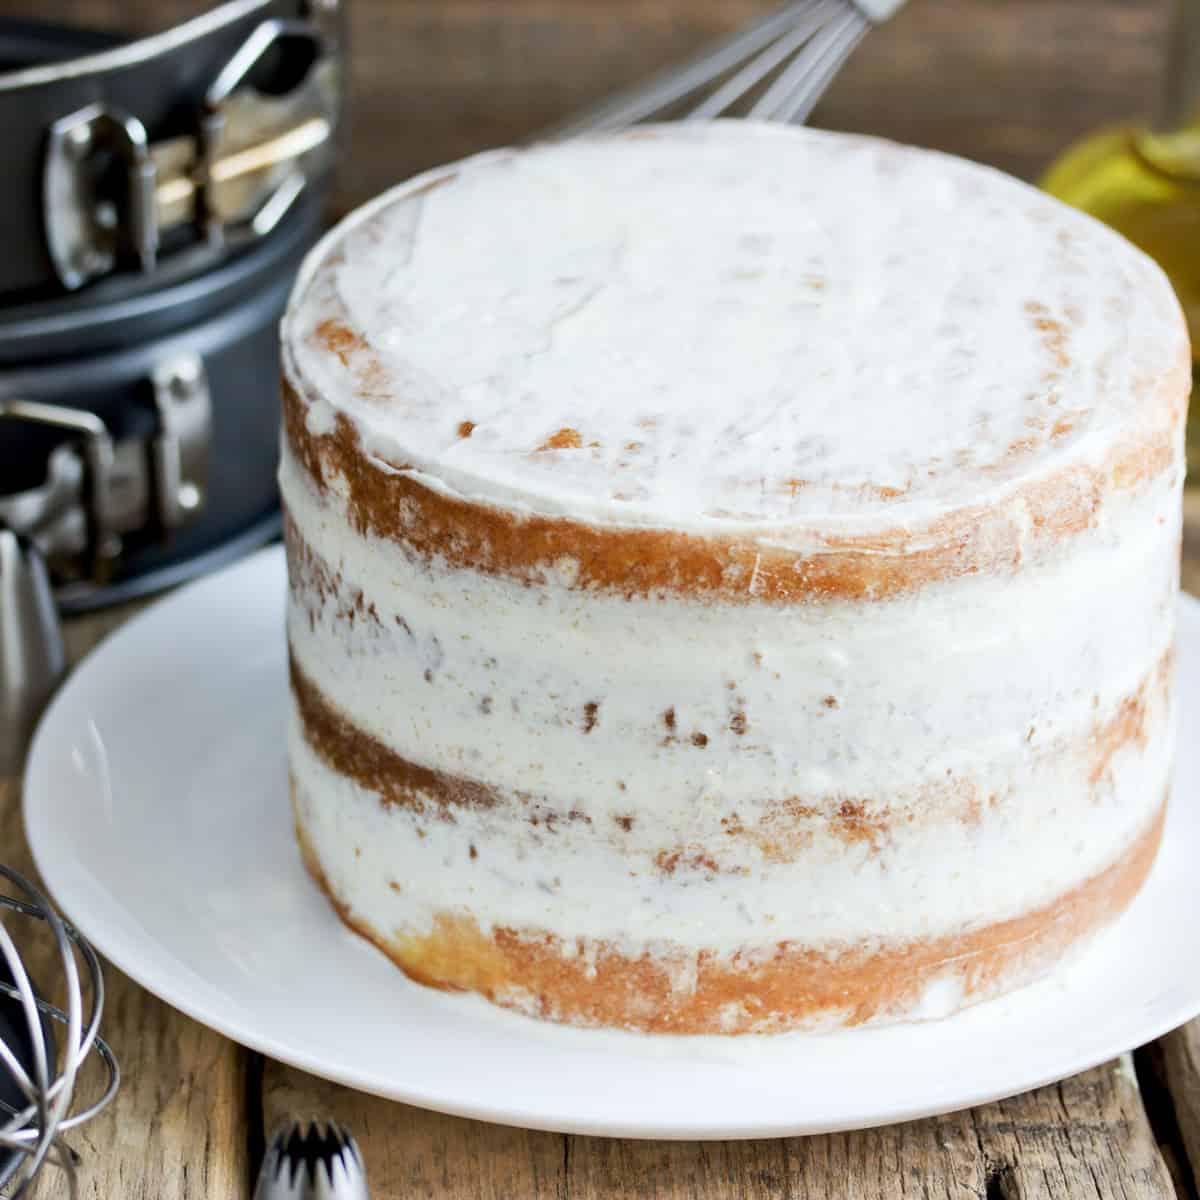
Here is a step-by-step YouTube video of how I make these cakes...
Watercolor Cake
Starting with a 5" round cake, we added plain white buttercream and then splashes of colored buttercream on the outside. Using our bench scraper to just blend them together. Little stressful when you start blending, but then it all comes together so beautifully.
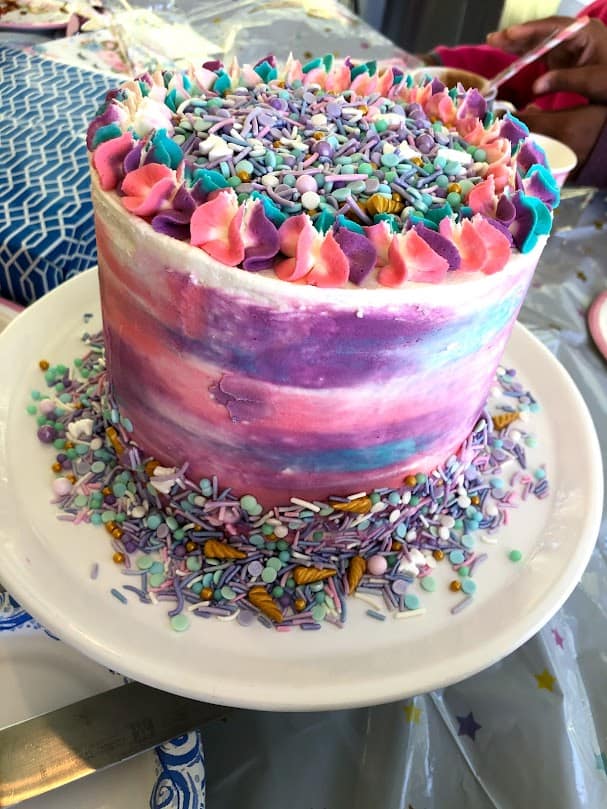
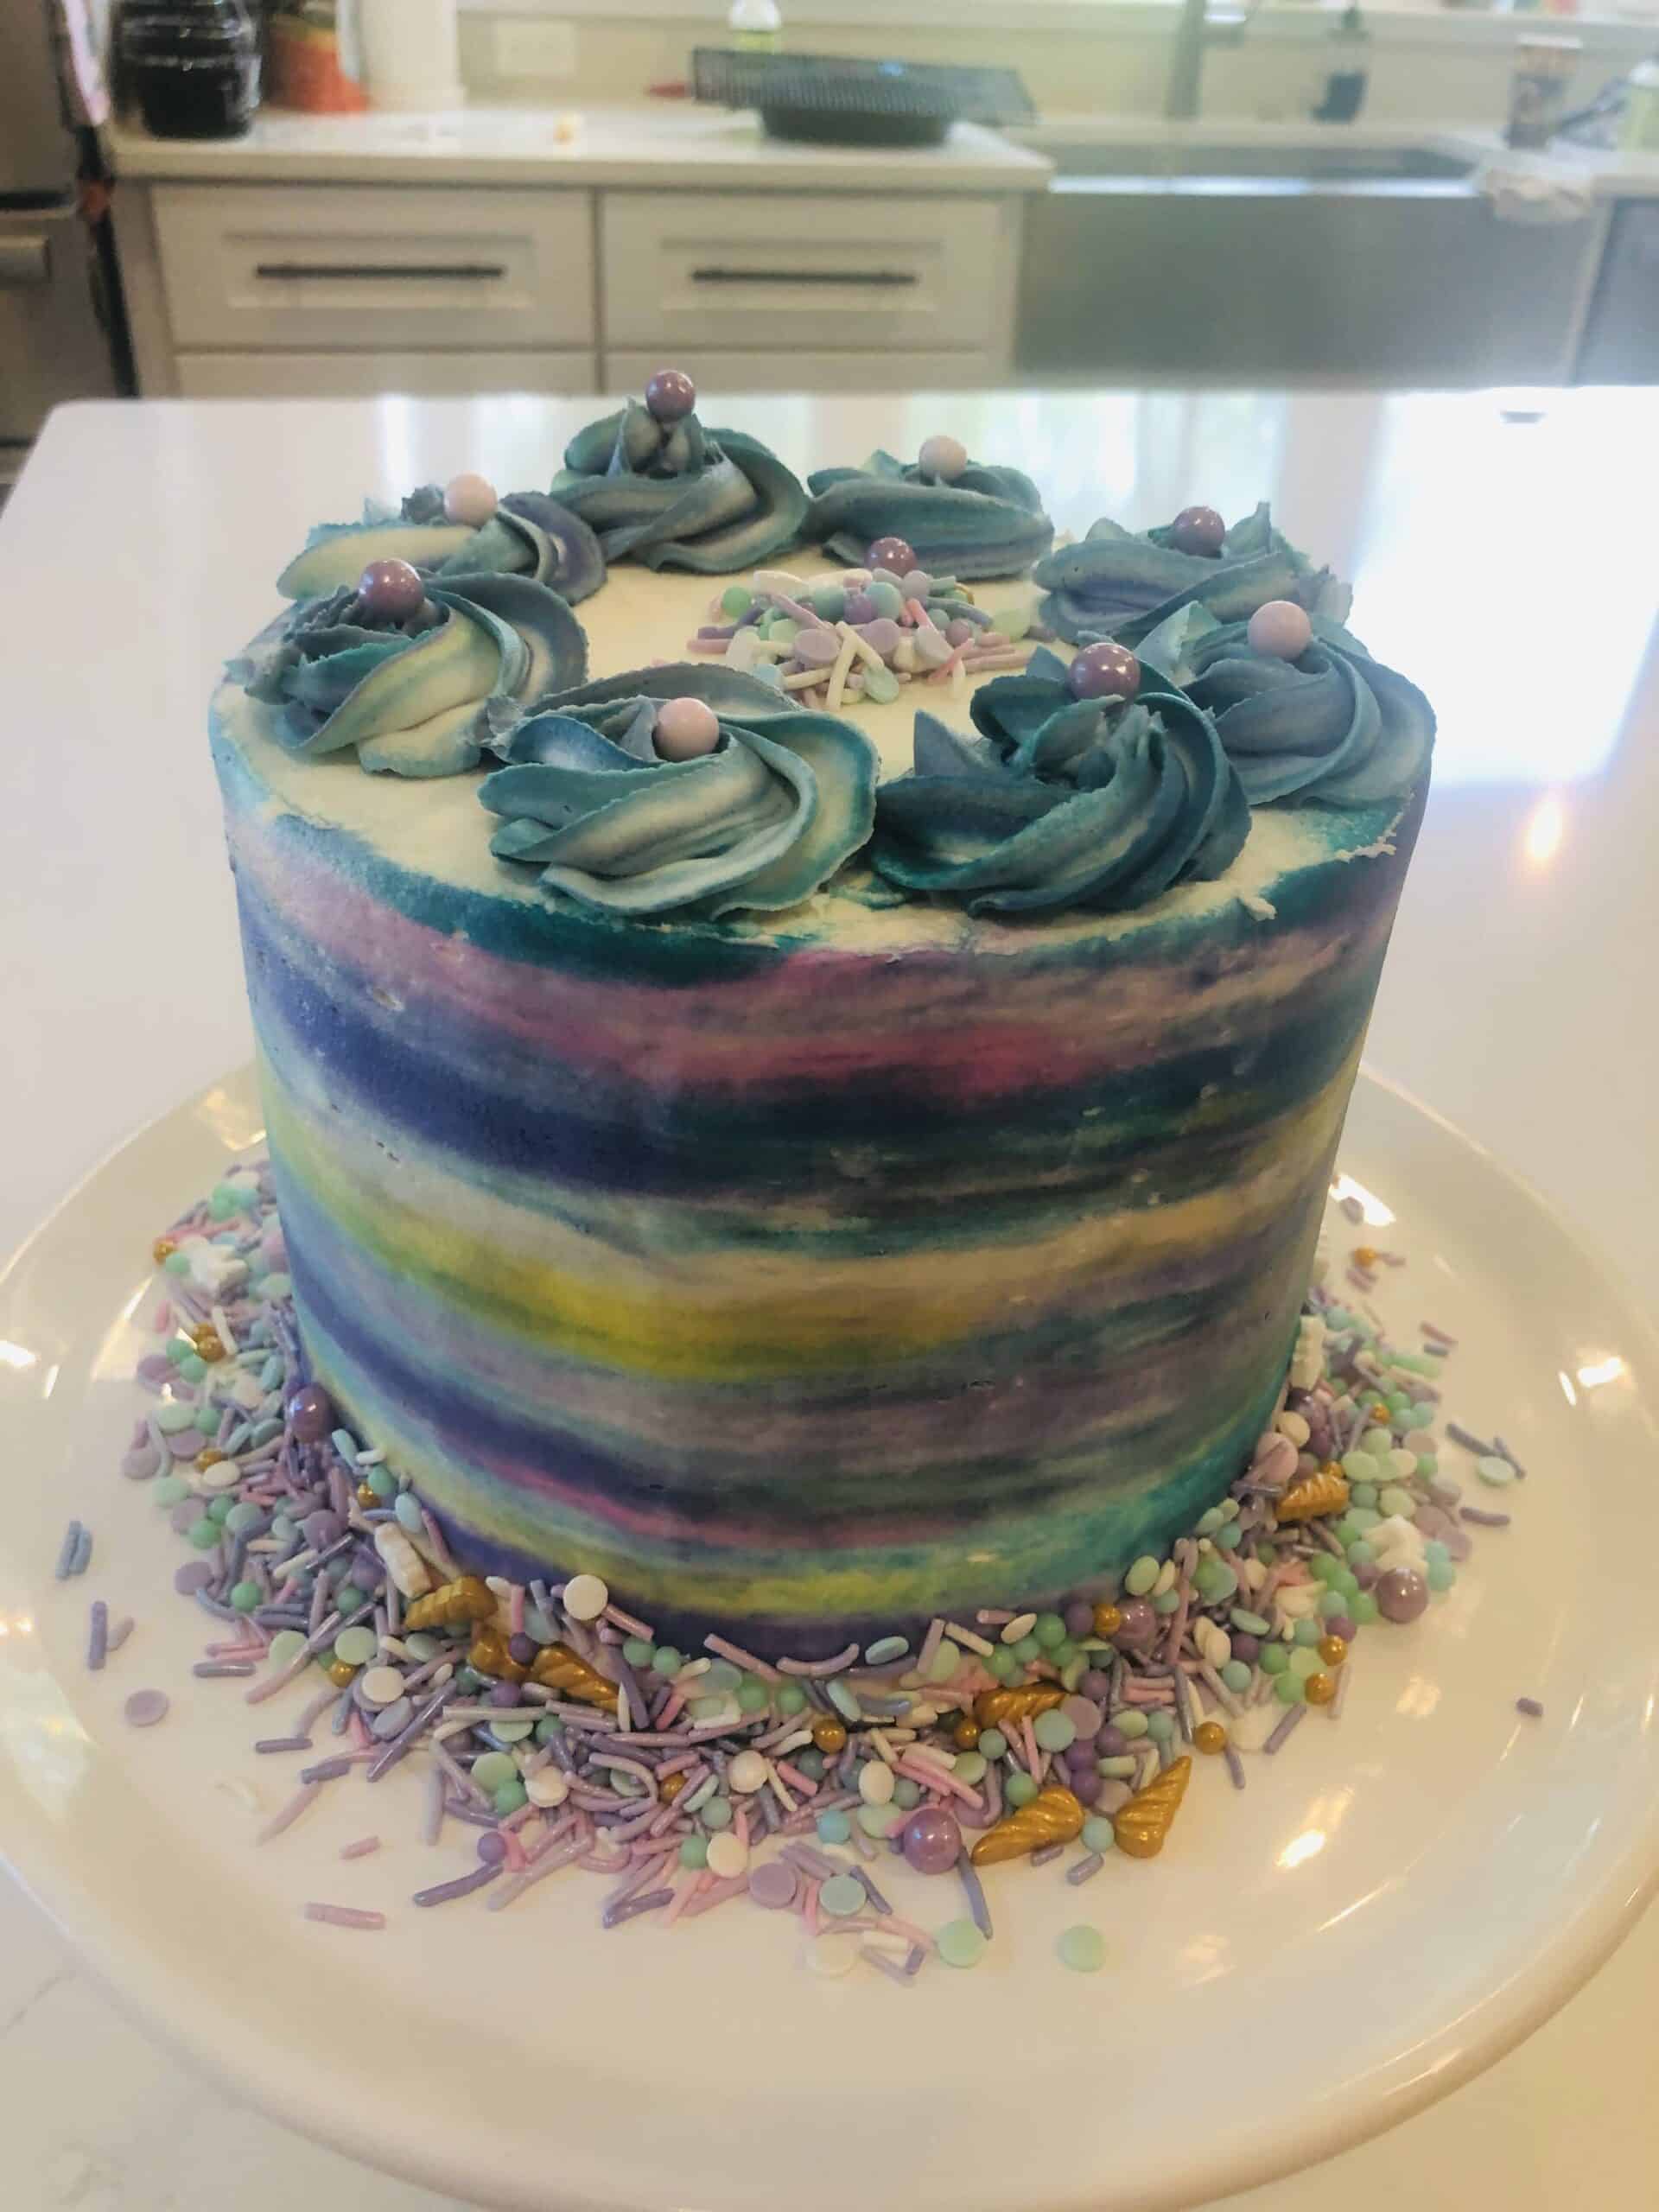
Finished with specialty sprinkles we found at Michael's and a few simple rosettes with the leftover buttercream we had. Switching up the colors below, you can see how customized you can get with the same design idea.
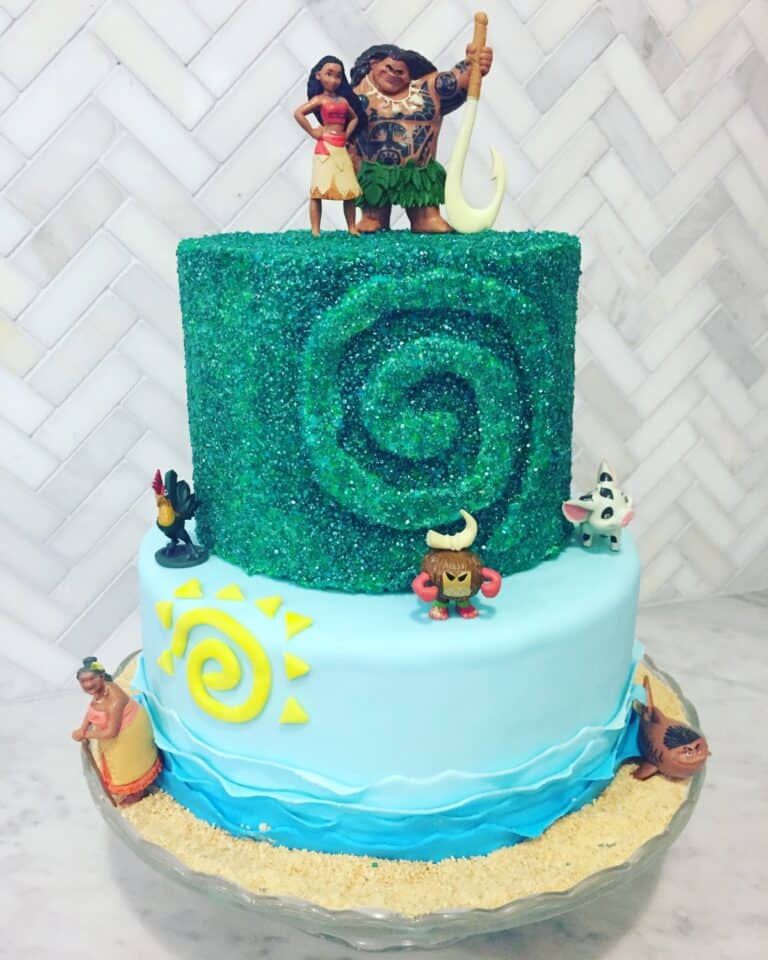
Moana Cake
This was made specifically for my daughter Addie. The bottom is covered in our Homemade Marshmallow Fondant which is cheaper and tastier than store-bought. The top tier (heart of Tefiti) was rolled in turquoise sprinkles and just stole the show.
Cake Hack: The figurines were out of a Busy Book from Barnes and Noble. They were perfectly sized and my daughter got to use them as toys after!
Rosette Cake
Practice makes perfect, but not that much practice. Made with our staple Vanilla Buttercream & the OG Vanilla Honey Cake recipes, this rosette cake is stunning. This cake is absolutely doable!
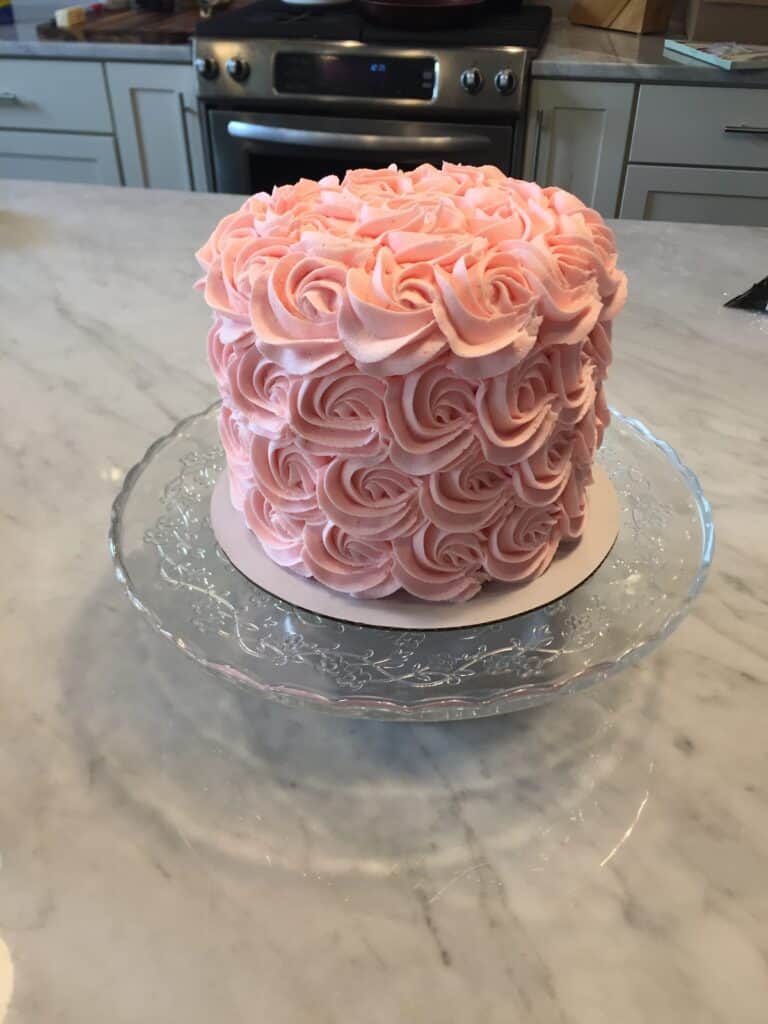
Starting with the naked cake and using the Wilton 2D tip to cover it in rosettes. Practice makes perfect here. Remember you can scrape it down and try as many times as you need.
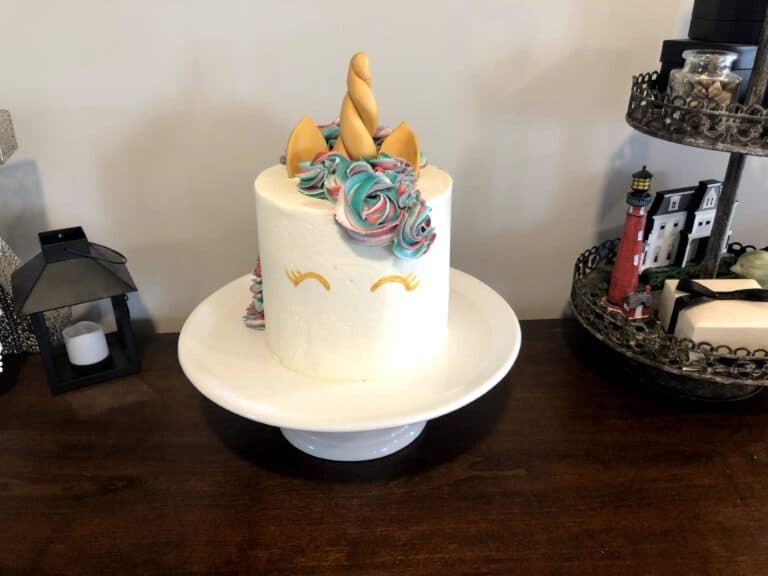
Unicorn Cake
Unicorns are every little girl's dream, and this cake turned out amazing. The horn and earns were made with our marshmallow fondant and then sprayed with edible gold paint. The eyes were painted with an edible gold pen. Buttercream swirled mane set off the look.
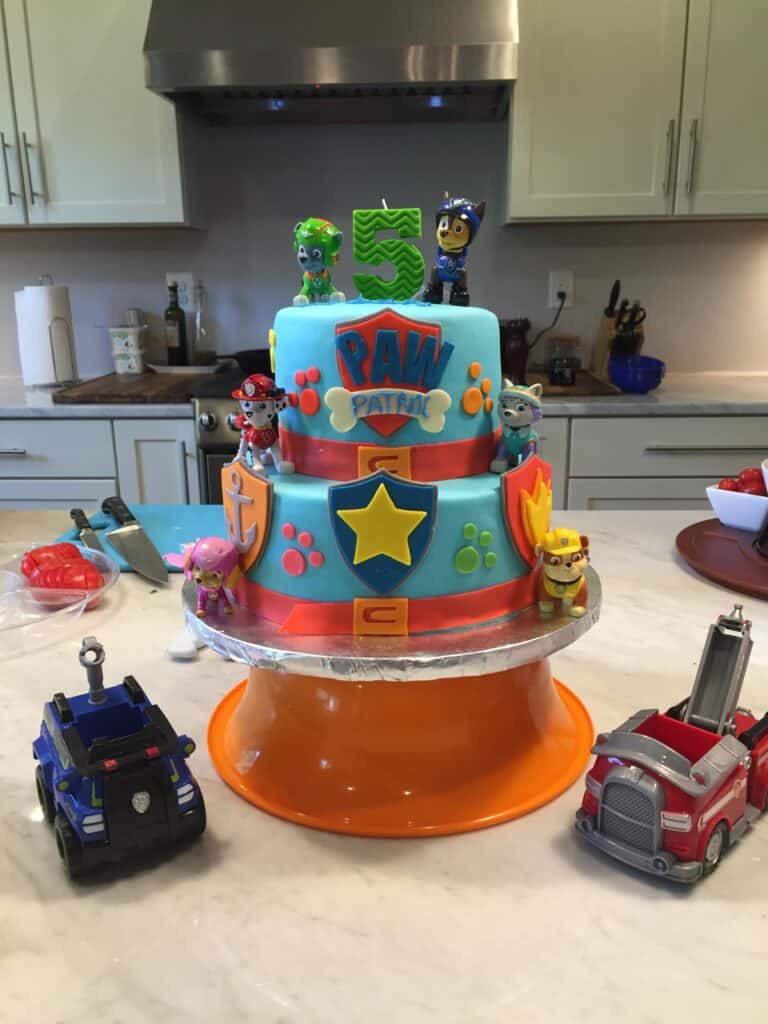
Paw Patrol Cake
Paw Patrol is on a roll! This cake was one of the more difficult ones we've done. The figures were collected from around the house and sanitized. The cake itself was covered in Marshmallow Fondant and the emblems were made with modeling chocolate purchased from Michaels.
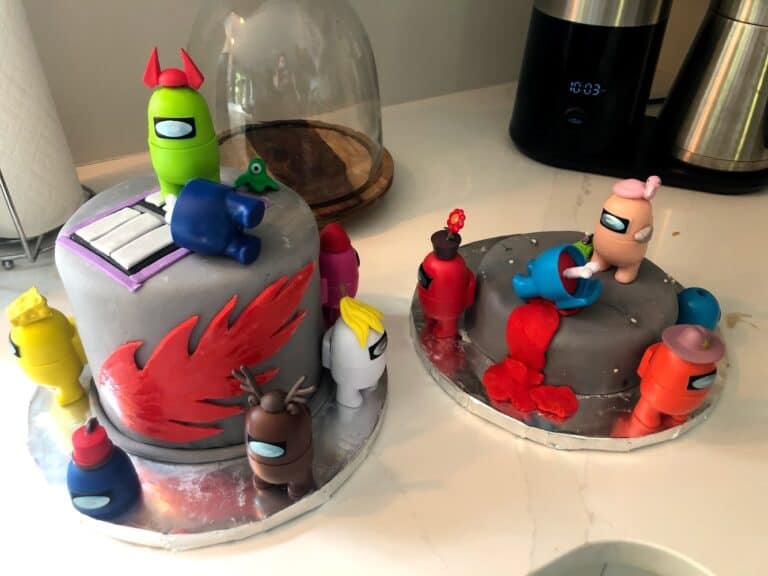
Among Us Cake
My son completely made this cake by himself. He wanted the credit, and I'm not even mad. The figures were purchased from Amazon, and the cake was our Vanilla Honey cake mixed with chopped-up Oreo cookies. Cover in fondant decorations and seriously just a bunch of fun.
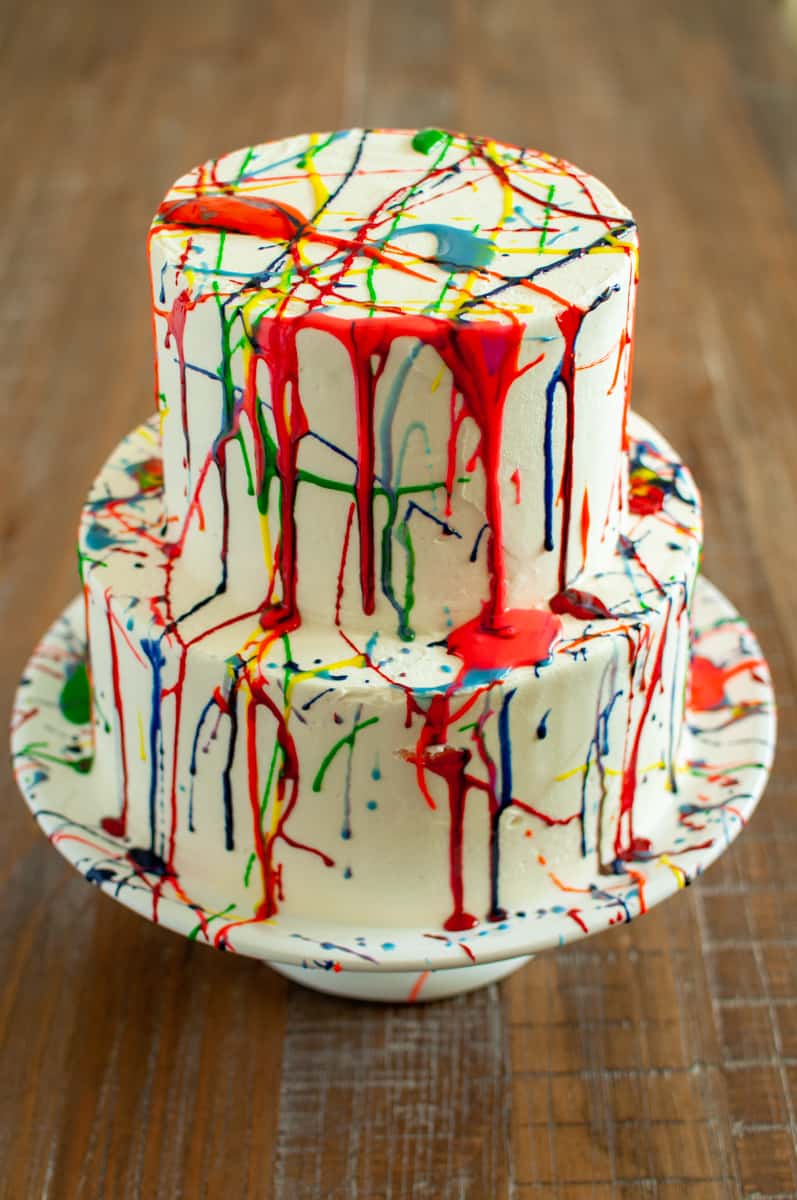
Splatter Paint Cake
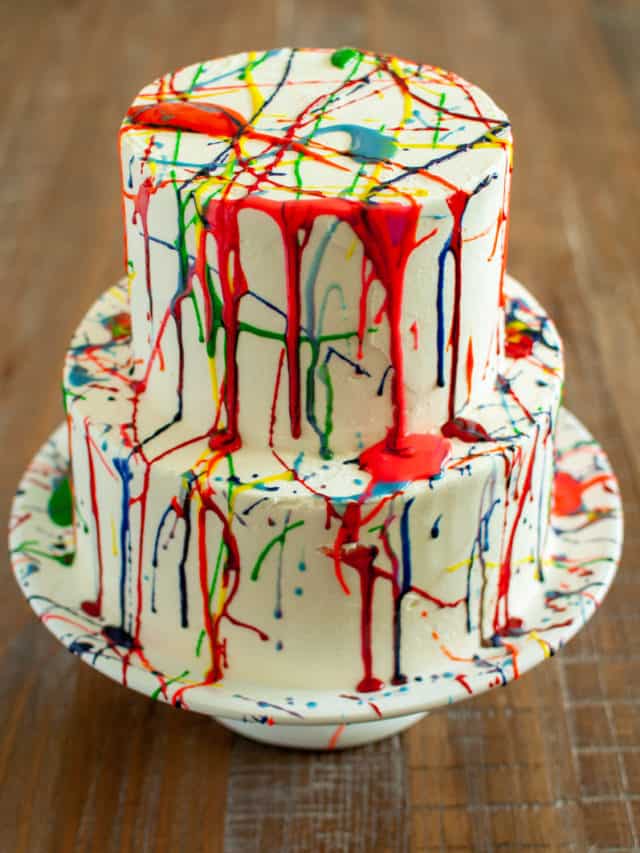
We made out splatter paint cake interactive. The Birthday Girl got to decorate it herself! While we opted to make this two-tier, it could absolutely have been done using one. With a simple mixture of powdered sugar, water, and color you can be well on your way to making this dream come true.
Comments
No Comments