Dive into the delicious flavors of these honey vanilla cupcakes. With their rich buttery goodness and the sweet mix of subtle honey flavor and vanilla, these cupcakes are total crowd-pleasers. Go for the classic Vanilla Buttercream frosting or try mixing things up with something exciting like lavender or lemon buttercream - your taste buds will thank you!
Jump to:
🛒 Ingredients
If you are looking for new a cupcake recipe to pair alongside your favorite frosting here is everything you're going to need. We've also included the ingredient list if you need a simple and easy Vanilla Buttercream recipe as well as some variation options below.
- All Purpose Flour
- Baking Powder
- Table Salt
- Unsalted Butter - Room Temperature
- Sugar
- Large Eggs
- Whole Milk
- Vanilla Extract or Vanilla Paste
- Local Honey
👩🏼🍳 The Creaming Method
The creaming method is a common technique used in cake-making to create a light and fluffy texture. This method involves beating together the butter and sugar until the mixture becomes light and fluffy. You'll start by creaming together room-temperature butter and sugar in the bowl of an electric mixer until the mixture becomes pale yellow and fluffy, usually taking several minutes.
Once the butter and sugar are creamed together, the eggs can be added one at a time, beating well after each addition. This helps to incorporate air into the batter, resulting in a light and airy cake.
After the eggs are added, the dry ingredients (such as flour, baking powder, and salt) are added to the mixture in several additions. Alternating with milk helps ensure that the dry ingredients are evenly incorporated into the batter without overmixing, which can result in a tough cake.
This method is especially important when making butter cakes (like this one) or pound cakes, as it helps to create a tender crumb and delicate texture. However, it's important to note that not all cakes use the creaming method, and some cakes may use alternative methods, such as the reverse creaming method or the sponge method.
📖 Instructions
Prep
Start by preheating your oven to 350 degrees, and putting all the dry ingredients (Flour, Baking Powder, Salt) in a medium bowl and setting it to the side.
Mixing
In a stand mixer bowl with the paddle attachment, add the unsalted butter & sugar and mix on medium speed until it's light yellow color or about 1-2 minutes. Then, add the eggs one at a time. Don't add the next one until it's completely disappeared.
Scrape down the sides and bottom of the bowl, and mix it again briefly. Now here comes the trickiest part. Add ⅓ ish of the FLOUR mixture (don't panic, it doesn't have to be exact) and mix until combined.... then ½ of the milk and mix. Scrape down the bowl and then add another ⅓ of the flour mixture and mix again. Next, add the remaining ½ cup of the MILK, mixing until it's incorporated.
Add the remaining flour mixture in and blend until smooth. Finally, you will add the vanilla and honey to add all that delicious flavor. At this point, I taste the batter but for legal reasons, I can't suggest you do so. I'm a bad example. Sorry, not sorry.
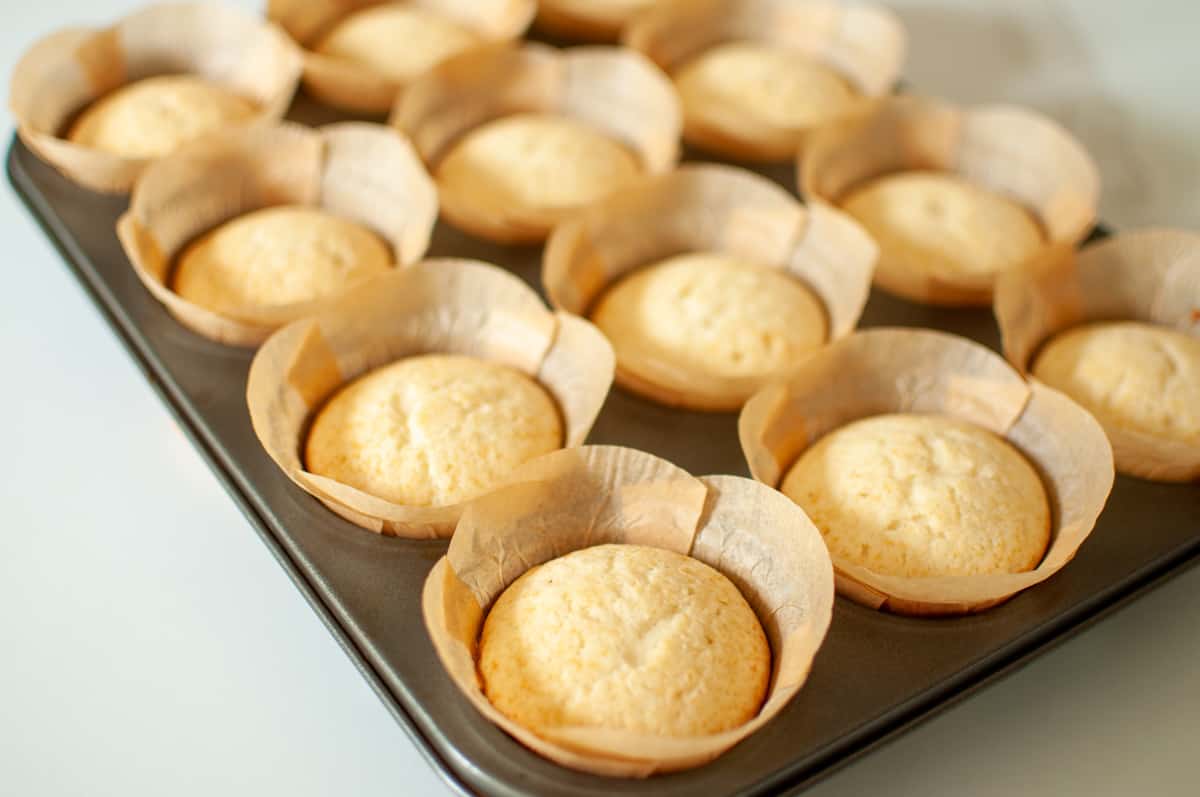
Line your cupcake tin with whichever cupcake liner makes your heart happy, and then portion out your cupcake batter evenly. This recipe perfectly fills exactly 24 cupcakes if you use a #2 portion scoop.
Baking
Bake for 22 minutes @ 350 degrees or until the tops of the cupcakes are lightly golden in color and slightly firm to the touch. We also recommend testing by using a toothpick and making sure it comes out clean. The honey adds an extra golden color to the top which I love, but don't mistake it as a sign they are ready to come out.
When done, remove the cupcake pan from the oven and let the cupcakes cool in the pan for around 10 minutes or until they are cool enough to handle. Completely cool before moving on to the frosting!
🎥 Video
❄️ Cooling
Never skip this step. Cooling your cupcakes is super important. It helps the cupcake to set and hold its shape as well as improve its texture and flavor. When cupcakes are removed from the oven, they are still quite fragile and can easily fall apart or lose their shape.
I recommend letting your cupcakes cool, in the cupcake tin for at least 10 minutes before handling them. They can then be moved to a wire rack to speed up cooling time or into an opened cupcake box.
Allowing cupcakes to cool also helps to prevent the frosting from melting or sliding off the cupcakes. Think about all the "Nailed It" posts you've seen across Pinterest. If cupcakes are frosted while they are still warm, the heat will cause the frosting to melt and slide right off the cupcake, resulting in tears and heartache.
🎂 Decorating
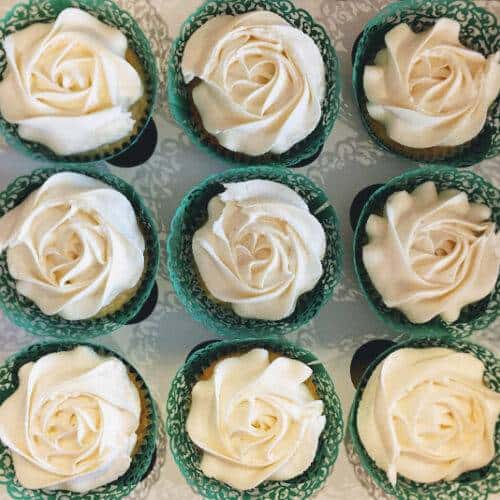
If you've never used a pastry bag (also referred to as a piping bag) to decorate your cakes or cupcakes I highly recommend giving it a try. Looking for a classic dollop shape? We recommend using the Wilton 806 or Wilton 808 tip. If you go this route, you can easily add a drizzle of honey on top of the cupcakes to create a simple and natural decoration while also calling out the flavors hidden inside.
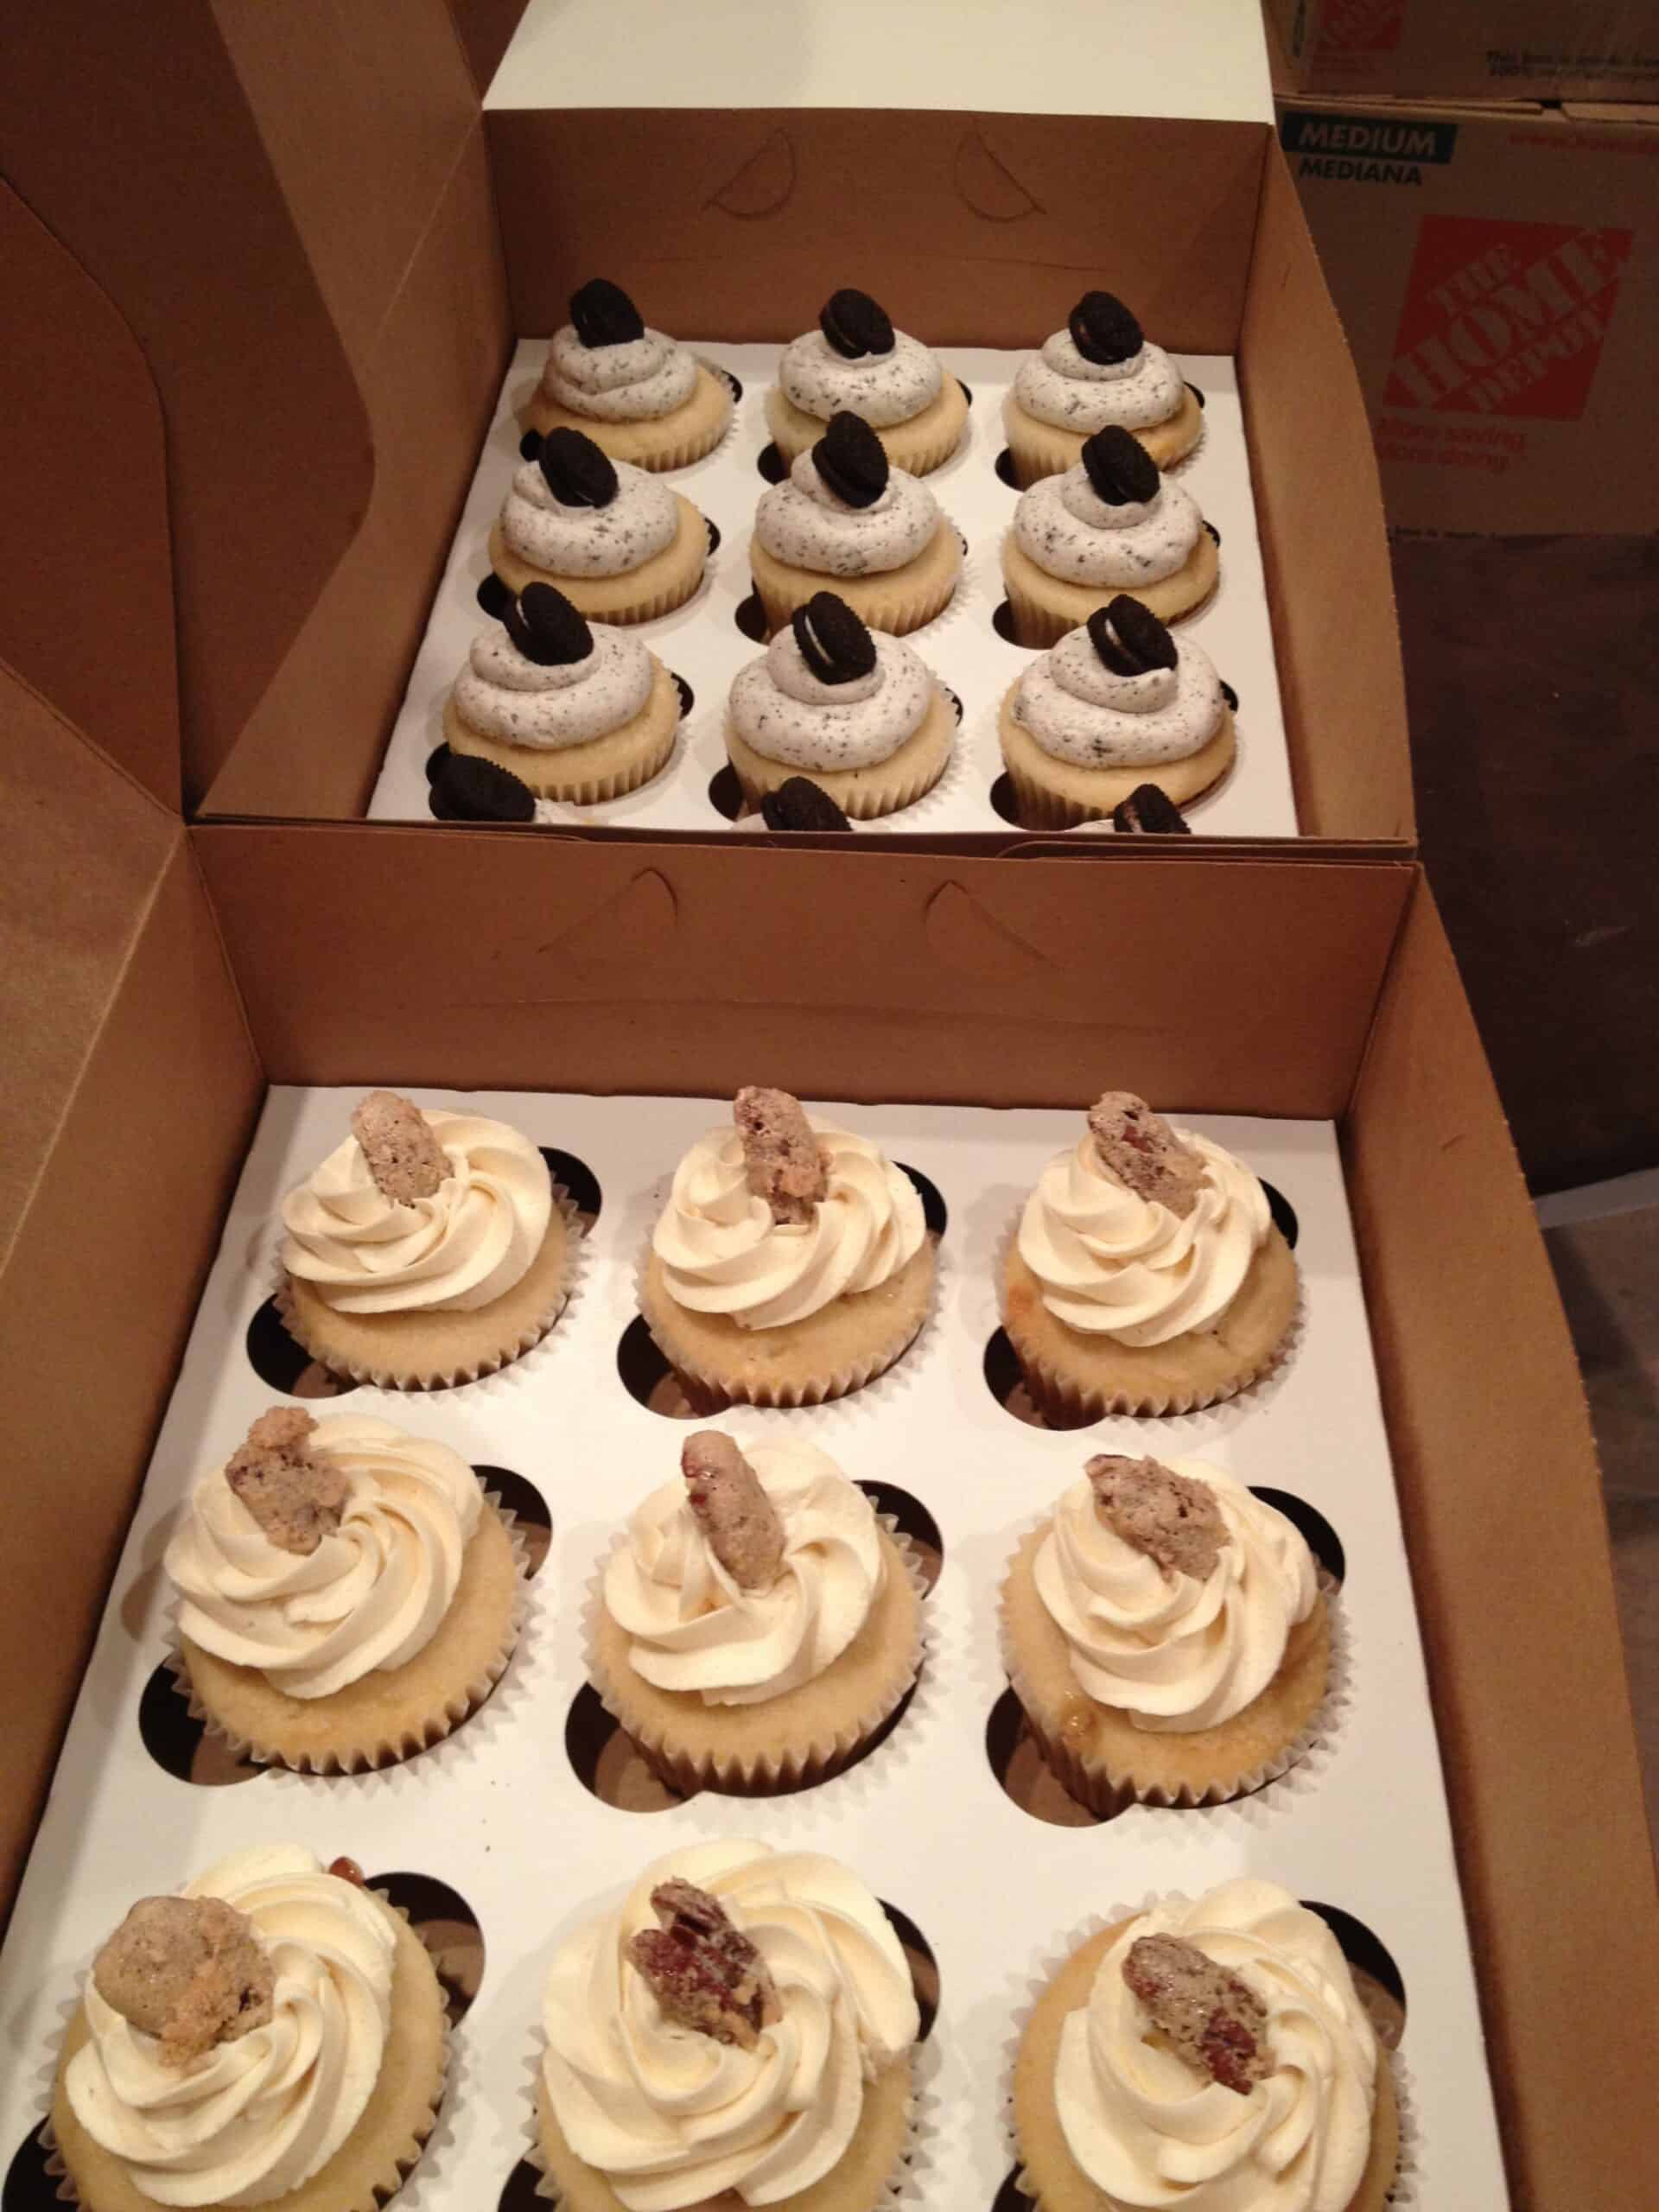
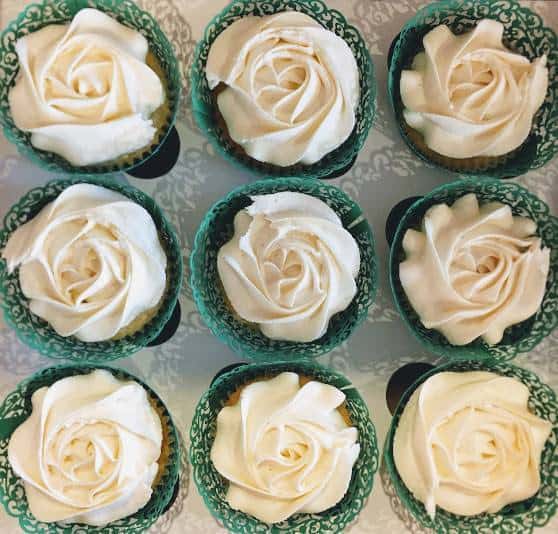
If you want to add some flair with minimal effort I would use the Wilton 2D tip which gives a stunning rosette top that has been a favorite of mine for a long time.
🧁 Cupcake Liners
Let's talk about how you are going to bake your cupcake. There are so many different types of cupcake liners to choose from, each with its own unique style and function. I have my personal favorites which I'll note below, as well as some links to where you can buy them.
- Standard paper liners: These are the most common type of cupcake liner and come in a variety of colors and designs. They're made of thin paper and are perfect for basic cupcakes.
- Foil liners: These are made of aluminum foil and come in a variety of colors and metallic finishes. They're great for adding a bit of shine to your cupcakes and are perfect for special occasions.
- Silicone liners: These are reusable liners made of silicone and are great for eco-conscious bakers. They come in a variety of colors and can be used over and over again.
- Glassine liners: These are made of smooth, glossy paper that is resistant to grease and moisture. They're great for baking delicate cupcakes or cupcakes with a lot of moisture.
- Tulip liners: These are a type of paper liner that has a fluted edge that fans out, creating a tulip-like shape. They're great for showcasing your cupcakes and adding a touch of elegance to your baked goods.
- Baking cups: These are larger, deeper cups that are made of thicker paper or foil. They're great for making oversized cupcakes or muffins and can be used without a muffin tin.
🍰 Vanilla Buttercream Frosting
- Powdered Sugar
- Unsalted Butter
- Heavy Cream
- Vanilla Extract
In the bowl on a tabletop or electric mixer, using the whisk attachment, add your unsalted butter and powdered sugar. On low speed, or even just a few quick pulses, slowly start mixing your butter and sugar. Taking it slow at first ensures the powdered sugar doesn't make a huge mess.
Once incorporated, turn your mixer to its highest speed for around 5 minutes. You'll want to scrape down the sides of the bowl a few times during this time to make sure no heavy frosting gets stuck on the sides.
🍋 Frosting Variations
American-style vanilla buttercream is simple, quick, and easy enough to make even for baking beginners. It's 4 ingredients with no cooking required and takes 10 minutes from start to finish. You can find the full Vanilla Buttercream recipe here at Tabetha's Table. We provided some alternate variations that will pair beautifully with this honey vanilla cupcake as well...
- Lavander Buttercream - Add 1 teaspoon of Lavander Extract
- Honey Buttercream Frosting - Add 1-2 tablespoon Honey
- Lemon Buttercream - Add 1-2 tablespoon Lemon Juice or ½ teaspoon lemon extract. Bonus flavor if you add lemon zest.
🥡 Storing Your Cupcakes
Keeping your cupcakes in an airtight container would be the best practice. Depending on how many you're making, this may get difficult. If you are making lots of cupcakes and that isn't an option, I would recommend disposable cupcake boxes.
You can leave your cupcakes at room temperature for a few days, but we recommend refrigerating them if you plan on keeping them for more than 3 days. Just remember if you've decorated your cupcake already, you will need to let the buttercream come back to room temperature before serving.
🚙 Transporting
Making cupcakes for a birthday or event? Transportation might be harder than actually making these cupcakes. We recommend using disposable cupcake boxes with cupcake inserts to keep them from being damaged en route.
Just make sure you keep them cool and out of direct sunlight so the frosting doesn't start to melt.
👩🏼🍳 Backstory
In the summer of 2008, Jon and I were still dating and were renting a house in Outer Banks, NC with 20ish friends. One night I was spontaneously determined to make cupcakes. That was the birthplace of the Vanilla Honey Cupcake. They were gone in seconds, and a demand for more cupcakes was made. With the second batch up for grabs, it was a blur as people ran to stash them in their bedrooms hiding them for later.
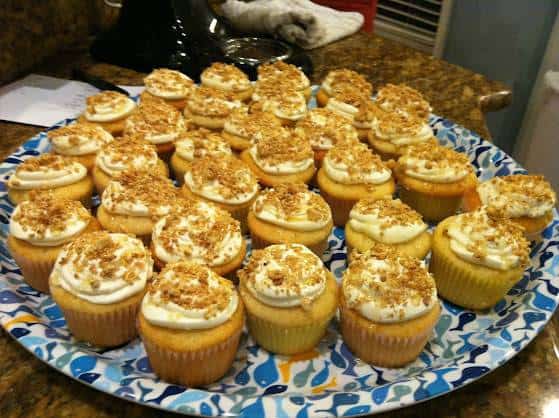
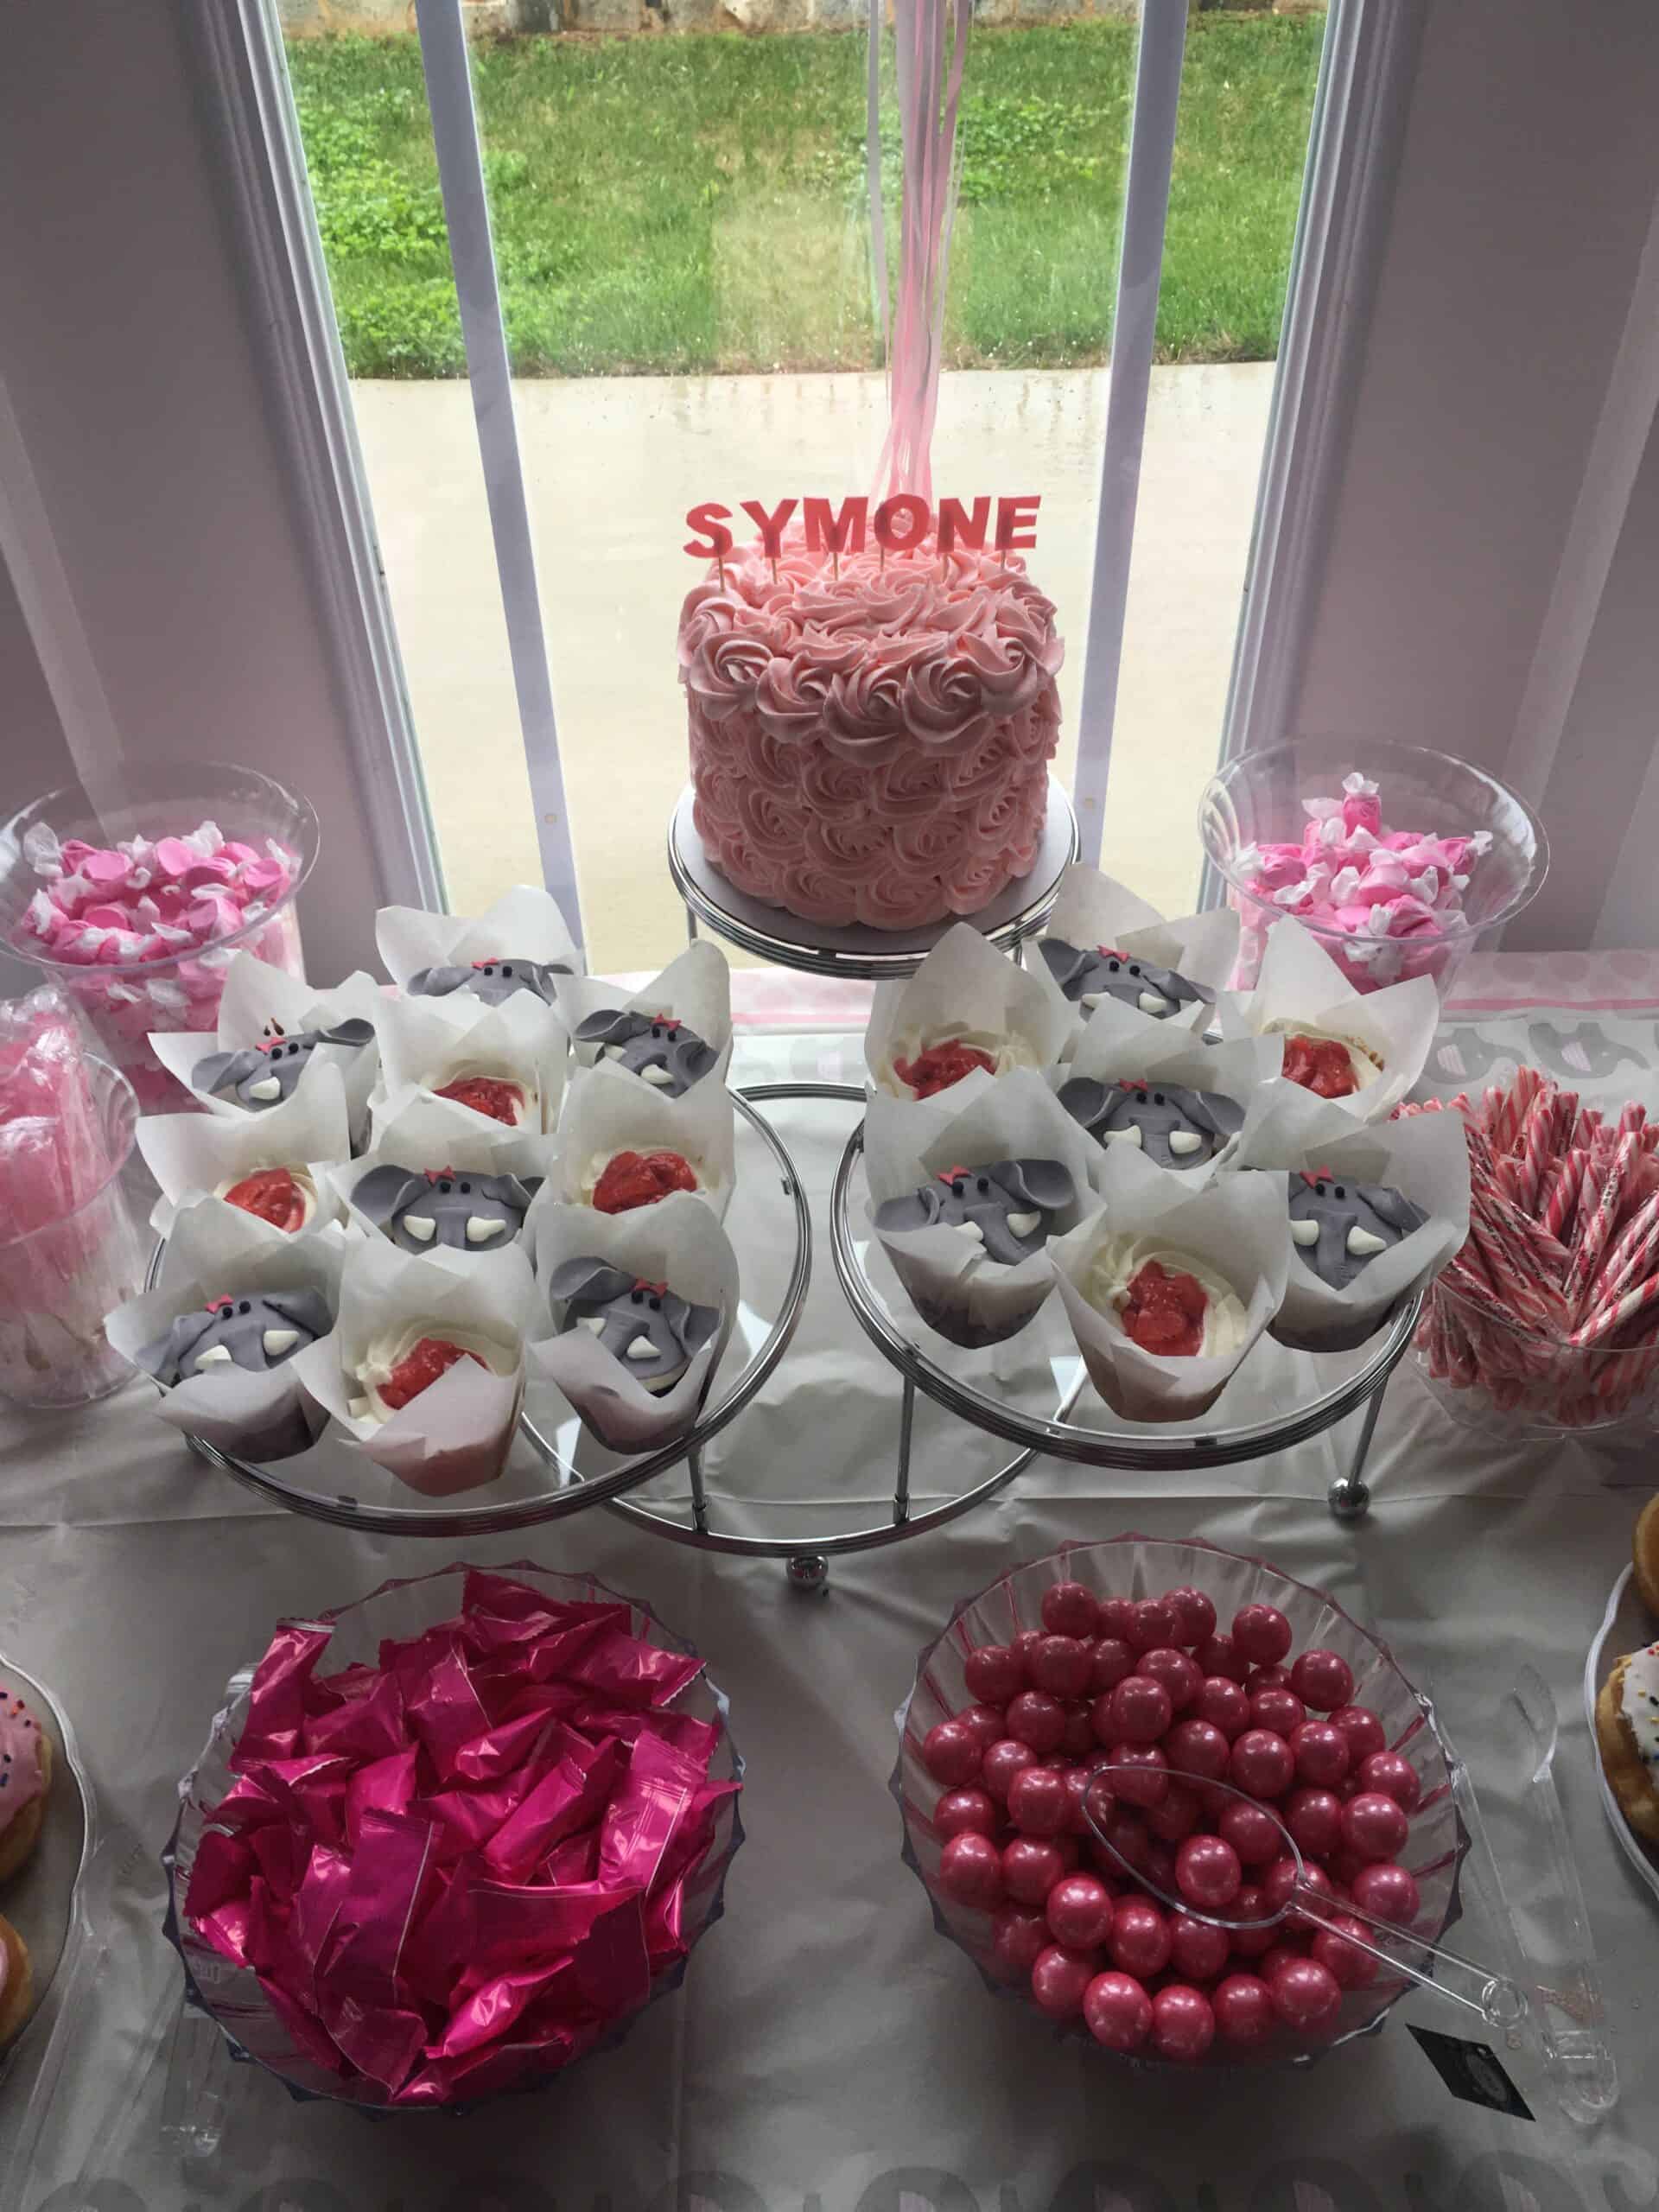
This is photo evidence of the EXACT ones. I didn't have a fancy piping bag, just a gallon zip-lock with the corner cut off.
Our good friends got engaged the very next day. I decided it only seemed fitting to have me bake that same cupcake recipe for their wedding. Orders poured in and after a short and exhausting attempt to run a mini bakery out of my house, I decided it wasn't for me.
I'm now sharing the recipe with the world. I've made so many different cupcake recipes at this point, but people just keep coming back for this Honey Vanilla Cupcake. Enjoy!
📖 Recipe
The O.G. Vanilla Honey Cupcake
Equipment
- KitchenAid Mixer Stand or handheld
- Paddle Attachment If using stand mixer
- 2 Bowl One for mixing and one for dry ingredients
- Portion Scoop optional
Ingredients
- 2 ¼ Cup All-Purpose Flour
- 2 ½ teaspoon Baking Powder
- ¼ teaspoon Salt
- 1 ½ Sticks Unsalted Butter - Room Temperature
- 1 ½ Cups Granulated Sugar
- 2 Eggs
- 1 ¼ Cup Milk
- 2 teaspoon Vanilla Extract
- 1 tablespoon Honey
Instructions
- Put the Dry Ingredients (Flour, Baking Powder, Salt) in a bowl and SET IT TO THE SIDE… You'll need it in a bit.
- In the stand mixer bowl with the paddle attachment add the BUTTER & SUGAR and mix on medium until it's light yellow.
- Add EGGS ONE AT A TIME. Don't add the next one until it's completely disappeared.
- *Scrape down the sides and bottom of the bowl, and mix it again briefly*
- Tricky part. Add ⅓ ish of the FLOUR mixture (don't panic, it doesn't have to be exact) and mix until combined.... then ½ of the MILK and mix.
- *Scrape down the bowl* Add another ⅓ of the FLOUR mixture - mix...Add the remaining ½ cup of the MILK - mix
- Dump the rest of the FLOUR mixture in - mix
- ADD VANILLA and HONEY at the end - mix
- At this point, I taste the batter but for legal reasons, I can't suggest you do so. I'm a bad example. Sorry, not sorry.
- Bake for 22 minutes @ 350 degrees or until lightly golden in color and slightly firm to touch.
- Remove from cupcake pan and let cool completely before adding frosting.
- Enjoy!
Video
Notes
- Scraping down the bowl as much as possible is always good practice. This helps make sure all the sugar/butter gets distributed evenly throughout the batter.
- Using a portioned scoop to fill up your cupcake wrappers speeds up the process while also giving you the most consistent size cupcakes.
- Wrappers are a personal preference and generally picked by design/theme but I love tuliped cupcake wrappers. They fold out into mini plates which I love. Especially for kids' birthdays or weddings when everyone just snatches and runs.
- Vanilla prices have been astronomical lately but are finally starting to come down so make sure to shop around if the price tag looks extra high. I've found Costco has the best quality/size/cost around.