Tabetha's Table

  • Recipes
  • Tips & Tricks
  • Secret Ingredients
  • About
  • Contact
menu icon
go to homepage
  • Recipes
  • Tips & Tricks
  • Secret Ingredients
  • About
  • Contact
subscribe
search icon
Homepage link
  • Recipes
  • Tips & Tricks
  • Secret Ingredients
  • About
  • Contact
×

Loaded Chili Mac Recipe: The Perfect Leftover Dinner

Published: Oct 10, 2023 · Modified: Aug 31, 2026 by Tabetha Klein · This post may contain affiliate links · Leave a Comment

This post may contain affiliate links. As an Amazon Associate I earn from qualifying purchases.

Jump to Recipe Jump to Video Print Recipe

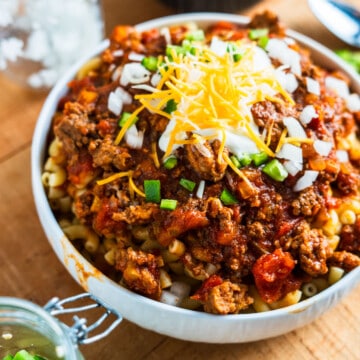
Comfort food-the two words that make any day better. And few meals deliver it like our Loaded Chili Mac Recipe. It's perfect for busy weeknights and even better for using up last night's leftover chili. Trust us; this chili mac recipe is a family favorite you'll want to bookmark!

Close-up of beef and pasta casserole topped with cheese and green onions.
Jump to:
  • Quick Ingredient List
  • Toppings
  • Equipment List
  • Making Chili from Scratch
  • Assembling
  • Substitutions
  • Making it Ultra Extra
  • Leftovers & Storage
  • Reheating Leftovers
  • More Easy Dinner Recipes
  • FAQ
  • 📖 Recipe
  • 💬 Comments

Chili Mac is the love child of two iconic dishes: chili, macaroni, and all the loaded toppings your heart desires. Originating from the fusion of American and Mexican culinary traditions, this dish is the epitome of comfort food. And the best part? We're using our Family Friendly (No Bean) Chili recipe as the base, making it a doubly delicious experience.

Quick Ingredient List

  • Your Favorite Chili: Don't worry, we included ours below! A pot of chili that's a blend of lean ground beef, Italian sausage, and a medley of spices like chili powder and cayenne pepper.
  • Elbow Macaroni: The classic pasta shape that holds onto that chili flavor.
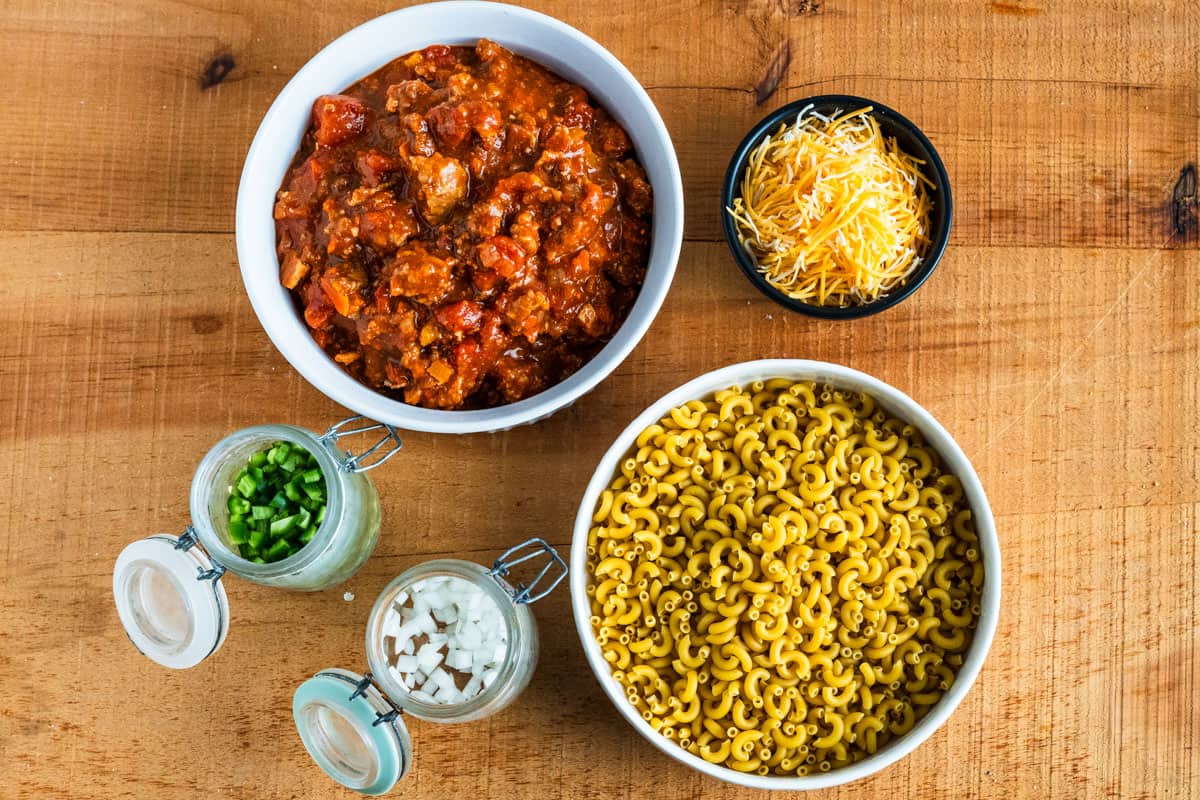
Bowl of spaghetti with Bolognese sauce, shredded cheese, and seasonings on a wooden table.

Toppings

  • Cheddar Cheese: Sharp cheddar melts beautifully, adding a tangy creaminess.
  • Sour Cream: Adds a creamy, tangy element that balances out the richness of the chili. 
  • Diced White, Red, or Yellow Onion: They add a crunch and a sharp bite that cuts through the richness of the chili mac.
  • Diced Jalapeño: For that crunch but also some heat! 
  • Green Onions: Sprinkle them on top for a burst of freshness that complements all the other hearty ingredients.
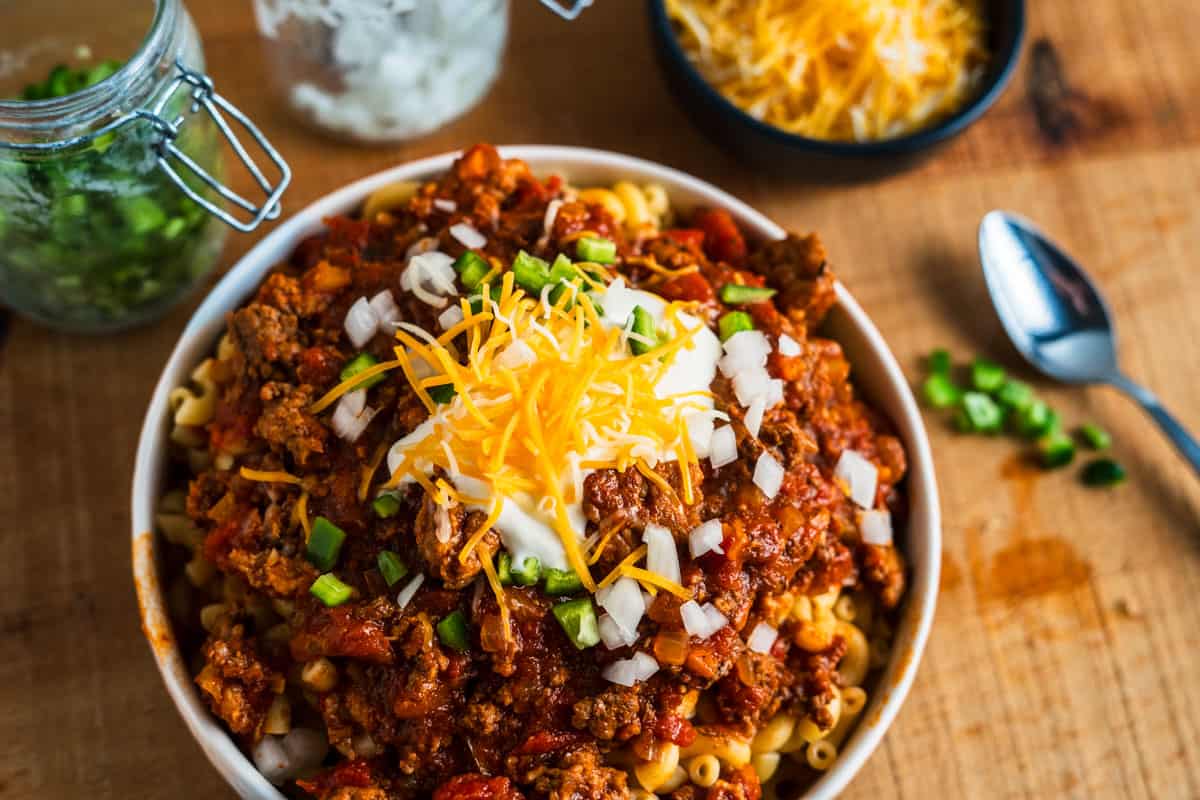
Bowl of Chili Mac topped with sour cream, onion, and jalapenos

Equipment List

  • Large Skillet: For reheating chili and combining ingredients.
  • Dutch Oven: If making your own chili.
  • Large Pot: For boiling macaroni pasta.
  • Wooden Spoon: To stir the goodness together.
  • Cheese Grater: Optional if you're using pre-shredded cheese.
  • Collander or Spider: For draining your pasta.

Making Chili from Scratch

If you don't have leftover chili, no worries! We recommend our Family Friendly Dutch Oven Chili. This chili combines the richness of Italian sausage, the smokiness of bacon, and a medley of spices to create a classic fall favorite that's perfect for any time of year.

Close-up of beef chili topped with cheese and served with cornbread slices.

Chili Ingredients

  • Olive Oil: The base for sautéing your meats and veggies.
  • Bacon: Adds a smoky, fatty richness.
  • Italian Sausage: Brings in extra seasonings and texture.
  • Ground Beef (90/10): A lean but flavorful choice.
  • Red Onion: Adds a touch of sweetness and color.
  • Red Bell Pepper: For a mild, sweet crunch.
  • Fresh Garlic: The aromatic backbone. Garlic powder works too.
  • Tomato Paste: Builds the body of the chili.
  • Canned Tomatoes: Adds texture and moisture. A mix of diced and sauce is preferred.
  • Herbs & Spices: Smoked paprika, chili powder, cumin, oregano, and basil. Add cayenne for extra heat.
  • Chicken or Beef Broth: Both work beautifully.
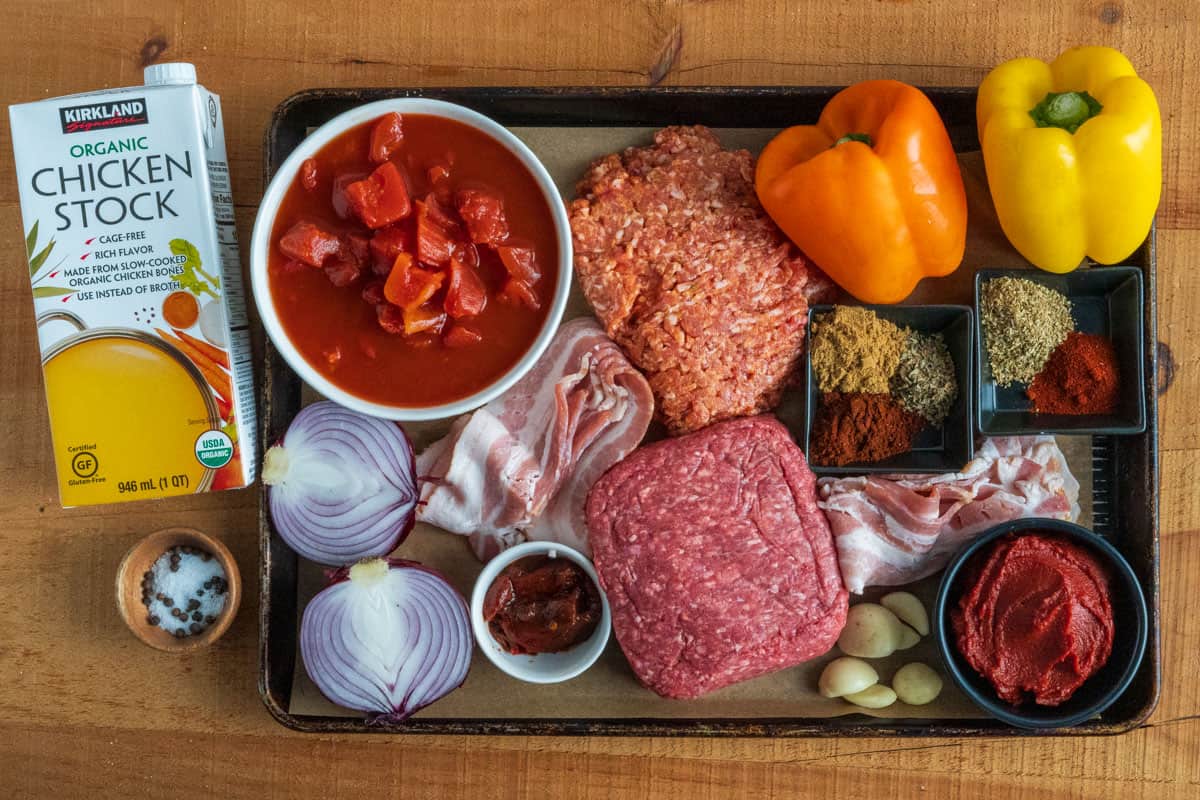
Fresh vegetables, ground beef, chicken stock, and spices for chili.

Equipment

  • Dutch Oven: The workhorse of this recipe. Ideal for slow-cooking dishes like chili.
  • Slotted Spoon or Spider: For removing cooked meat.
  • Cutting Board and Knife: For all your chopping needs.

Step-by-Step

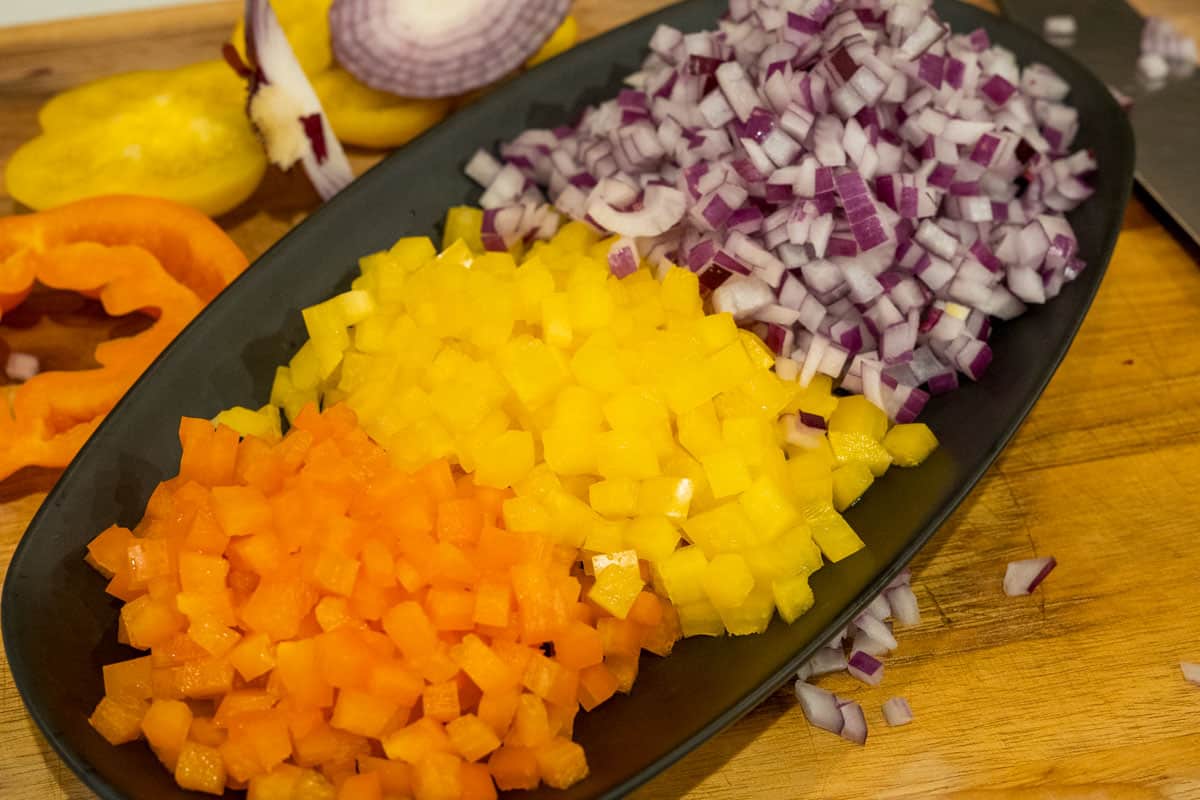
#1 Prep
Close-up of a simmering pot of homemade beef chili with vegetables.

Dice the bell peppers and onion. Mince your garlic.

#2 Slice Your Bacon
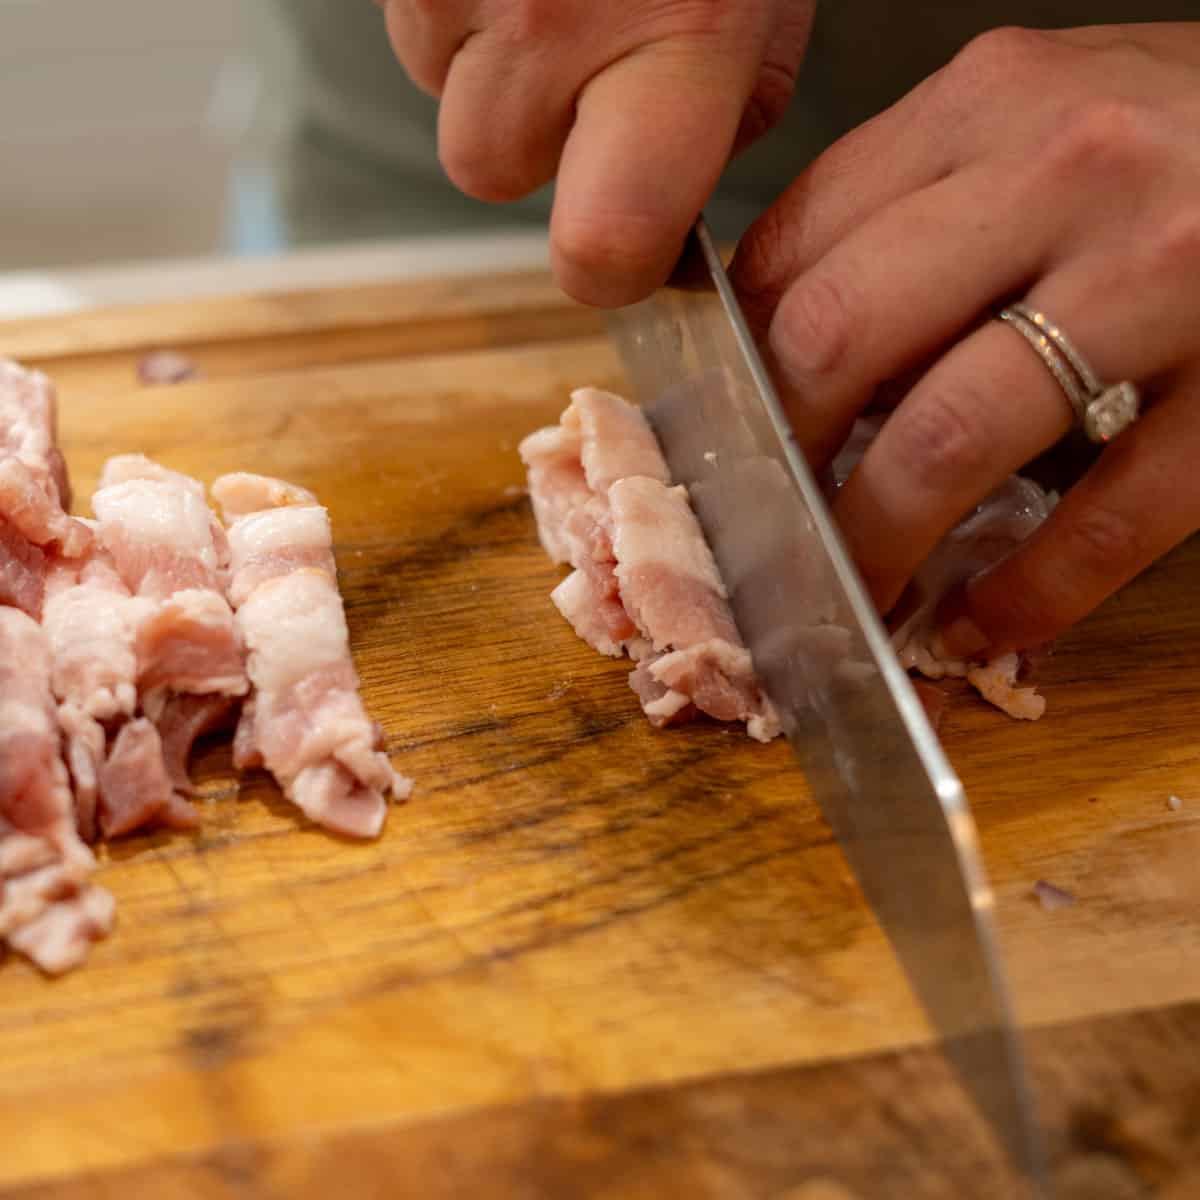
Close-up of a simmering beef and tomato stew in a pot.

Slice your bacon into thin strips. Pro Tip, cold bacon is significantly easier to slice.

#3 Crispy Your Bacon
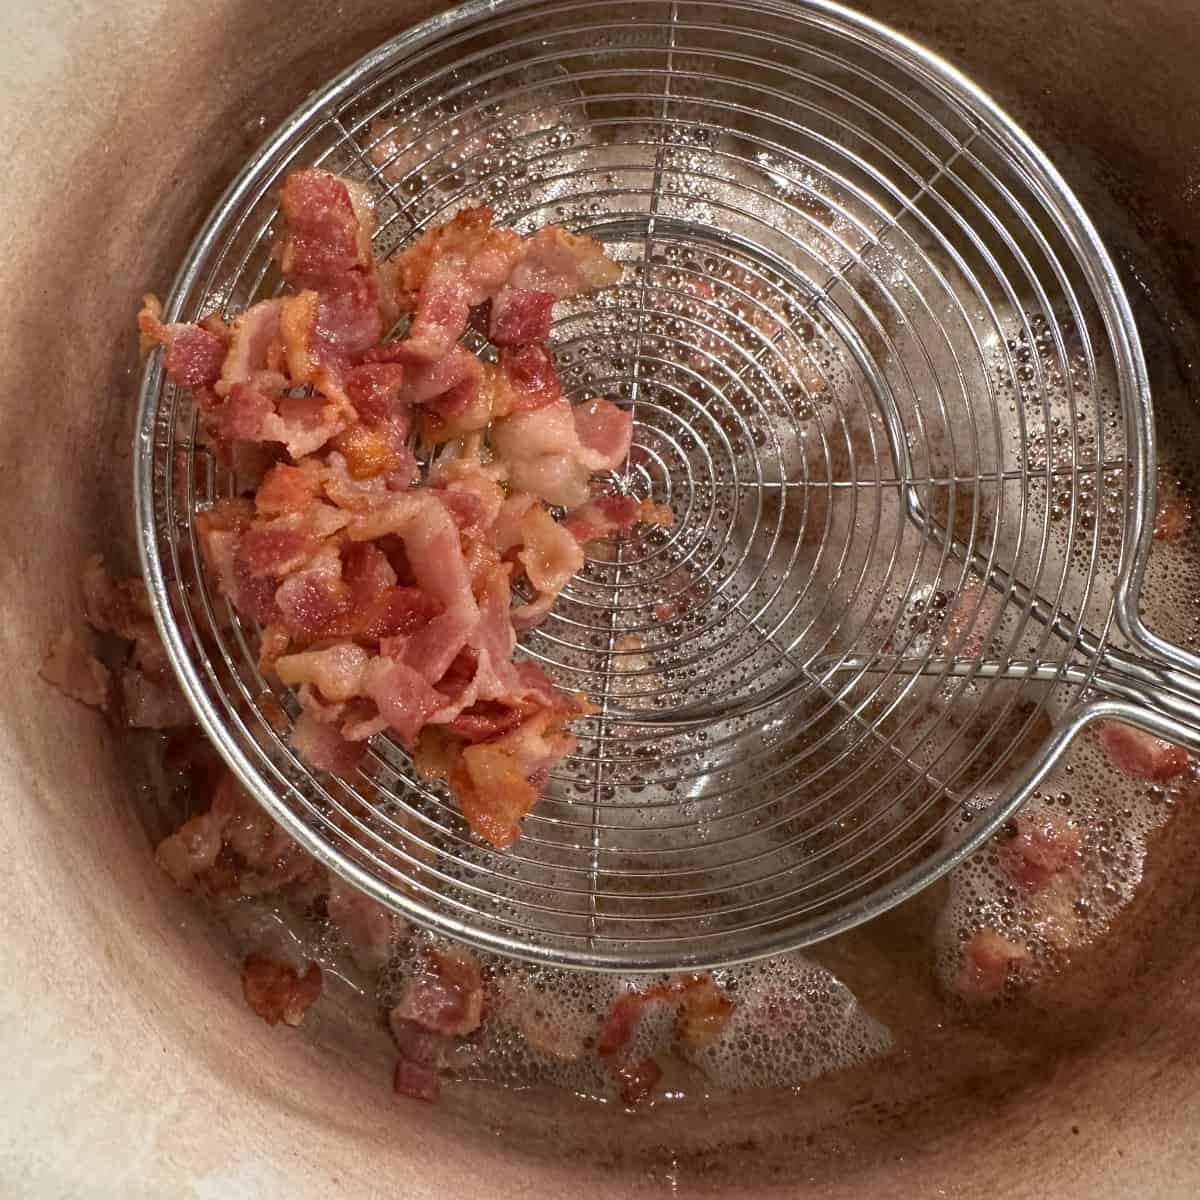
Bacon cooking in a cast iron skillet with a metal strainer.

In your Dutch oven, heat olive oil over medium heat. Add bacon and cook until crispy, then remove.

#4 Browning Your Meat
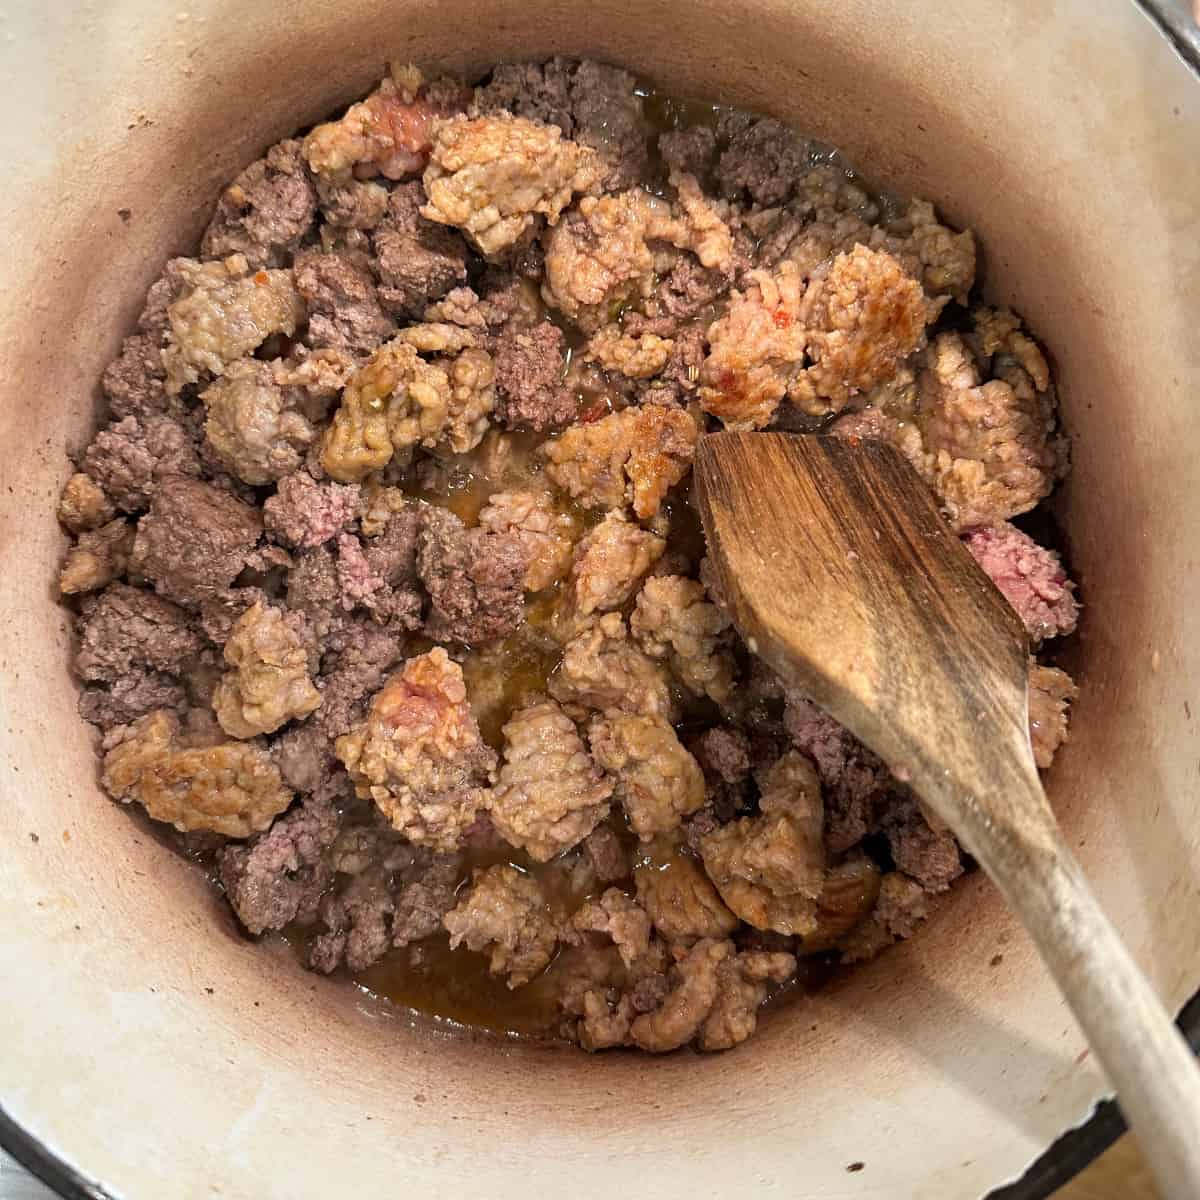
Ground beef browning in a pot with a wooden spoon.

Add the Italian Sausage and Ground Beef to the pan. Try not to go crazy chopping it into a million small pieces as it will release too much moisture into the pan too quickly and your meat will steam instead of brown. 

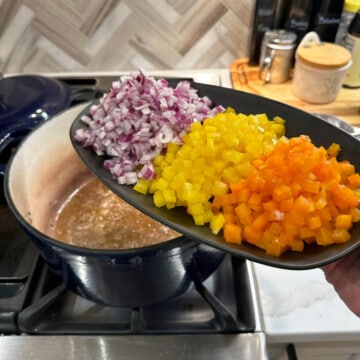
#5 Sauteeing Your Veggies
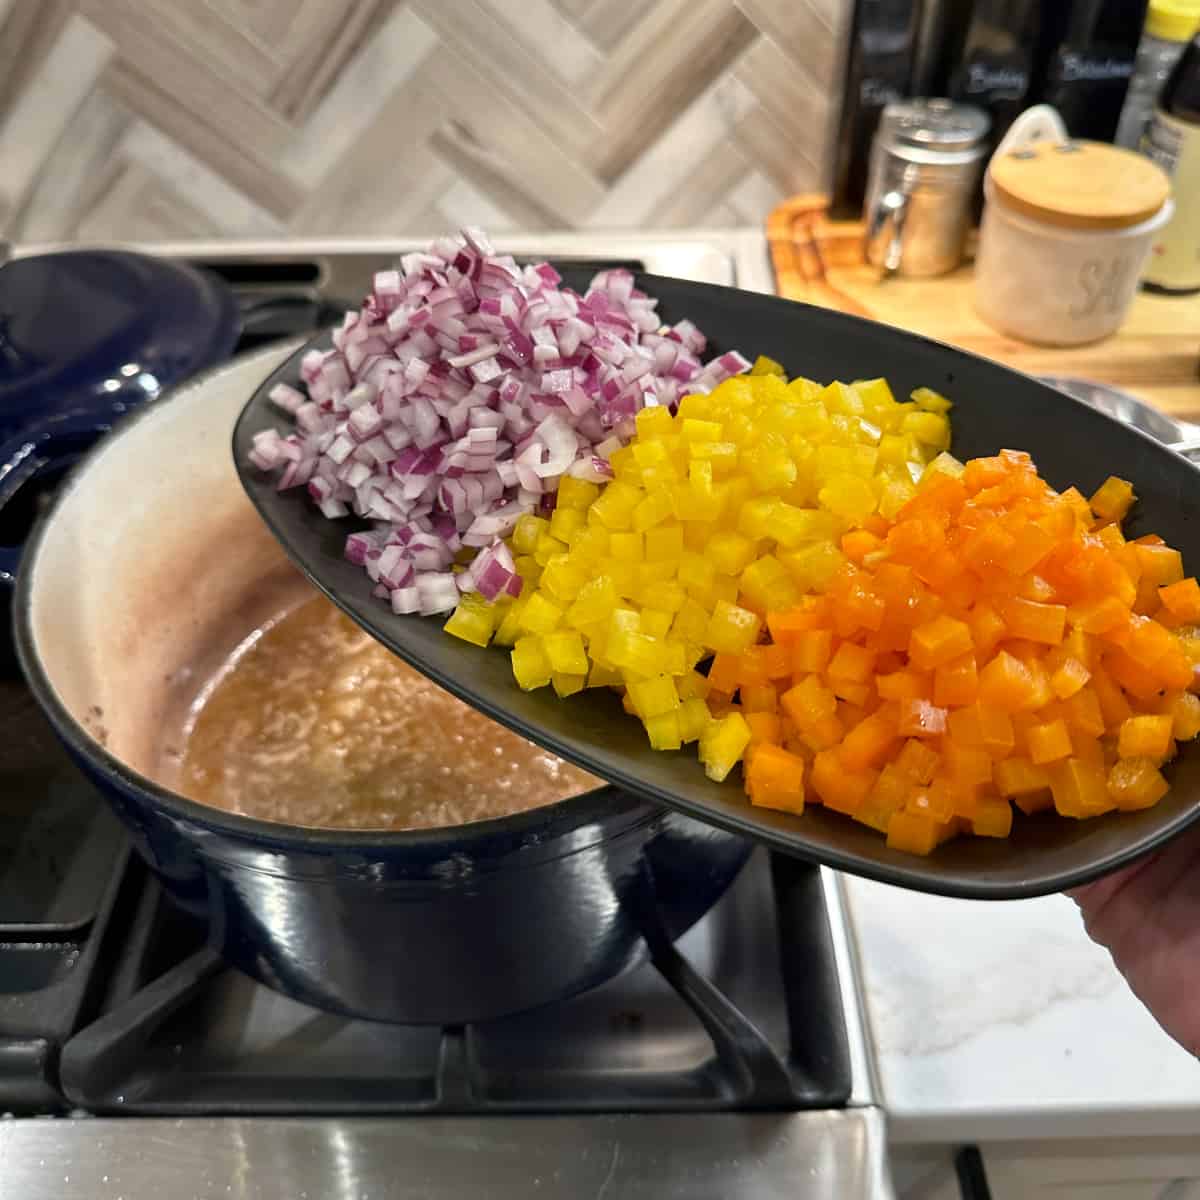
Diced red onion, yellow bell pepper, and orange carrot on a black spoon over a pot.

Remove the browned meat and add the peppers and onions to the remaining fat in the pan. Sauté until soft, then stir in minced garlic.

#6 Tomato Paste Browning
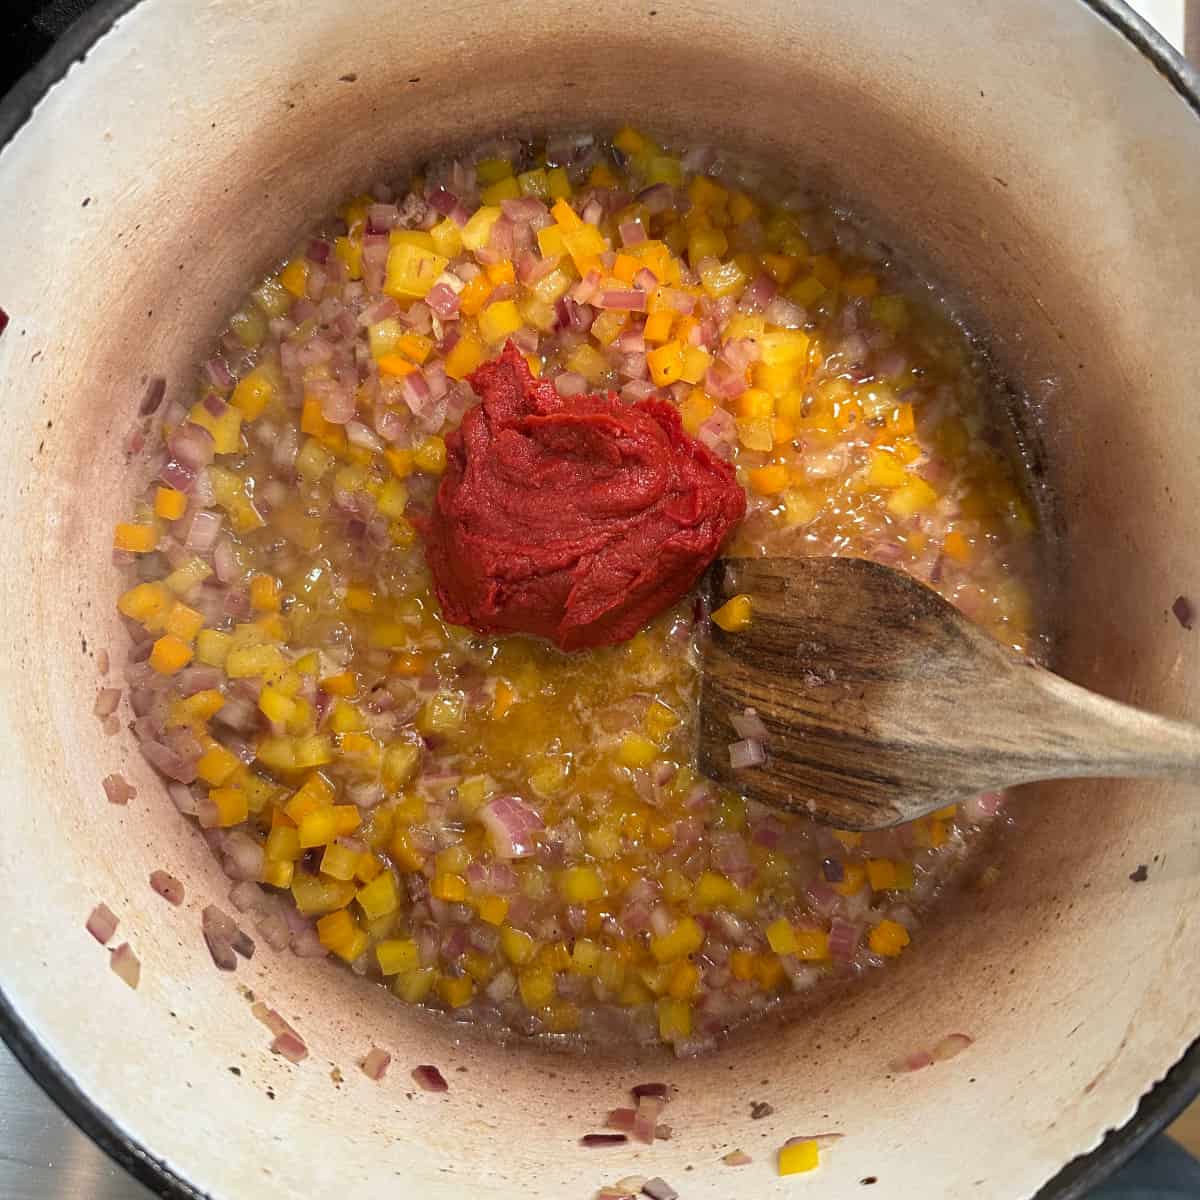
Cooking a vegetable and meat sauce with tomato paste in a pot.

Add the tomato paste and let it brown slightly before adding diced tomatoes, chicken stock, meat, and spices.

#6 Deglazing
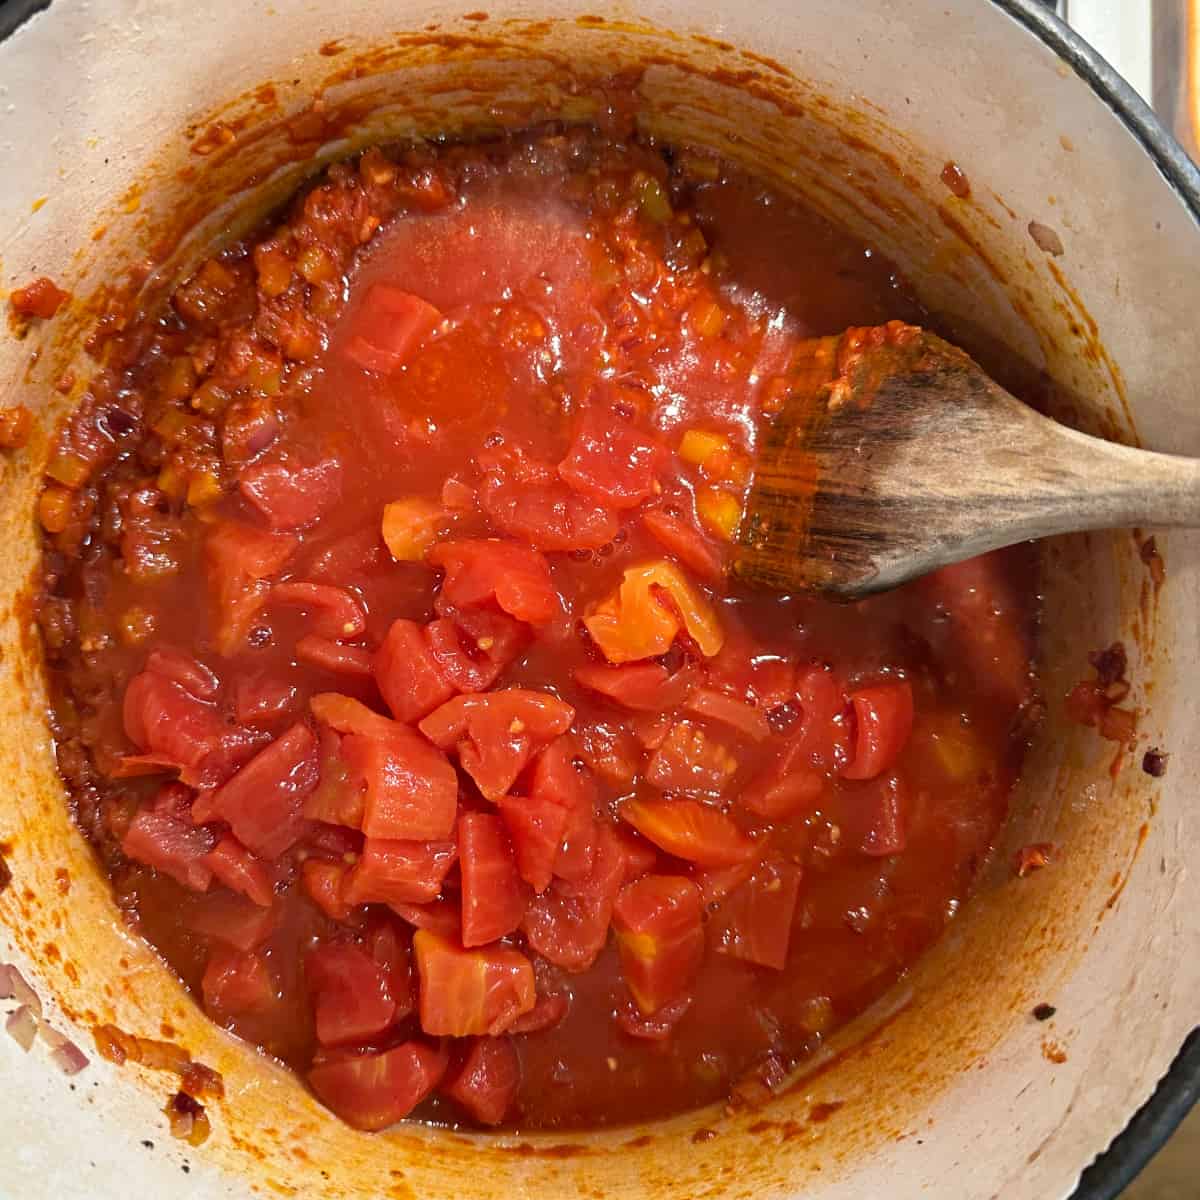
Cooking homemade tomato sauce with diced tomatoes in a pot.

Next, add your diced tomatoes, and chopped chipotle in adobo. Scrapping the bottom to remove any browned bits.

#7 Adding it All Back In
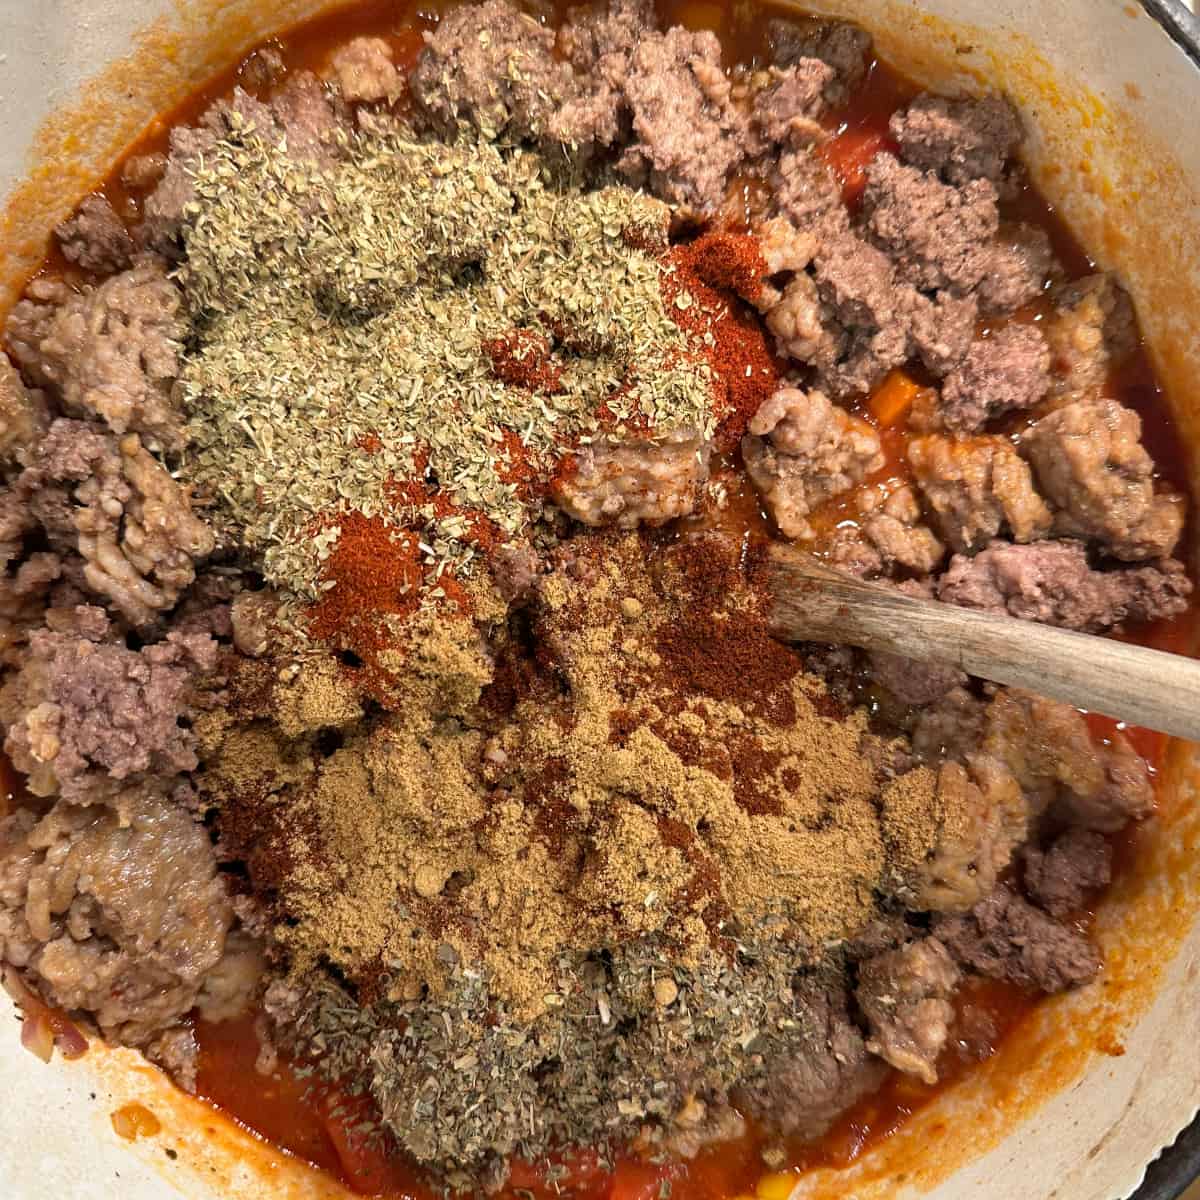
Ground beef with spices and herbs in a cooking pot.

Lastly add back the browned meat, chicken stock, and all of your spices.

#8 Simmer
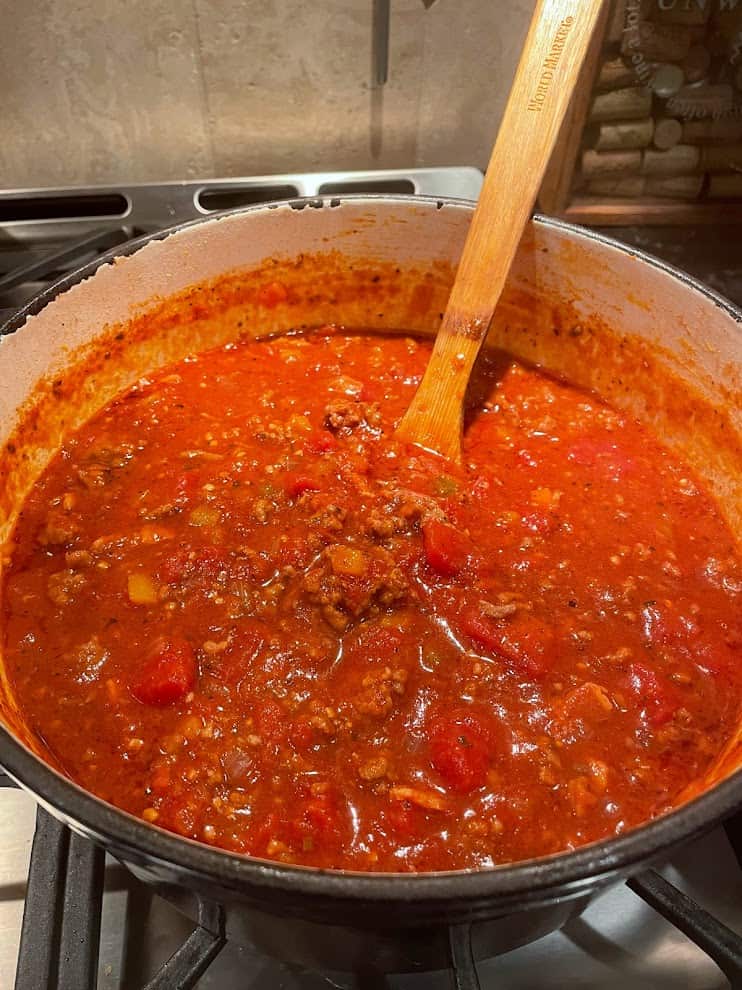
Simmering chili on the stove in a dutch oven

Bring to a simmer for at least 45 minutes, then taste and adjust seasoning as needed.

#9 Enjoy

Close-up of beef chili topped with cheese and served with cornbread slices.

Garnish as you like with sour cream, shredded cheese, diced onion, jalapeno, or anything else you desire, and enjoy!

Now that you've got your chili ready, you can proceed with making your Loaded Chili Mac. Trust us, the extra effort is so worth it!

Assembling

#1 Boil the Pasta
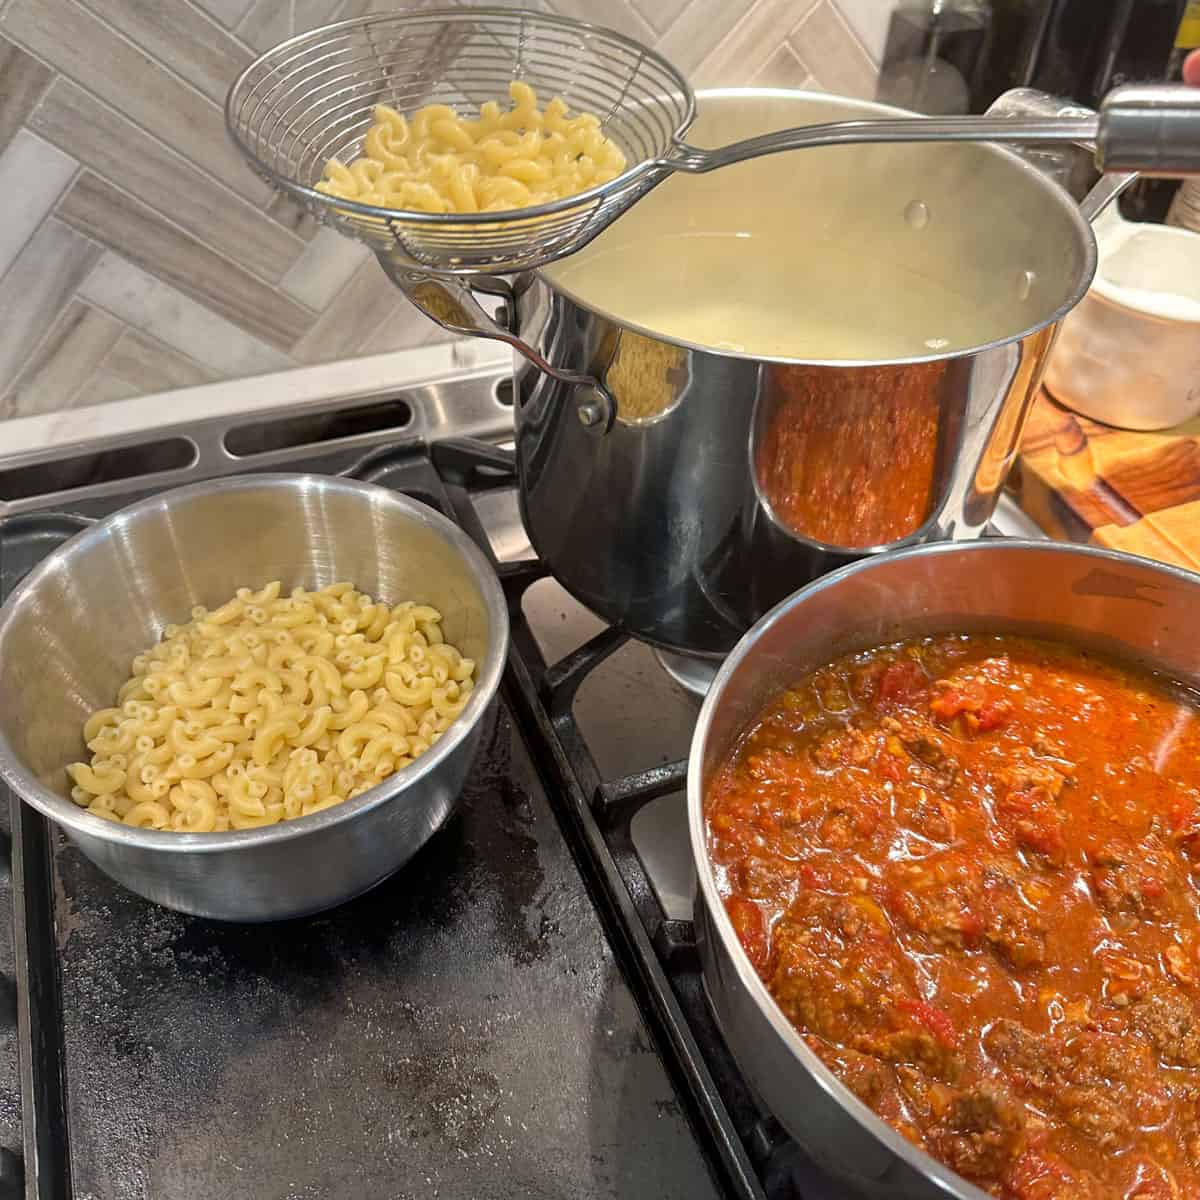
Cooking pasta and sauce on a stovetop with a strainer and pots.

In a large pot, bring water to a boil and cook macaroni until al dente, following package directions. Once done, set it to the side.

#2 Get the Chili Ready
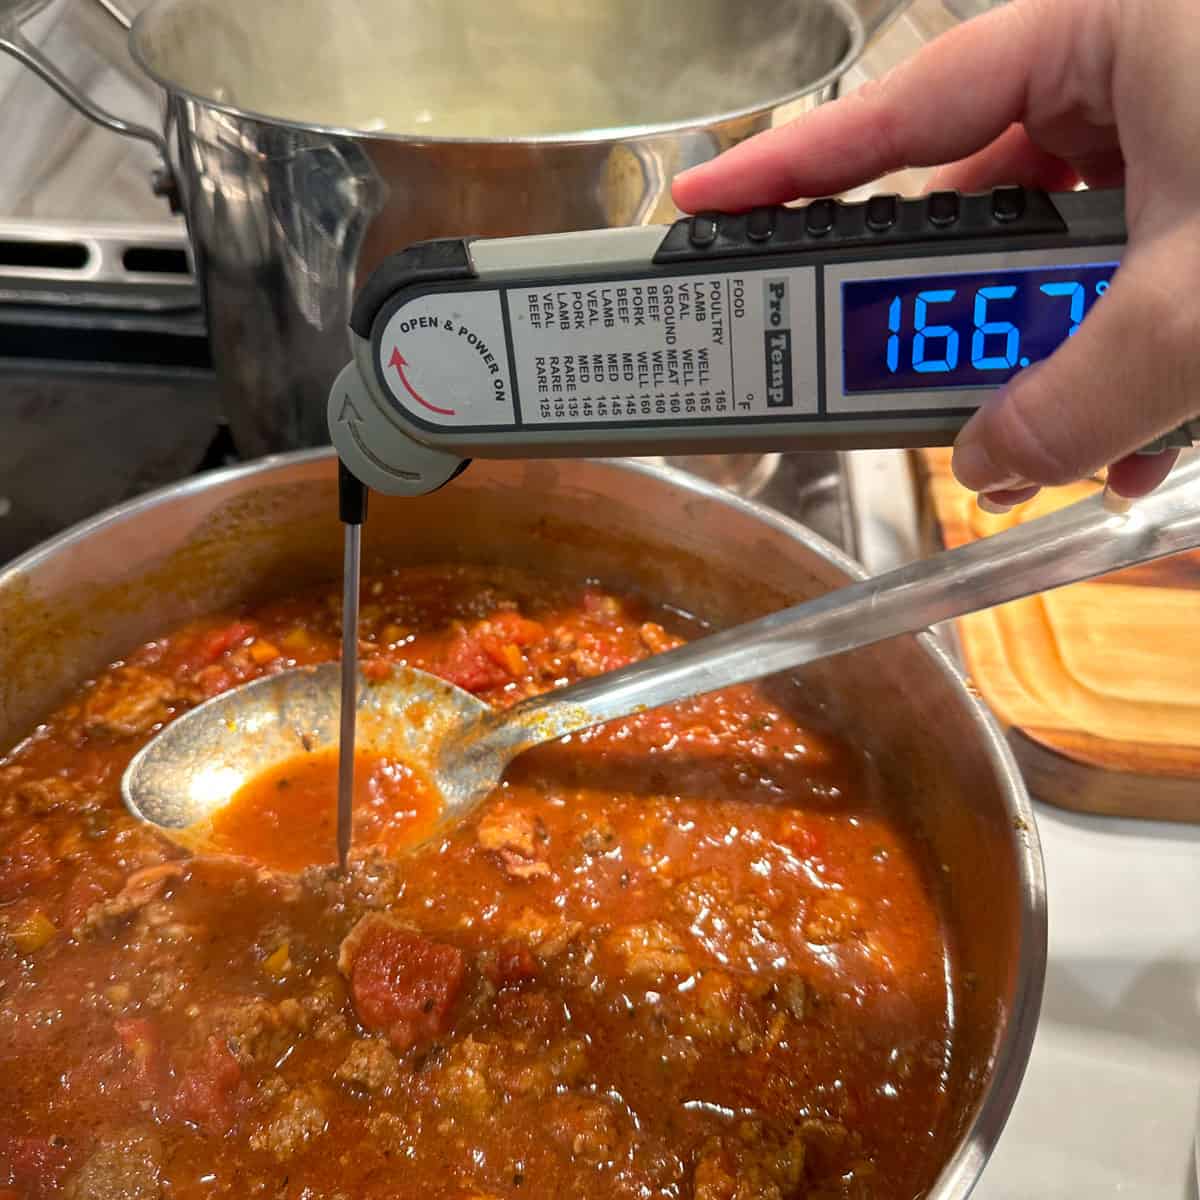
While your pasta is cooking, get your chili hot and ready. If you are reheating your chili, make sure it gets to at least 165 degrees

#3 Cheese It Up

Close-up of beef and pasta casserole topped with cheese and green onions.

Put your pasta in a bowl and top generously with your Chili.

# 4 Enjoy

Bowl of Chili Mac topped with sour cream, onion, and jalapenos

Add sour cream, cheddar cheese, diced jalapeno, onion, cilantro... whatever. Enjoy your hearty meal that is customizable to the whole family. 

Substitutions

Leftover night is all about using what you have, and this chili mac recipe is no exception. Feel free to swap out elbow macaroni for any pasta shape you have on hand-penne, fusilli, or even spaghetti can work.
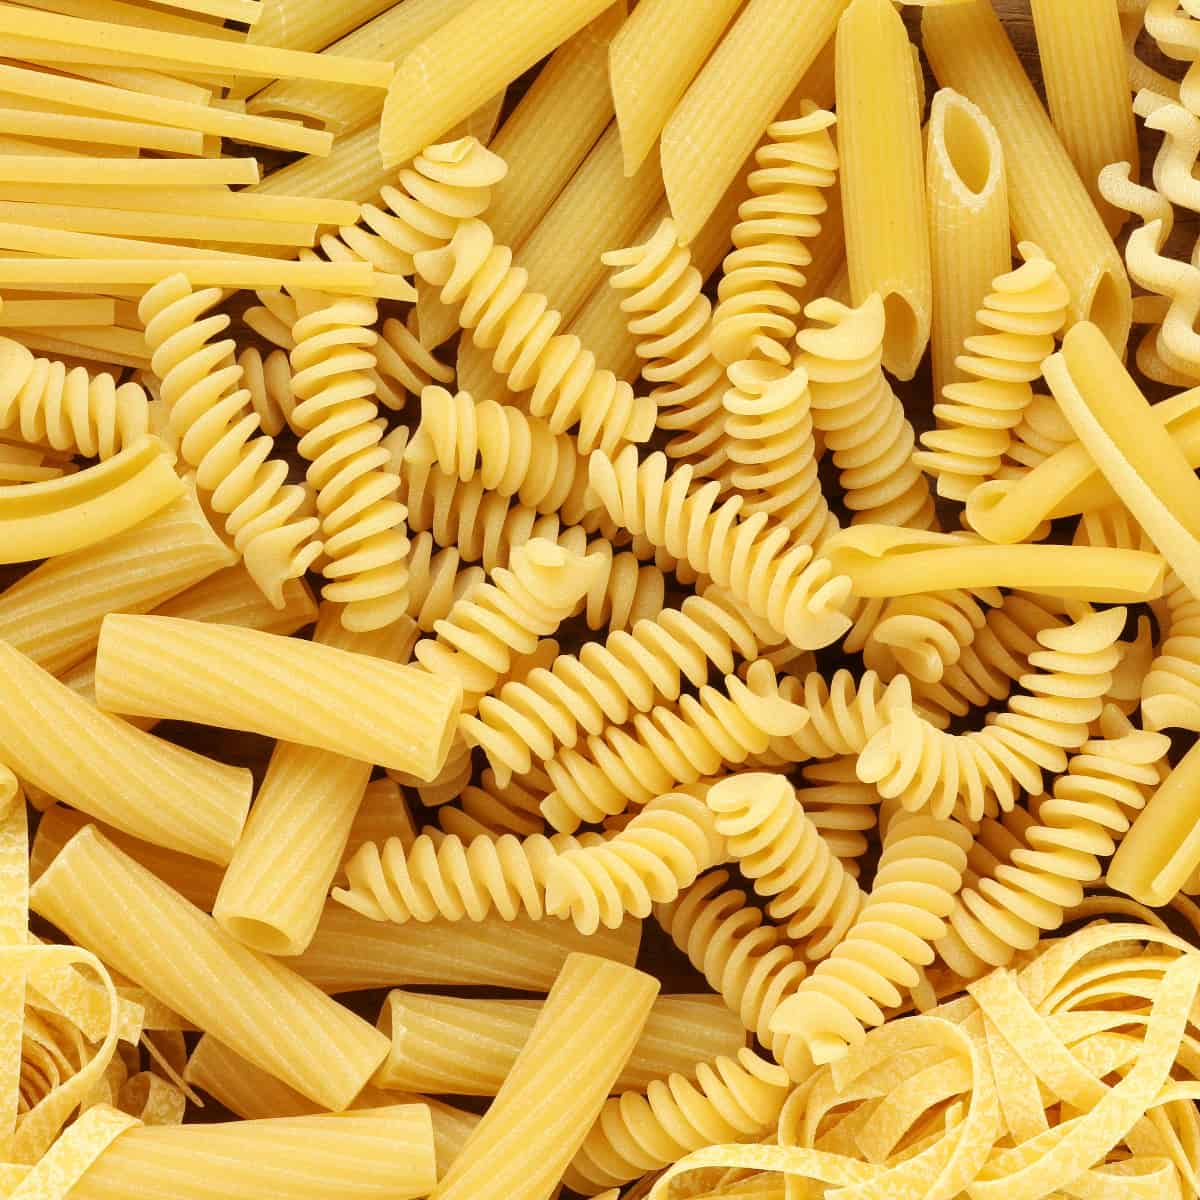
an up-close view of multiple dry pasta varieties

The great thing about this dish is its flexibility. Have a few boxes of different pasta shapes? Mix 'em up for a fun and unique texture!

Making it Ultra Extra

Lots of Chili Mac recipes use a base of Mac and Cheese. We opted for adding all our extras on top BUT if you are feeling ultra extra try serving your Chili Mac on top of our Smoked Gouda Mac and Cheese.
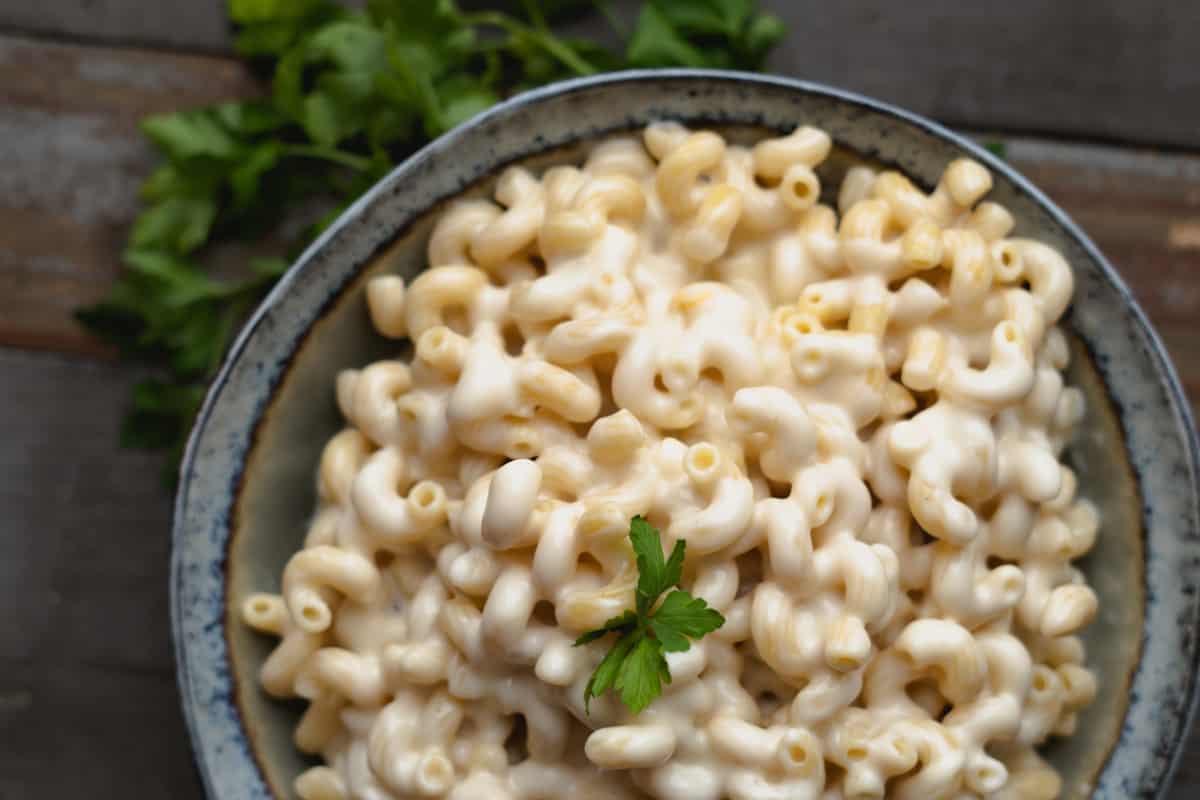
Creamy smoked Gouda mac and cheese served in a rustic bowl with parsley garnish.

Leftovers & Storage

If you're using leftover chili to make this dish, you'll need to take into consideration its age. Leftover chili has a fridge life of about 3-4 days. So, if your chili is reaching the end of that window, it might be time to bid it farewell after reheating and enjoying your Loaded Chili Mac.

On the other hand, if you've made fresh chili just for this recipe or used store-bought, you're in luck! Store any remaining chili mac in an airtight container and pop it in the fridge. It'll be good for another 3-4 days. Want to extend its life even further? You can freeze it! Just remember to thaw it in the fridge before reheating.

Reheating Leftovers

For reheating, a little separation can be a good thing. Store the bulk of your pasta and sauce separately to maintain their best qualities. A tiny bit of sauce mixed in with the pasta can prevent sticking, a little trick that works wonders.

To reheat your chili, place your sauce in a large skillet over medium heat. Aim for a temperature of 165°F to ensure it's heated safely. If it's looking a bit dry or thick, a splash of beef or chicken broth can bring it back to its original glory.
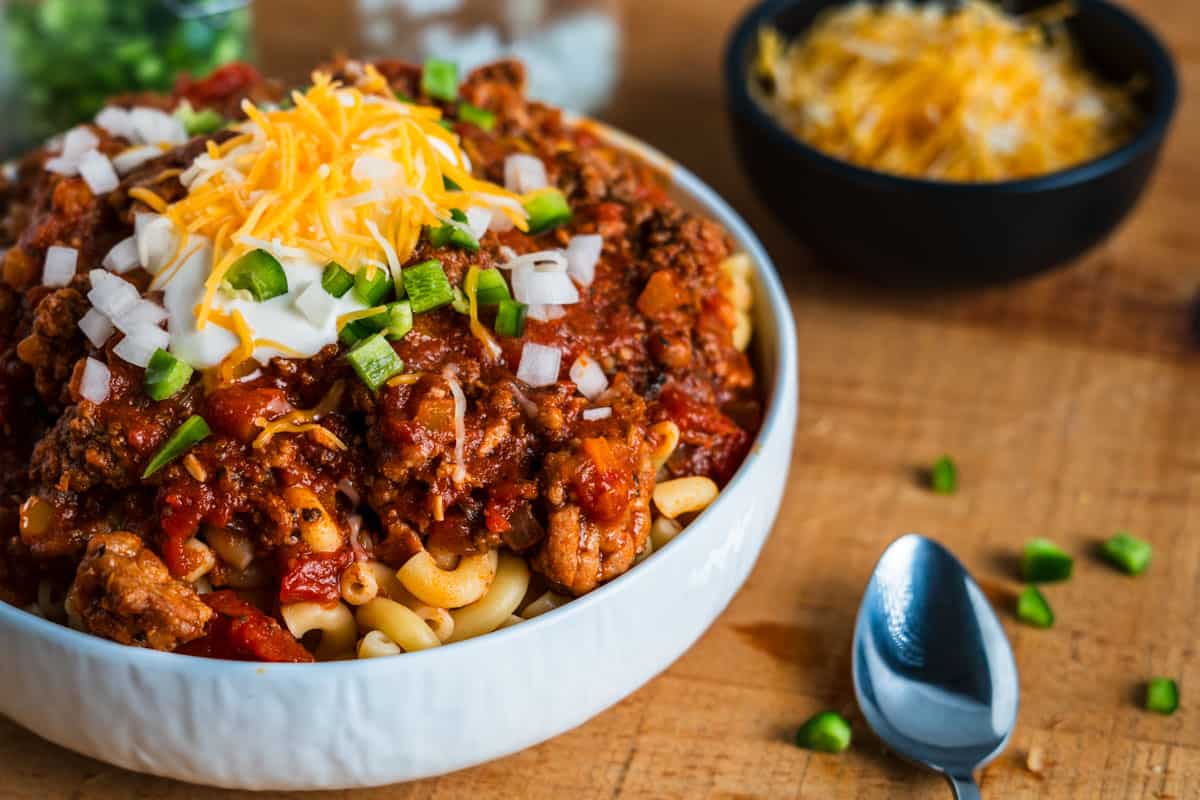
Taco pasta bowl topped with cheese, onions, and green onions on a wooden table.

For the pasta, a quick microwave or if you want to get really fancy a plunge in boiling water for about 30-60 seconds will bring it back to life without making it overcooked.

Combine the heated sauce and pasta when you're ready to serve. And for that extra touch of creaminess, a dollop of sour cream mixed in while reheating works like a charm.

More Easy Dinner Recipes
  • Baked Italian meatballs with melted cheese in a tomato sauce.
    Homemade Italian Meatballs Recipe - Easy Baked Classic
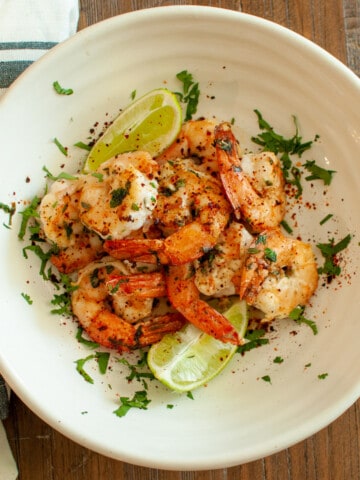
  • Delicious cilantro lime shrimp served with lime wedges on a white plate.
    Easy Cilantro Lime Shrimp Recipe for Tacos & More
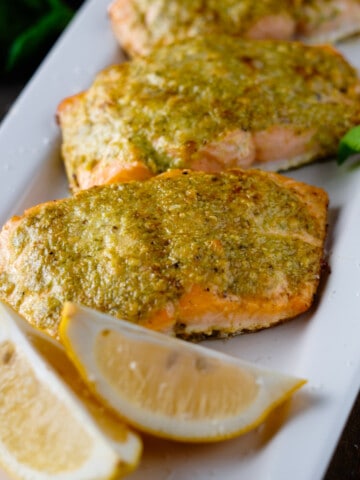
  • Baked salmon fillets topped with pesto and butter, served with lemon wedges.
    Easy Baked Pesto & Butter Salmon Recipe
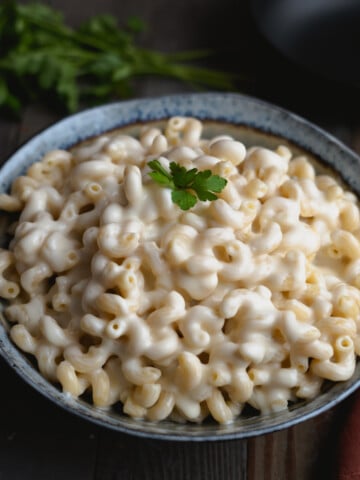
  • Creamy mac and cheese with melted Gouda cheese garnished with parsley.
    Smoked Gouda Cheese Sauce (for the Best Mac & Cheese)

FAQ

What can I serve as a side dish?

A simple green salad or some garlic bread makes an excellent side dish.

Can I add some veggies?

Of course! Add what you love, or serve as a side. Our smoked vegetables would be perfect for this!

Is this similar to ragu?

I mean, yeah! It's a tomato and meat-based sauce. The biggest difference is we used a variety of spices you don't see in traditional ragus. Think of it as TexMex Bolognese!

📖 Recipe

Close-up of beef and pasta casserole topped with cheese and green onions.

Loaded Chili Mac

Loaded Chili Mac puts our signature No Bean Chili to work on a pot of pasta — the best thing that ever happened to leftover chili. Pile on the sour cream, cheddar, diced onions, and jalapeños, and bring everyone to the table.
1 rating (Click stars to rate)
Recipe by - Tabetha Klein
Print Recipe Pin Recipe Save Saved! Start Cooking
Prep Time 15 minutes mins
Cook Time 1 hour hr 45 minutes mins
Total Time 2 hours hrs
Course Main Course
Cuisine American
Servings 8
Calories 813 kcal

Equipment

  • Dutch Oven
  • Large Pot
  • Colander

Ingredients


Chili

  • 2 tablespoon Olive Oil
  • ½ Pound Bacon
  • 1 Pound Italian Sausage
  • 1 Pound Ground Beef - 90/10 if possible
  • 1 Red Onion - Diced
  • 2 Bell Pepper - Diced
  • 2 tablespoon Garlic - Minced
  • 6 Ounces Tomato Paste - 1 small can
  • 58 Ounces Diced Tomatoes - or mix of diced and sauce
  • 1 tablespoon Dried Oregano
  • 1 Tbsp Cumin
  • 1 tablespoon Chili Powder
  • 1 teaspoon Dried Basil
  • 1 teaspoon Smoked Paprika
  • ½ teaspoon Cayenne - optional for heat
  • 2 Cups Chicken Stock - or beef

Pasta

  • 1 Pound Macaroni - substitute for whatever pasta you love or have

Garnishes

  • 1 tablespoon Shredded Cheddar Cheese - optional
  • 1 tablespoon Sour Cream
  • Jalapeno - diced
  • White Onion - diced
  • Green Onion

Instructions
 

Chili Instructions

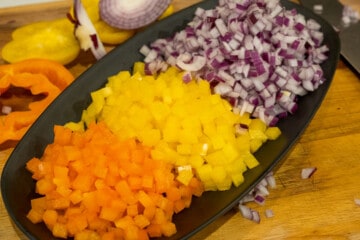
  • Dice the bell peppers and onions and set them aside. The size here is really a personal preference. I dice mine pretty small to hide them from the kids.
  • Slice the bacon into strips. Again, personal preference on size. If you want big chunks of bacon or smaller pieces throughout, it's your call.
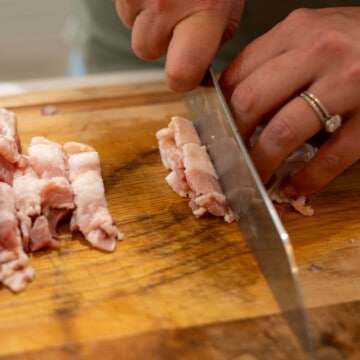
    Person slicing pork belly on a wooden cutting board for cooking or recipe preparation.
  • In the pan, pour just enough olive oil to cover the bottom of your Cooking bacon bits in a pot for flavorful dishes.

  • Next, add the Italian sausage and ground beef to the pan. Try not to go crazy chopping it into a million small pieces as it will release too much moisture into the pan too quickly and your meat will steam instead of brown. Browning = Flavor.
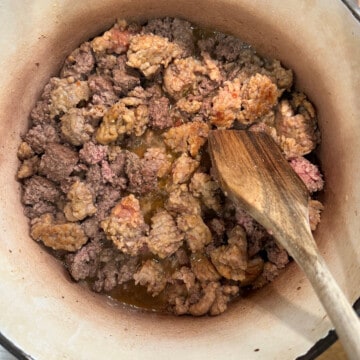
    Ground beef browning in a pot with a wooden spoon.
  • Once the meat is cooked all the way through, chop it up into smaller pieces and then remove it with a slotted spoon or Diced red onion, yellow bell pepper, and orange carrot on a black spoon over a pot.
  • Add your garlic and tomato paste and stir into your pepper mixture. Let brown slightly for 1-2 minutes but don't let it burn!
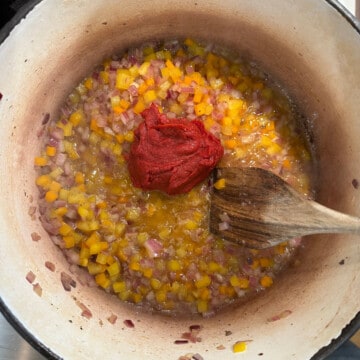
    Cooking a vegetable and meat sauce with tomato paste in a pot.
  • Add garlic and cook 1-2 more minutes but don't let it burn!
  • Next, add your diced tomatoes, chopped chipotle in adobo, browned meat, chicken stock, and all of your spices.
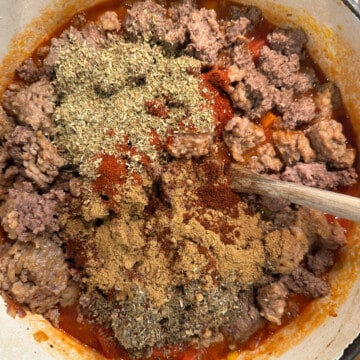
    Ground beef with spices and herbs in a cooking pot.
  • Give it a good mix, let it come to a simmer, and reduce the heat to low.
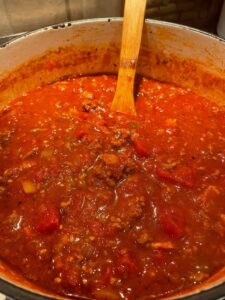
    Close-up of a simmering pot of homemade beef chili with vegetables.
  • From here on out the flavors only become more intense, but now that we are simmering we can start to taste and adjust. TASTE AS YOU GO. I can not express how important this is. You may need a pinch more salt or a few more cranks of pepper. Season, taste, adjust. Season, taste, and adjust.
  • The longer you let it simmer the more flavorful and tender your pot of chili will become. I recommend a solid 45 minutes but it can sit on the stove for up to 2 hours if you want.

    Close-up of spicy beef ramen with green onions and shredded cheese in a blue bowl.

Chili Mac Instructions

  • Bring a large pot of water to a boil. Add pasta and cook to your speficic pastas recommendation.
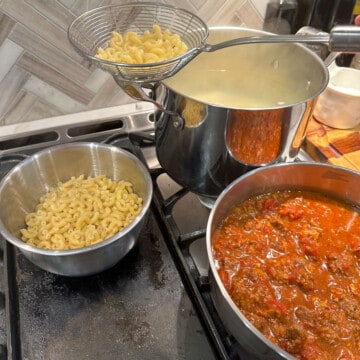
    Cooking pasta and sauce on a stovetop with a strainer and pots.
  • Reheat Chili to 165 degrees if using leftovers or store-bought.
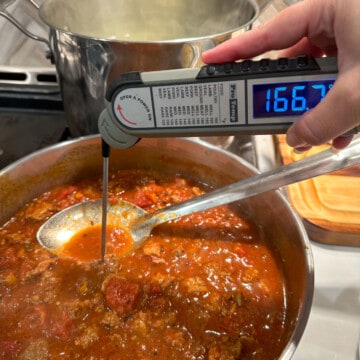
    Thermometer measuring stew temperature in a pot on the stove.

Assembly

  • Fill a bowl with pasta and top with the chili.
  • Garnish with all your favorite toppings and enjoy!
    Close-up of beef and pasta casserole topped with cheese and green onions.

Video

Notes

Pasta Choice: Feel free to substitute elbow macaroni with any pasta shape you have. Mixing different shapes can add a fun twist and help use up all those leftover bits!
Chili Age: If using leftover chili, make sure it's within its 3-4 day fridge lifespan for optimal flavor and safety.
Reheating: Store pasta and sauce separately for the best reheating results. Aim for a sauce temperature of 165°F and avoid overcooking the pasta.
Toppings: Have sour cream, diced onions, and jalapeños on hand for garnish. They add layers of flavor and texture.
Broth Splash: Keep some beef or chicken broth handy. A splash can revive the sauce if it's too thick or dry during reheating.
Cheese Options: While sharp cheddar is recommended, a Mexican cheese blend or pepper jack can add a different flavor profile.
Skillet Size: Use a large skillet for reheating to ensure even heat distribution. You can also just mix everything all together at once. 
Food Thermometer: It's a good idea to have one to check the sauce temperature during reheating. Safety first! 

Nutrition

Calories: 813kcalCarbohydrates: 63gProtein: 34gFat: 48gSaturated Fat: 16gPolyunsaturated Fat: 6gMonounsaturated Fat: 22gTrans Fat: 1gCholesterol: 105mgSodium: 1203mgPotassium: 1316mgFiber: 7gSugar: 12gVitamin A: 1983IUVitamin C: 66mgCalcium: 146mgIron: 7mg

Nutrition information is an estimate, calculated from the listed ingredients, and provided as a courtesy.

Keyword Chili, Leftovers, No Beans
Tried this recipe?Mention @tabethas.table!

More Recipes

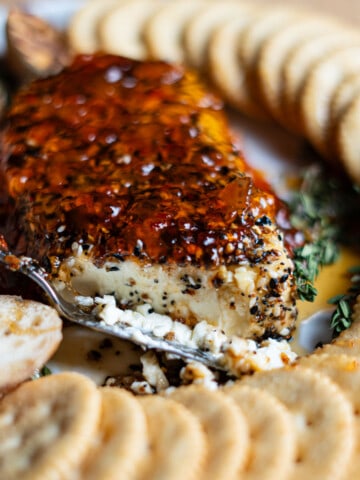
  • Cream cheese with spicy hot pepper jelly and crackers on a platter.
    Easy Smoked Cream Cheese with Hot Pepper Jelly
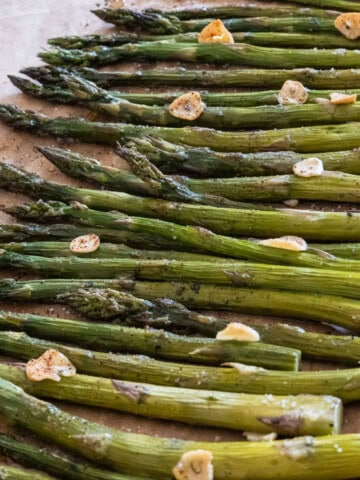
  • Fresh roasted asparagus topped with garlic slices and drizzled with hot honey.
    Easy Smoked Asparagus with Garlic & Hot Honey
  • Close-up of smoked baked potatoes topped with cheese, bacon, and green onions.
    Smoked Baked Potatoes (Crispy Skin, Fluffy Inside)
  • Garlic cloves simmering in oil with herbs and chili flakes in a black skillet.
    Easy Smoked Garlic Recipe Using Peeled Cloves

About Tabetha Klein

Hi, I'm Tabi — the chef behind Tabetha's Table. I'm a Le Cordon Bleu grad (Class Valedictorian, 2007) and former Lead Chef Instructor, which is a fancy way of saying I've spent my whole career teaching people to cook. These days that happens right here: real recipes, the why behind them, and exactly where people mess them up — so you don't. When the smoker's not running, I'm feeding Jon and the kids something new. Come hang out with me on @tabethastable on Instagram and Tabetha's Table on Pinterest.

Comments

No Comments

5 from 1 vote (1 rating without comment)

Did you make this recipe? Let me know! Cancel reply

Your email address will not be published. Required fields are marked *

Recipe Rating


Want to up your cooking game?

Sign up for our monthly newsletter and you'll also get a list of my Top Secret Ingredients that I use to level up my food!

GET THE LIST NOW!
Tabetha with Tabetha's Table

My journey began at Le Cordon Bleu, where my love of cooking and subsequently teaching really baked in. This is me pouring out what I've learned over the years and sharing it with the world. We are so glad you're here and hope you find something delicious while you're at it.

More about me →

Game Day Favorites

  • Creamy smoked queso dip served with tortilla chips for game day.
    Smoked Queso Dip Recipe: 3 Easy Variations for Game Day
  • Bacon-wrapped jalapeno poppers with lime and dipping sauce on wooden board.
    Smoked Jalapeno Poppers: Bacon-Wrapped Goodness
  • Close-up of beef chili topped with cheese and served with cornbread slices.
    The Best Dutch Oven Chili Recipe for Families
  • Delicious jalapeno shrimp appetizer with green peppers and cheese on a brown paper background.
    Jalapeno Shrimp Appetizer
See all Game Day Recipes

Footer

↑ back to top

About

  • Privacy Policy

Subscribe

  • Subscribe for our Secret Ingredients

Contact

  • Contact

Copyright © 2026 Tabetha's Table

As an Amazon Associate I earn from qualifying purchases.

How Did It Turn Out?

Your vote:


Your rating helps other home cooks find this recipe, and reading these is hands-down my favorite part of the day. Tell me everything!

A rating is required
A name is required
An email is required

Loaded Chili Mac

Loaded Chili Mac

Ingredients

Chili
  • 2 Tbsp Olive Oil
  • ½ Pound Bacon
  • 1 Pound Italian Sausage
  • 1 Pound Ground Beef (90/10 if possible)
  • 1 Red Onion (Diced)
  • 2 Bell Pepper (Diced)
  • 2 Tbsp Garlic (Minced)
  • 6 Ounces Tomato Paste (1 small can)
  • 58 Ounces Diced Tomatoes (or mix of diced and sauce)
  • 1 Tbsp Dried Oregano
  • 1 Tbsp Cumin
  • 1 Tbsp Chili Powder
  • 1 tsp Dried Basil
  • 1 tsp Smoked Paprika
  • ½ tsp Cayenne (optional for heat)
  • 2 Cups Chicken Stock (or beef)
Pasta
  • 1 Pound Macaroni (substitute for whatever pasta you love or have)
Garnishes
  • 1 Tbsp Shredded Cheddar Cheese (optional)
  • 1 Tbsp Sour Cream
  • Jalapeno (diced)
  • White Onion (diced)
  • Green Onion

Equipment

  • Dutch Oven
  • Large Pot
  • Colander
1
Dice the bell peppers and onions and set them aside. The size here is really a personal preference. I dice mine pretty small to hide them from the kids.
Person slicing pork belly on a wooden cutting board for cooking or recipe preparation.
2
Slice the bacon into strips. Again, personal preference on size. If you want big chunks of bacon or smaller pieces throughout, it's your call.
3
In the pan, pour just enough olive oil to cover the bottom of your dutch oven or large pot and put on medium heat.
Cooking bacon bits in a pot for flavorful dishes.
4
Add the bacon and cook until it's just crispy, remove, and set to the side.
Ground beef browning in a pot with a wooden spoon.
5
Next, add the Italian sausage and ground beef to the pan. Try not to go crazy chopping it into a million small pieces as it will release too much moisture into the pan too quickly and your meat will steam instead of brown. Browning = Flavor.
6
Once the meat is cooked all the way through, chop it up into smaller pieces and then remove it with a slotted spoon or spider and set aside. DON'T throw the fat at the bottom of the pan away!
7
This is a great time to get all your cans of diced tomatoes and paste open and ready.
Diced red onion, yellow bell pepper, and orange carrot on a black spoon over a pot.
8
Add the peppers and onions to the pan and cook for 3-5 minutes or until soft.
Cooking a vegetable and meat sauce with tomato paste in a pot.
9
Add your garlic and tomato paste and stir into your pepper mixture. Let brown slightly for 1-2 minutes but don't let it burn!
10
Add garlic and cook 1-2 more minutes but don't let it burn!
Ground beef with spices and herbs in a cooking pot.
11
Next, add your diced tomatoes, chopped chipotle in adobo, browned meat, chicken stock, and all of your spices.
Close-up of a simmering pot of homemade beef chili with vegetables.
12
Give it a good mix, let it come to a simmer, and reduce the heat to low.
13
From here on out the flavors only become more intense, but now that we are simmering we can start to taste and adjust. TASTE AS YOU GO. I can not express how important this is. You may need a pinch more salt or a few more cranks of pepper. Season, taste, adjust. Season, taste, and adjust.
Close-up of spicy beef ramen with green onions and shredded cheese in a blue bowl.
14
The longer you let it simmer the more flavorful and tender your pot of chili will become. I recommend a solid 45 minutes but it can sit on the stove for up to 2 hours if you want.
Cooking pasta and sauce on a stovetop with a strainer and pots.
15
Bring a large pot of water to a boil. Add pasta and cook to your speficic pastas recommendation.
Thermometer measuring stew temperature in a pot on the stove.
16
Reheat Chili to 165 degrees if using leftovers or store-bought.
17
Fill a bowl with pasta and top with the chili.
Close-up of beef and pasta casserole topped with cheese and green onions.
18
Garnish with all your favorite toppings and enjoy!

Hope you enjoyed cooking this recipe!

Please rate this recipe to help others find it.

step 1 of 18

Recipe Ratings without Comment

Something went wrong. Please try again.