The Dutch oven, often known as one of the most versatile pieces of cookware, is a staple for many home cooks. It's one of my favorite kitchen tools as is known for its ability to handle high temperatures, slow cooking, and simple tasks like browning meat. One question that often arises is, "Can you put a Dutch oven on the stove?"

But The good news is, yes, you can! This article will give you eight top tips on how best to use your Dutch oven on various stove types. Making it ideal for a wide range of delicious meals.
Jump to:
- 1. Understanding Your Dutch Oven
- 2. Using Dutch Ovens on Different Stovetops
- 3. Temperature Tips for Dutch Ovens
- 4. Using the Dutch Oven Lid
- 5. Cleaning and Caring for Your Dutch Oven
- 6. Additional Accessories for Dutch Ovens
- 7. Understanding Cooking Times with Dutch Ovens
- 8. Choosing the Right Dutch Oven for Your Needs
- Recipes for Your Dutch Oven
- FAQ
- 💬 Comments
1. Understanding Your Dutch Oven
There are several types of Dutch ovens, made from different materials. These include the enameled cast-iron Dutch oven, the uncoated cast-iron Dutch oven, the ceramic Dutch oven, the Burgundian clay Dutch oven, and the stainless steel Dutch oven. Of these, the enameled cast-iron Dutch oven, like Le Creuset Dutch ovens, are amongst the best Dutch ovens due to their ability to distribute heat evenly and withstand both low and high temperatures.
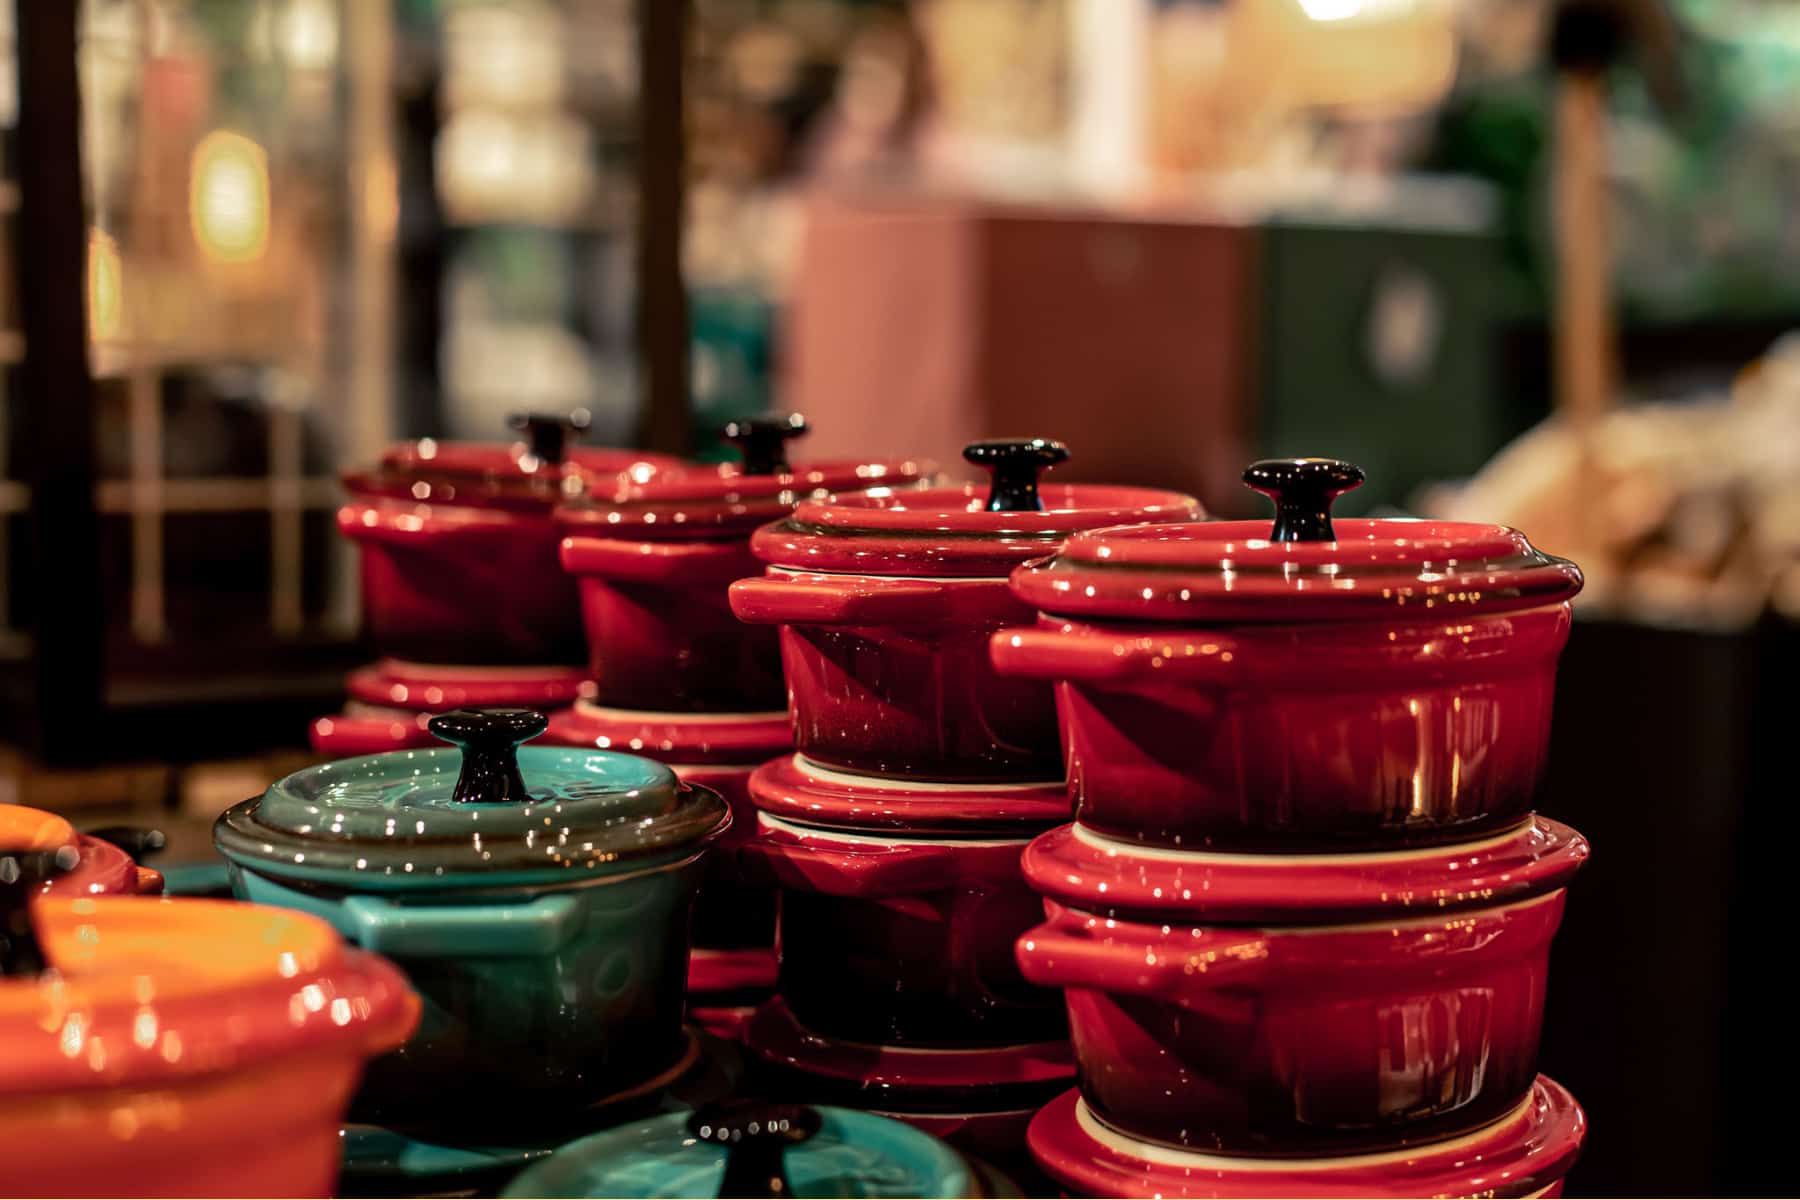
Dutch ovens are heavy-duty pots, traditionally made from heavy cast iron. The smaller size is a good choice for a single home cook, while the larger size is ideal for feeding a crowd. A good Dutch oven, like the 6-quart Dutch oven, which is around 13 pounds, and is large enough to accommodate hearty root vegetables and tender meats, making it perfect for one-pot meals.
One of the key differences between the Emile Henry Dutch Oven, made with Burgundian clay, and traditional cast iron Dutch ovens is the weight. The Emile Henry Dutch Oven is significantly lighter, with a weight of approximately 11.8 pounds. This makes it easier to handle, especially when full.
2. Using Dutch Ovens on Different Stovetops
Dutch ovens are unique in their adaptability to various heat sources, making them one of the most versatile pieces of cookware. They can be used on a variety of stovetops, including gas, electric, glass, and induction.
However, it's crucial to be aware of how your specific type of Dutch oven interacts with these various heat sources. This is especially important when considering the materials of your Dutch oven—be it enameled cast iron, uncoated cast iron, ceramic, or stainless steel—and the nature of your stovetop.
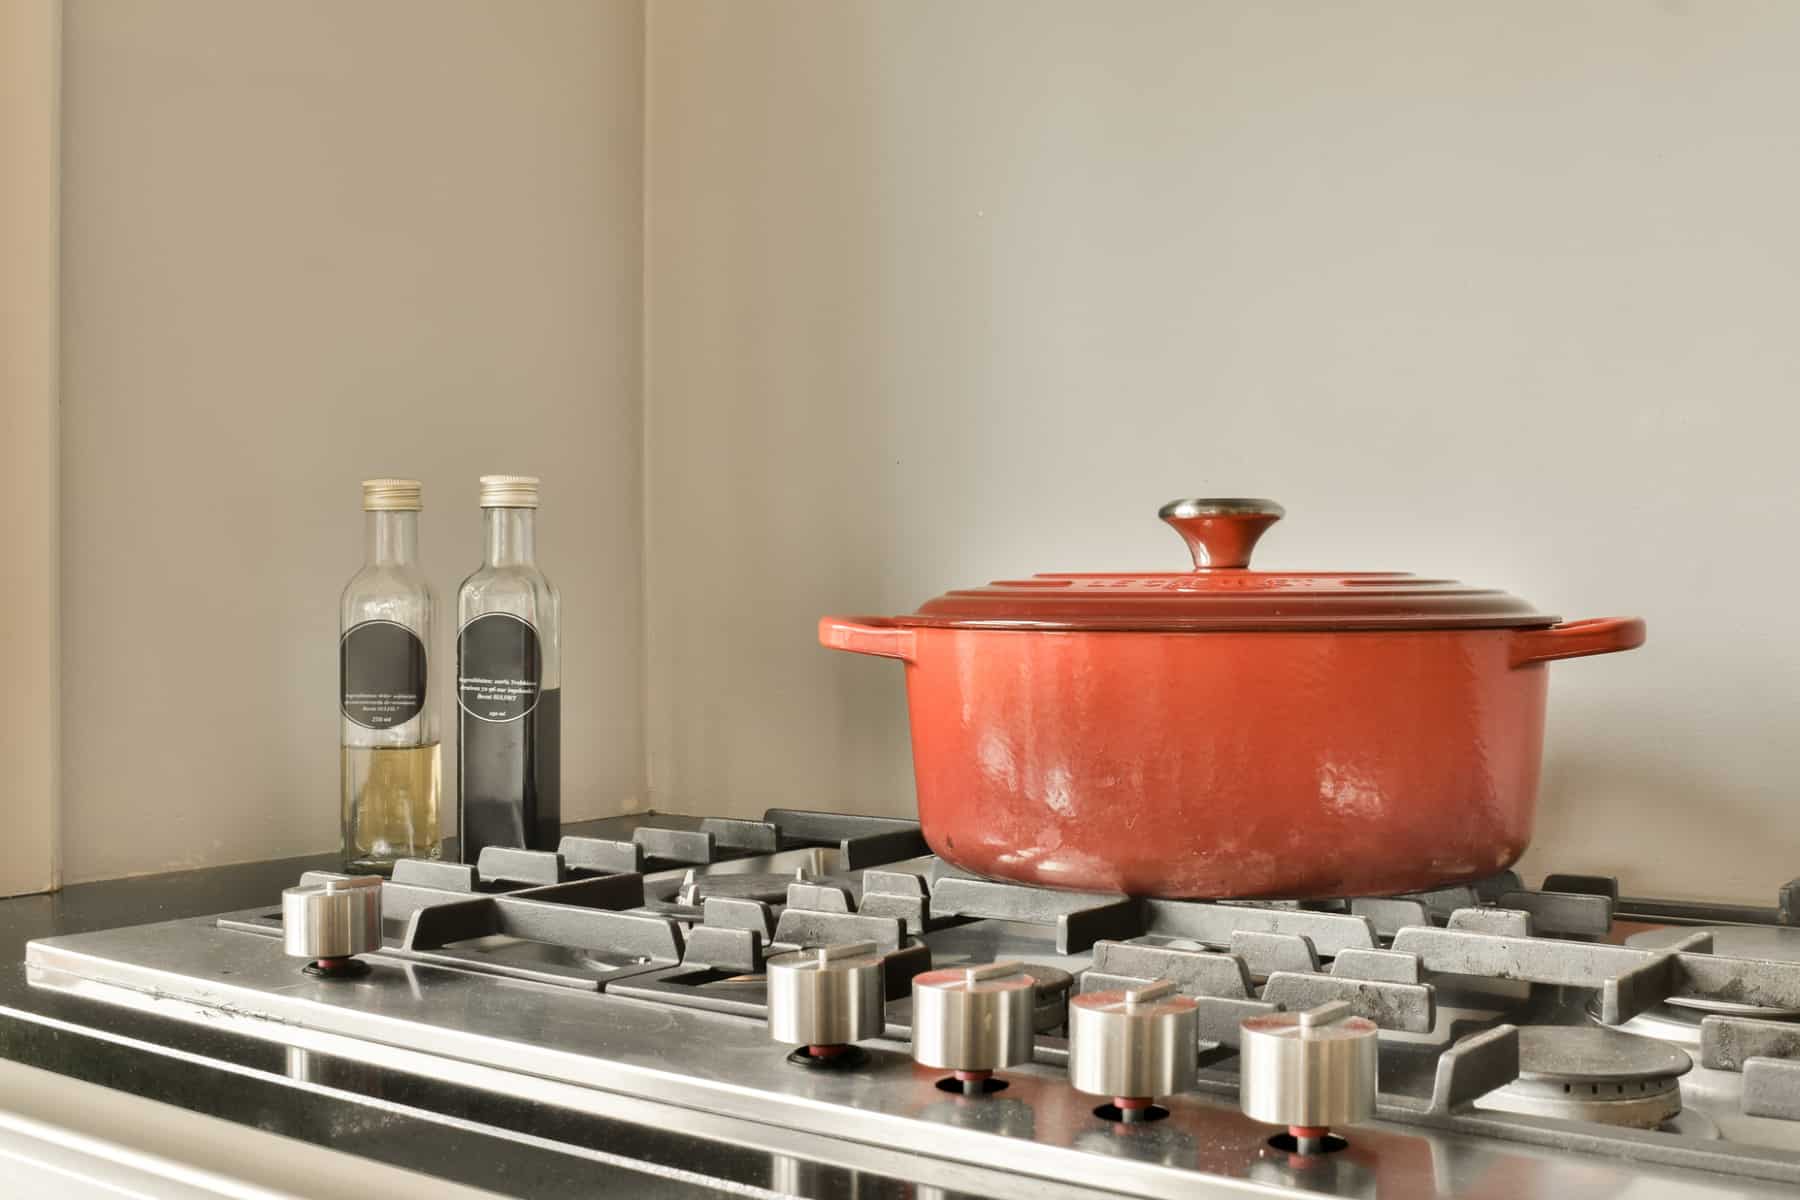
Gas Stovetops
Iron Dutch ovens can safely be used on gas stovetops. The open flame provides even heat to the bottom of the Dutch oven, preventing hot spots and uneven cooking.
Electric Stovetops
If you're cooking with an electric stovetop, use caution. Electric plates can potentially scratch the bottom of your Dutch oven, particularly if it's an enameled Dutch oven. Avoid sliding the pot across the burner to prevent damage.
Glass Stovetops
Much like electric stovetops, glass stovetops can scratch the bottom of the Dutch oven. Care should be taken to lift the pot when moving it, rather than sliding it.
Induction Cooktops
Induction cooktops work through magnetic fields, making them a good match for Dutch ovens. An induction stovetop provides rapid, evenly distributed heat, making it ideal for Dutch oven cooking.
3. Temperature Tips for Dutch Ovens
Low Temperature
Low heat is perfect for slow cooking in your Dutch oven. This method allows for flavors to develop over a long time, perfect for stews and soups.
High Temperatures
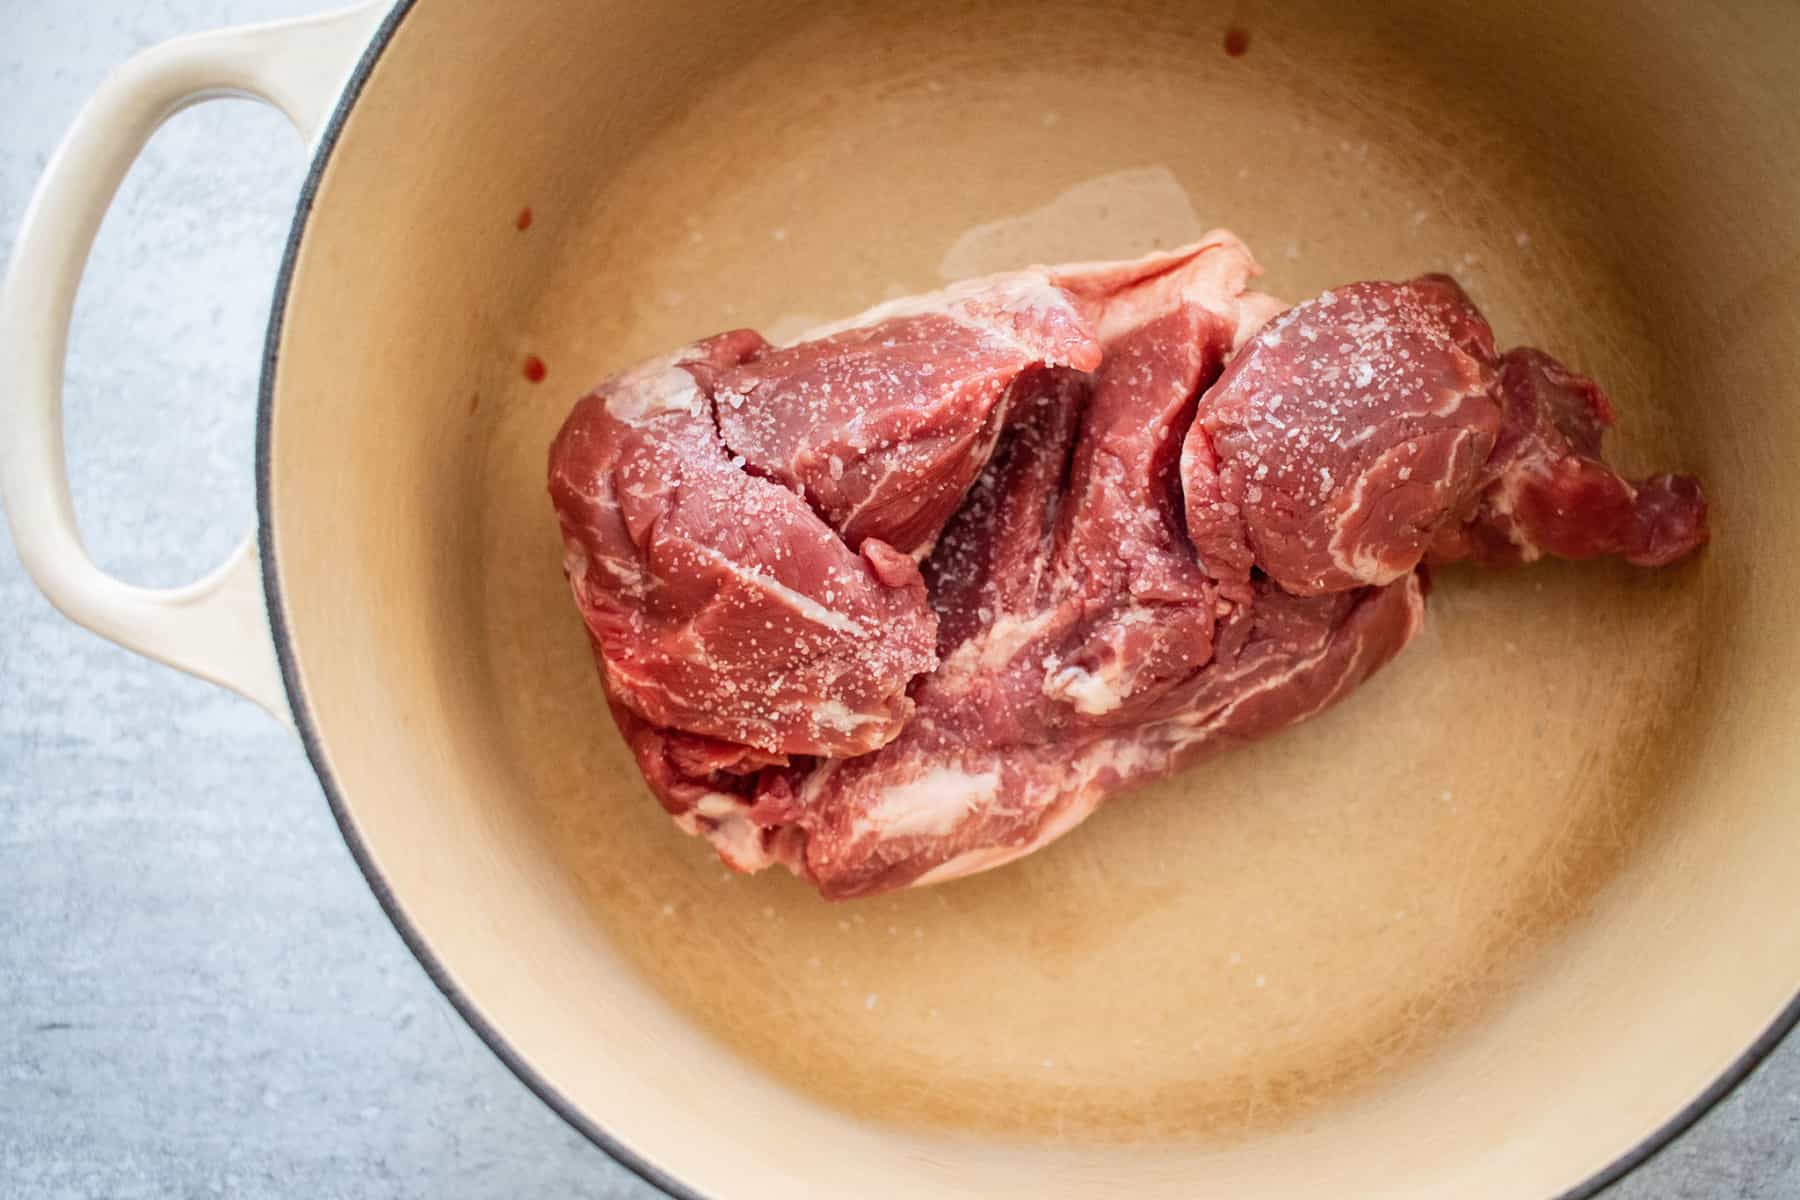
High heat is best for searing or browning meat. When used at high temperatures, a little oil can prevent sticking in your Dutch oven.
Temperature Changes
Avoid drastic temperature changes to prevent damage. This means you shouldn't put a cold Dutch oven on a hot burner or fill a hot Dutch oven with cold water.
4. Using the Dutch Oven Lid
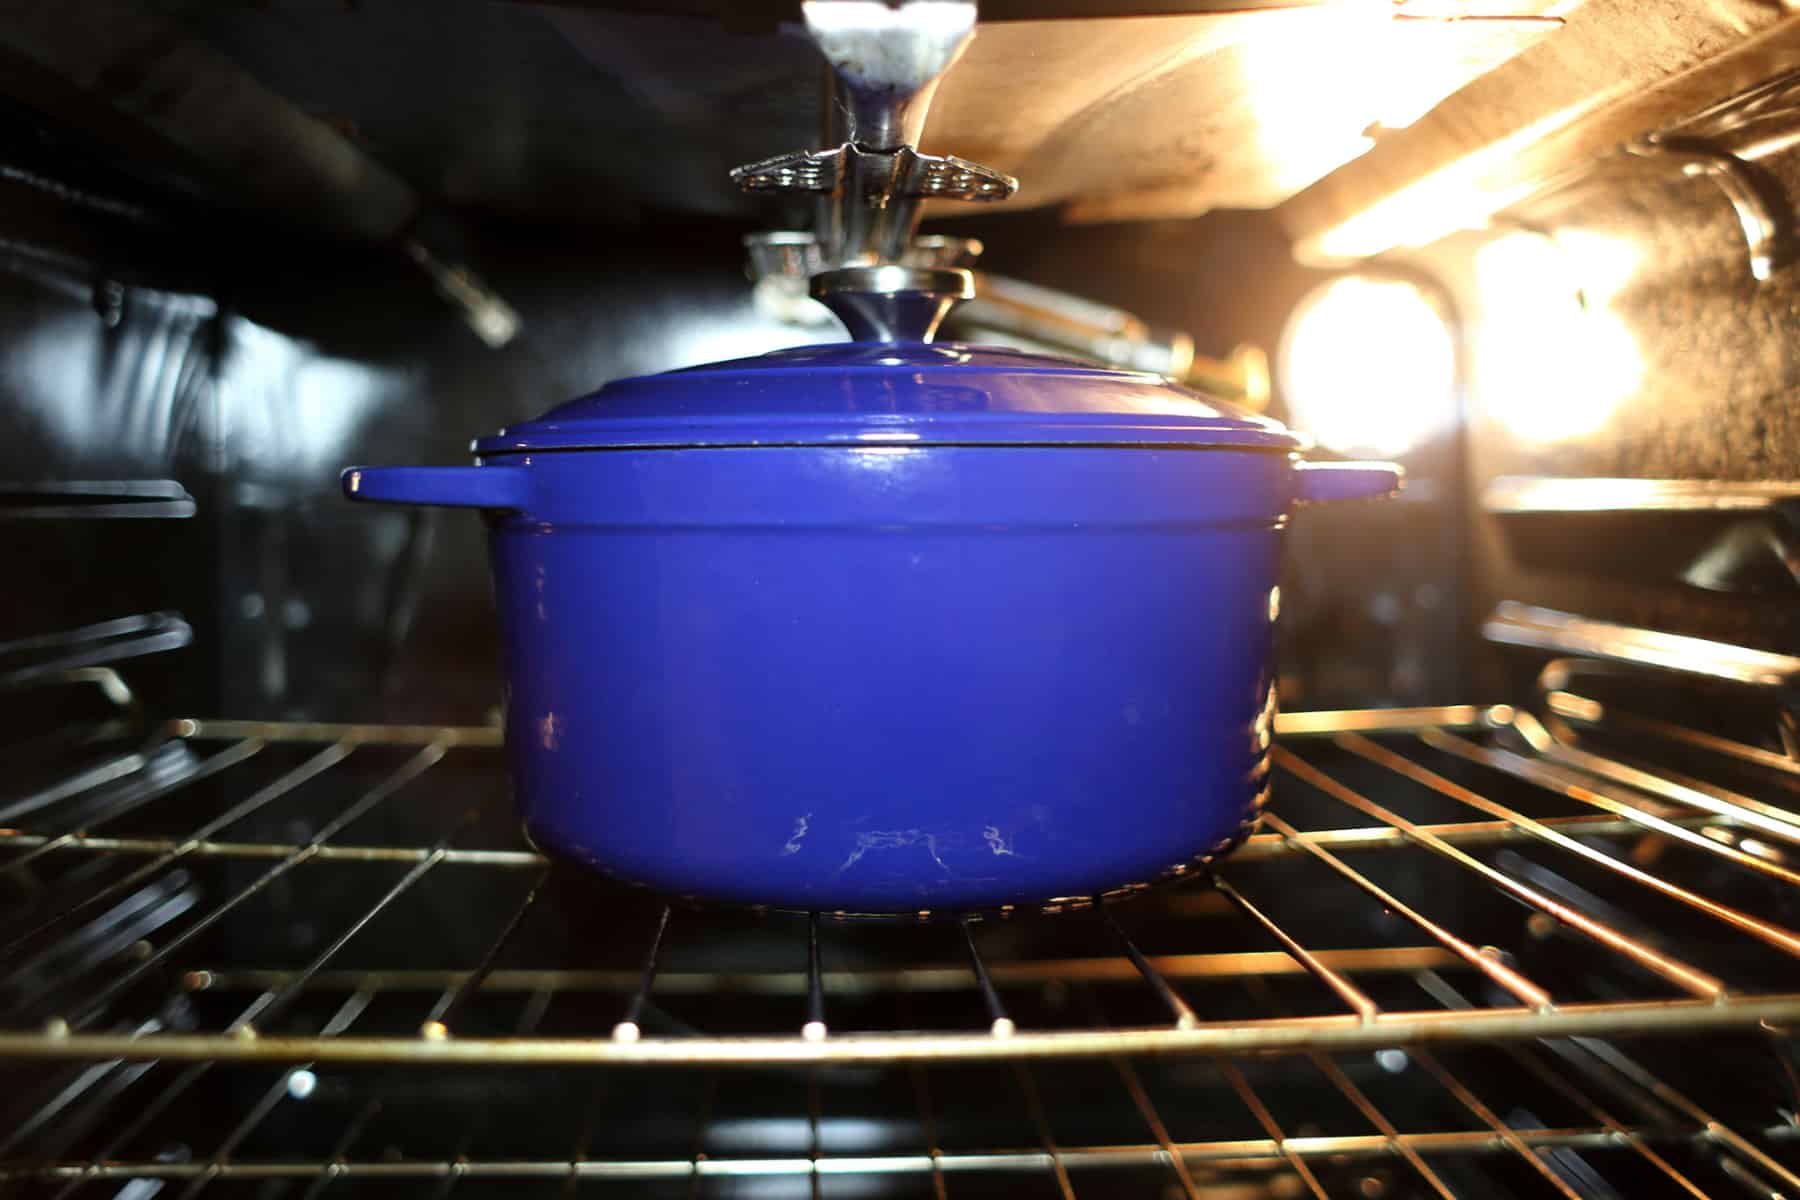
The tight-fitting lid of a Dutch oven traps heat and moisture, making it perfect for slow-cooking dishes. But don't forget to handle the lid with oven mitts to prevent burns!
Chef Tip:
Lids can often get stained easily while braising dishes in the oven. Placing a piece of foil on top of your Dutch oven and then placing the lid on top will make cleaning easier, and improve the seal during the cooking process.
5. Cleaning and Caring for Your Dutch Oven
After using your Dutch oven, clean it while it's still warm. Warm water and a soft sponge will usually do the trick. Avoid harsh detergents and steel wool, which can damage the enamel coating.

Caring for Enameled Dutch Ovens
Enameled Dutch ovens, like Le Creuset Dutch ovens, are beloved for their convenience and colorful aesthetics. They feature an enamel coating that eliminates the need for seasoning, often found in traditional cast iron cookware, and are much easier to clean. However, this enamel finish, while durable, requires some special care to prevent damage and prolong its lifespan.
Dealing with Acidic Foods
One critical aspect to remember is how enameled Dutch ovens interact with acidic foods. Tomato-based dishes, vinegar-infused concoctions, or any recipes involving wine, citrus, or other acidic ingredients can wear down the enamel finish if left sitting for extended periods. While cooking with these ingredients is perfectly fine, leaving them in the pot overnight, for example, could lead to enamel degradation over time.
So, after cooking such dishes, it's good practice to transfer leftovers to another container before storing them. Always clean your enameled Dutch oven after use to prevent any acidic food remnants from causing damage.
Cleaning Tips
When cleaning your enameled Dutch oven, avoid using harsh abrasive cleaners or rough scrubbing pads. Instead, opt for mild dish soap and a soft cloth or nylon scrub brush. The pot should ideally be cleaned while it's still warm as this makes it easier to remove food particles. However, avoid subjecting it to rapid temperature changes, like running cold water into a hot pot, as this can lead to thermal shock and may cause cracking or crazing in the enamel finish.
For stubborn food residues, fill the Dutch oven with a mixture of warm water and baking soda and let it sit for a few hours, or even overnight. Afterward, the residue should be soft and easy to remove with a brush.
General Handling
Despite their hardy appearance, enameled Dutch ovens can chip if mishandled. Avoid dragging the pot across your stovetop or slamming the lid. Always lift the Dutch oven when moving it, and use oven mitts or pot holders to avoid burns, given that the handles can get very hot.
In essence, the care and maintenance of an enameled Dutch oven are simple tasks that, when done consistently, can extend the life of your pot and preserve the beauty of its enamel finish. You'll be rewarded with many years of delicious meals and peace of mind from properly caring for your cookware.
Caring for Cast Iron Dutch Ovens
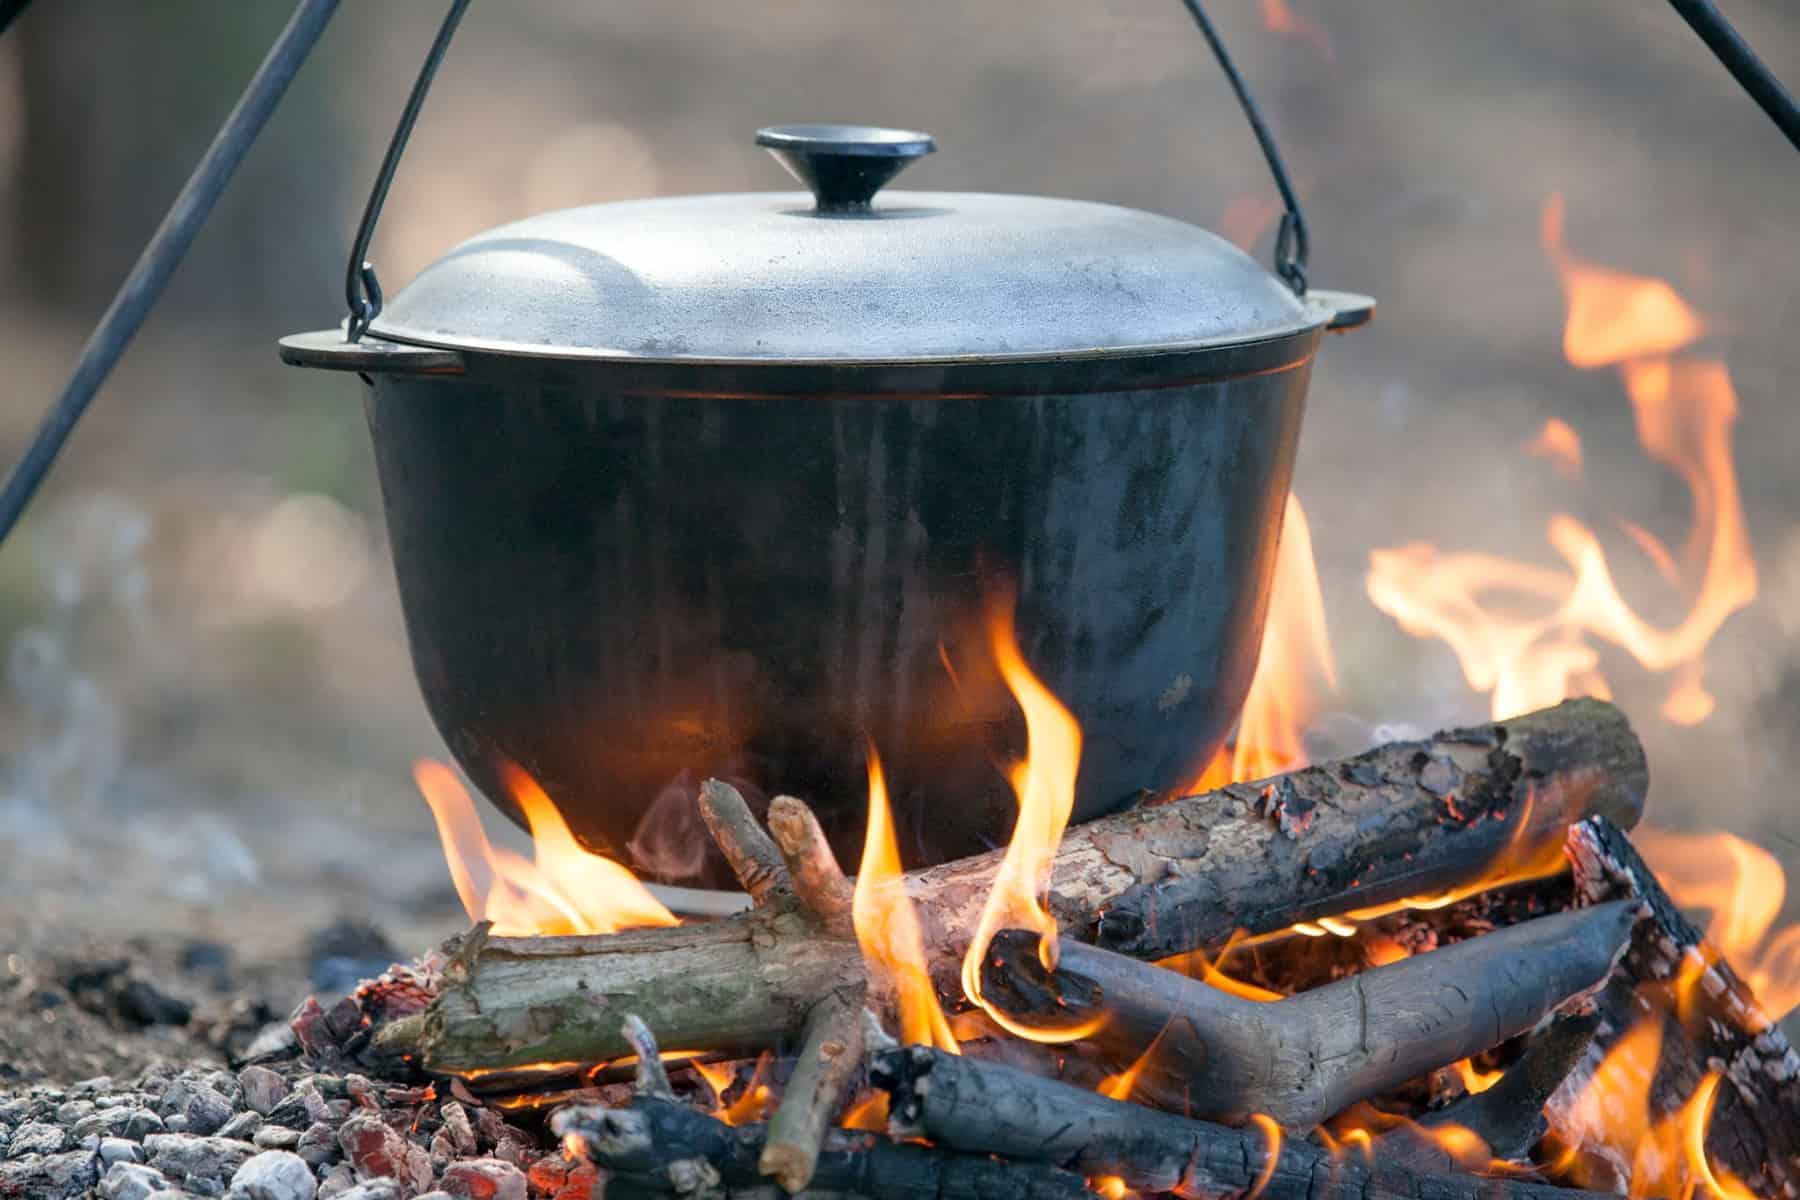
Cast iron Dutch ovens are revered for their impressive heat retention, durability, and versatility. They can go from stovetop to oven, even to an open flame. However, unlike their enameled counterparts, cast iron Dutch ovens require a bit more care and attention to maintain their functionality and extend their lifespan. One such essential practice is seasoning the Dutch oven after each use.
What is Seasoning?
Seasoning is the process of baking a thin layer of oil onto the Dutch oven's surface at a high temperature. This process creates a natural, easy-release finish that improves with use, preventing food from sticking and protecting the Dutch oven from rust. It also provides the cast iron with a glossy, non-stick surface that's perfect for cooking and enhances the flavor of your food over time.
How to Season Your Cast Iron Dutch Oven
To season your cast iron Dutch oven, wash it with warm water and mild soap. Dry it thoroughly. Apply a thin layer of vegetable oil (or any high smoke point oil) to the entire Dutch oven—inside and out, including the lid.
Next, place the Dutch oven upside down on the center rack of a preheated oven (set to around 375°F - 400°F). Bake for an hour, then turn off the oven and let the Dutch oven cool down inside the oven. This allows the pores of the iron to absorb the oil, creating a protective layer.
After Every Use
After cooking with your cast iron Dutch oven, clean it while it's still warm. Avoid using harsh detergents or metal scrubbing pads; instead, use a brush or non-metallic scrubber and a little bit of soap. Rinse with warm water and dry it thoroughly to prevent rust. Once it's dry, apply a light coating of oil—this could be a few drops of oil wiped with a paper towel—to keep the surface seasoned and protected.
Stripping and Re-seasoning
If your Dutch oven becomes dull, has rust spots, or food sticks to the surface, it might be time to strip and re-season the pot. You can strip the old seasoning by using a mixture of equal parts vinegar and water and soak the Dutch oven for up to 4 hours. Rinse and dry, then follow the seasoning steps mentioned earlier.
In conclusion, while cast iron Dutch ovens require a little extra care, the results are worth it. By properly seasoning and caring for your cast iron Dutch oven, you're not just maintaining a piece of cookware; you're cultivating a legacy that can last for generations.
6. Additional Accessories for Dutch Ovens
For those who want to use their Dutch oven on an open fire, replacement knobs made of metal can be a useful accessory, as they can withstand higher temperatures than conventional knobs.
7. Understanding Cooking Times with Dutch Ovens
In the culinary world, patience is indeed a virtue. This stands especially true when it comes to mastering cooking times with Dutch ovens. Dutch oven cooking times can vary based on several factors such as the type of food, the size of your Dutch oven, and the heat source.
High Heat Cooking
For high-temperature cooking tasks such as browning meat or simmering tomato paste, heat the Dutch oven over medium-high heat for a few minutes before adding a little oil. Allow the food to cook undisturbed until it achieves a nice brown crust. This usually takes about 4-5 minutes.
Slow Cooking
Low and slow is the golden rule for cooking tender meats and hearty root vegetables in a Dutch oven. Depending on the recipe, slow cooking times can range from 2 hours to an entire day. It's essential to maintain a consistently low temperature and resist the urge to lift the lid too frequently. This could let out precious heat and moisture, extending your cooking times.

Baking
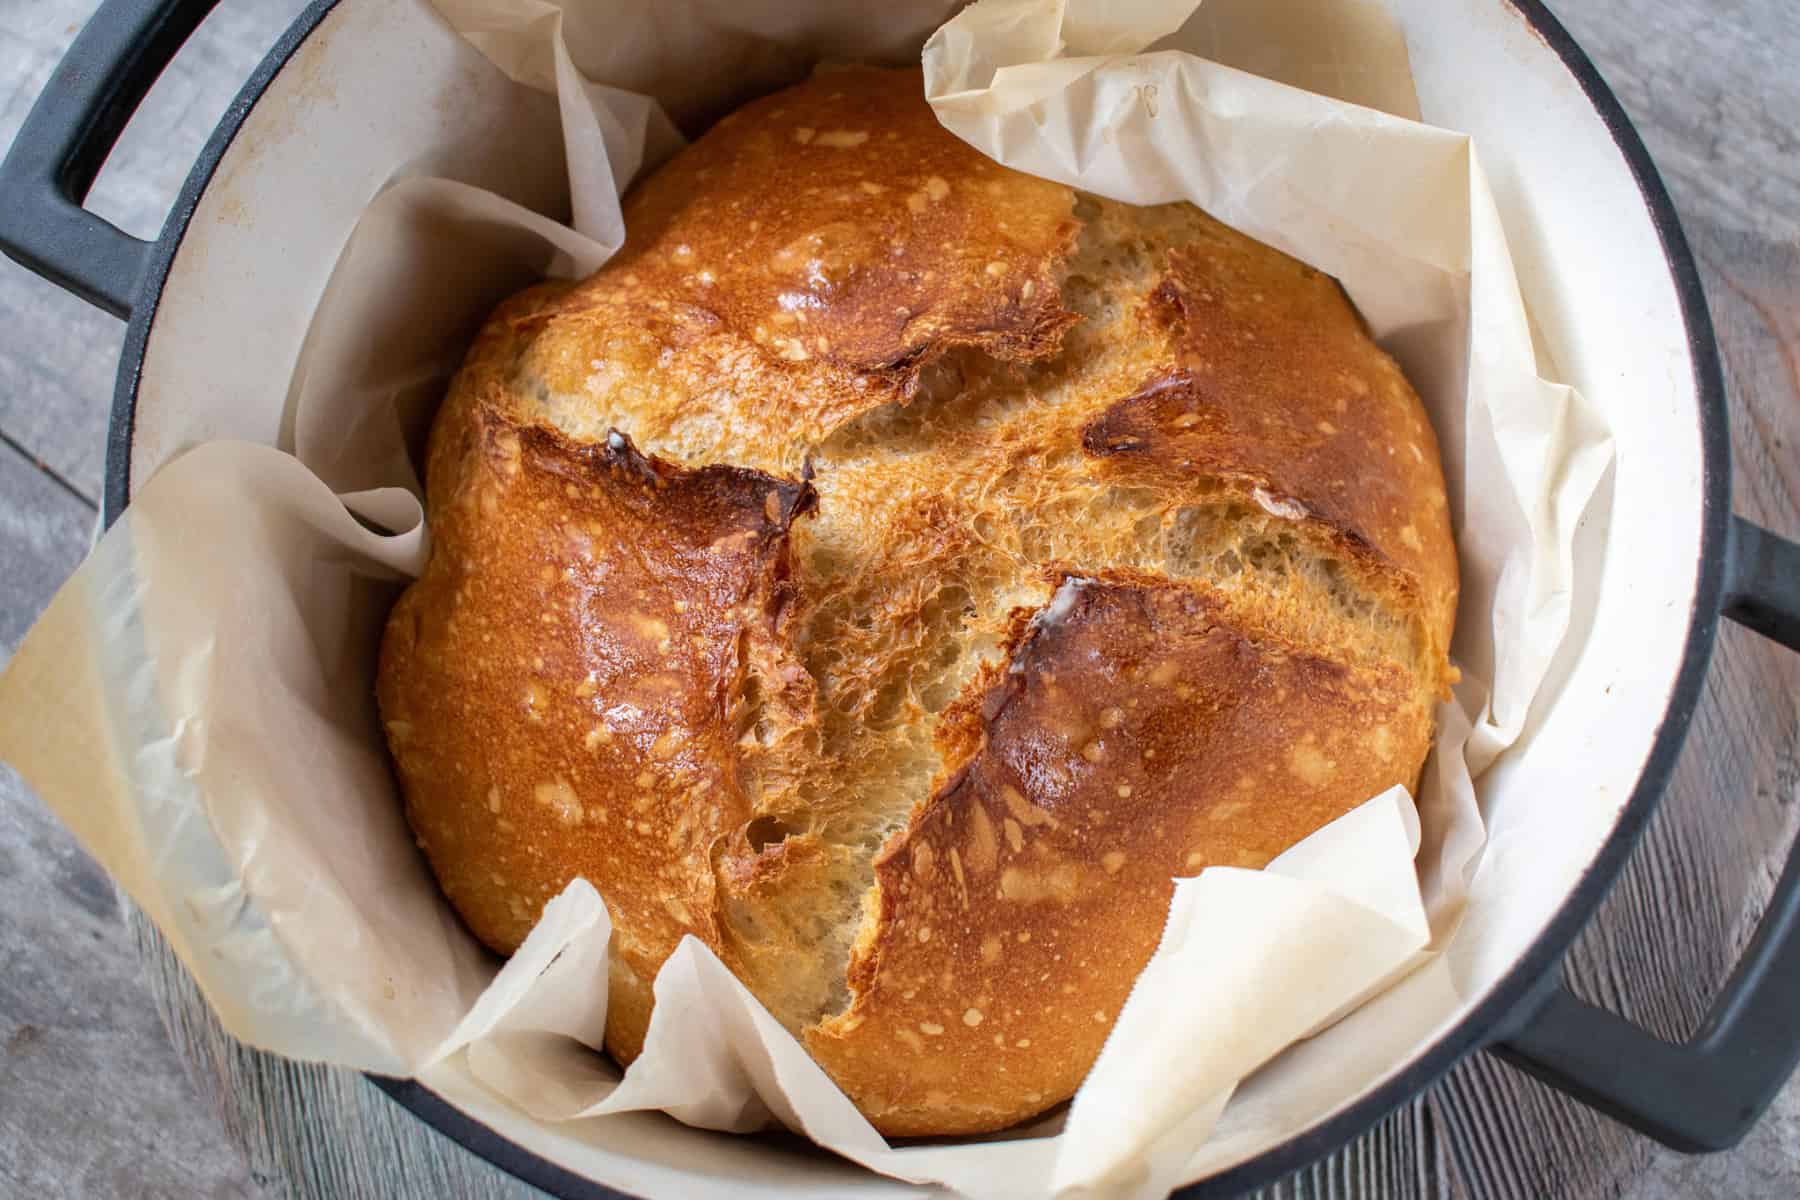
Yes, you can bake in a Dutch oven! Bread, for instance, usually takes about 30-45 minutes to bake in a preheated Dutch oven, with the lid on for the first part of the baking to create steam. Then remove the lid for the final stage to let the crust brown and crisp up.
Remember, these are general guidelines. Always refer to your specific recipe for accurate cooking times. In any case, the ability to adjust and be flexible is crucial as cooking times may require adjustments based on the exact temperature and the individual characteristics of your Dutch oven.
8. Choosing the Right Dutch Oven for Your Needs
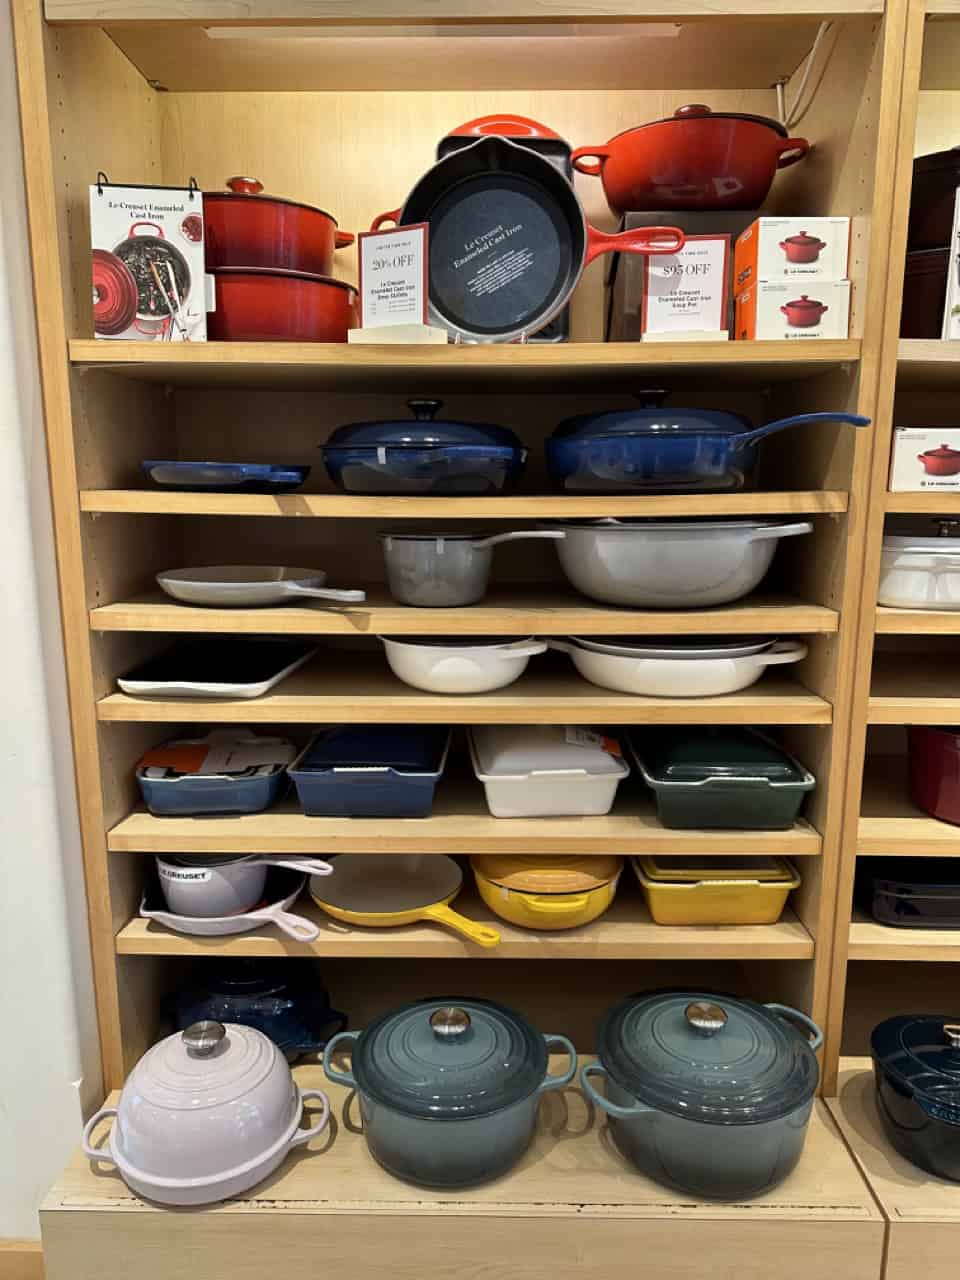
When it comes to picking the perfect Dutch oven for your kitchen, it's not one-size-fits-all. The key is to find a Dutch oven that fits your cooking needs, the size of your family, your storage capacity, and your budget.
Shape and Size
Dutch ovens come in various shapes and sizes, from round to oval, and in capacities ranging from 2 quarts up to 13 quarts or more. Round Dutch ovens are the most common and work well for most recipes. In contrast, oval Dutch ovens, like the 6-quart Dutch ovens, are excellent for cooking long cuts of meat like a whole chicken or a leg of lamb.
For a single home cook or small family, a Dutch oven between 6 and 8 quarts might suffice. However, for larger families or if you like to entertain, opt for a larger size. The high sides of a larger Dutch oven also prevent spillovers during cooking.
Material
The material of your Dutch oven impacts its performance and care. A regular cast iron Dutch oven is durable and retains heat well but requires regular seasoning. An enameled cast iron Dutch oven, like the Le Creuset Dutch oven, is resistant to rust, doesn't require seasoning, and comes in various colors, but it can be more expensive.

The Emile Henry Dutch Oven is designed for use on all types of stovetops, including induction hobs (with an induction disk), and in the traditional oven. It is also safe for use in the microwave and freezer, and it's dishwasher-safe for easy cleaning. The ceramic will not lose its color over time, even with regular dishwasher use.
Lid Fit
A tight-fitting lid is crucial for Dutch oven cooking as it traps heat and moisture within the pot. It ensures even cooking and helps to develop flavors in your food. Make sure the lid of the Dutch oven you choose fits securely.
Price and Brand
Lastly, the cost can be a deciding factor. Dutch ovens range from affordable to quite expensive, with brands like Le Creuset or Staub on the higher end. While pricier options often offer better heat retention and durability, many affordable Dutch ovens perform quite well.
Choosing a Dutch oven is a personal decision, so consider what will work best for your cooking habits and lifestyle. No matter which you choose, a good Dutch oven can be an investment that lasts for many years, if not a lifetime.
So whether you're a seasoned chef or a novice home cook, a Dutch oven can be an excellent addition to your kitchen arsenal. With proper care and usage, your Dutch oven will serve you well for a long time, helping you create countless delicious meals.
Recipes for Your Dutch Oven
Here are three delicious recipes from our own collection that showcase the Dutch oven's capabilities. From a comforting Italian Sausage Tortellini Soup to succulent Pork Carnitas, and a hearty Beef Stew, these dishes not only answer the question, "Can you put a Dutch oven on the stove?" but also demonstrate why you'd want to.
Italian Sausage Tortellini Soup
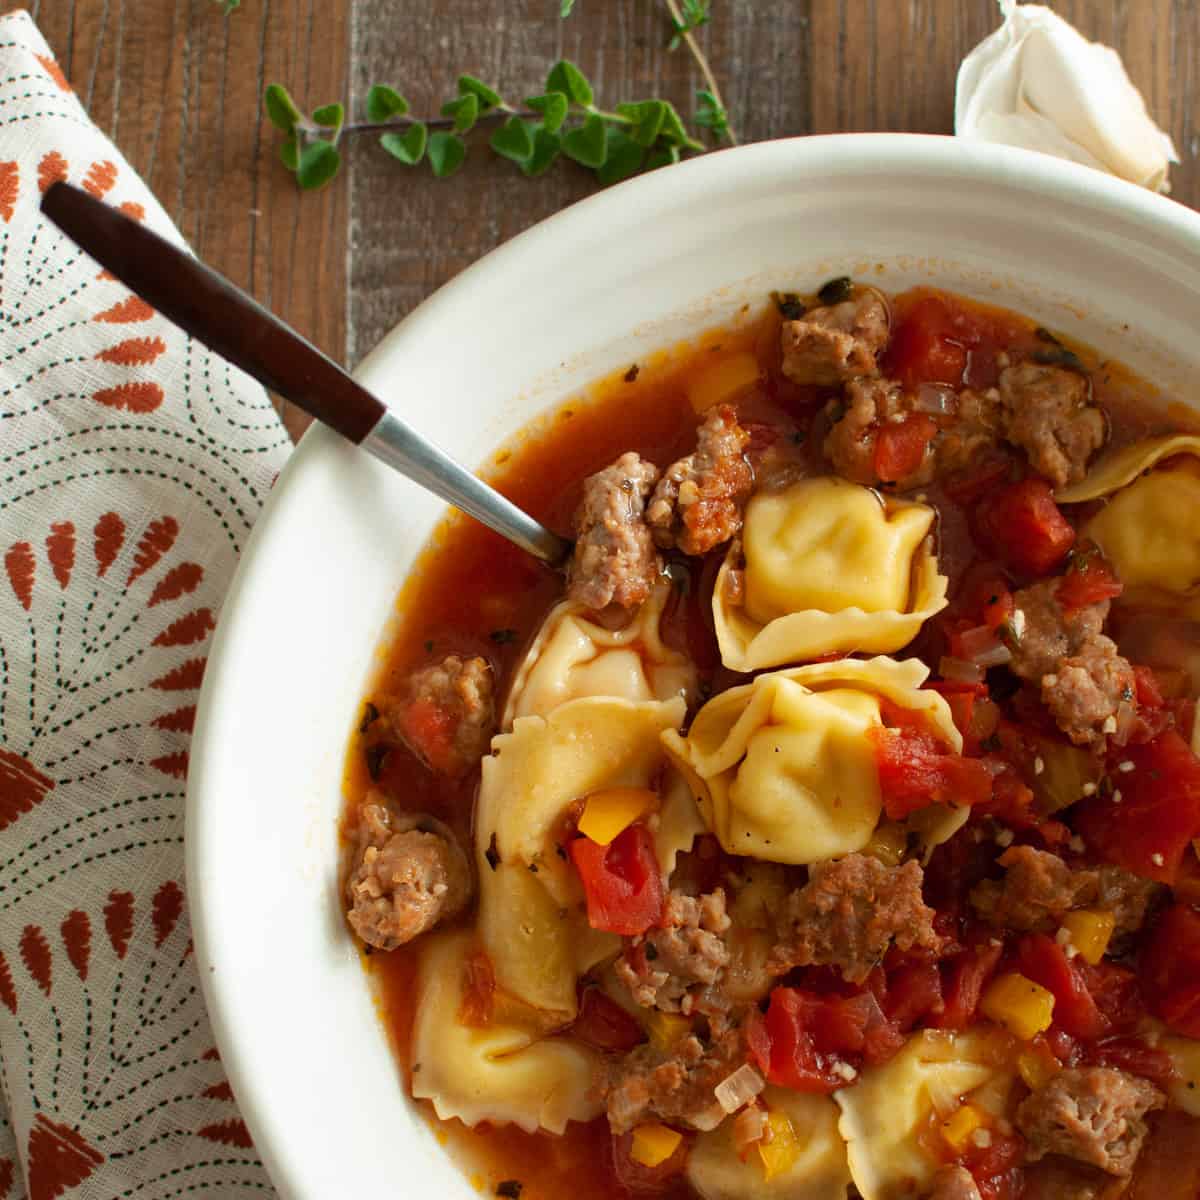
This hearty soup combines Italian sausage, tortellini, and a variety of vegetables in a savory broth. The recipe begins by browning the sausage in the Dutch oven, then adding onions, carrots, and garlic. Chicken broth, diced tomatoes, and spices are added next, followed by the tortellini. The soup is simmered until the tortellini is cooked, then finished with spinach and cream. The Dutch oven is perfect for this recipe as it allows for even heat distribution and keeps the soup warm for serving.
Pork Carnitas

This recipe transforms pork shoulder into a flavorful Mexican feast using a Dutch oven. The pork is first seared in the Dutch oven, then slow-cooked with ingredients like orange juice, chicken stock, red onions, garlic, cumin, oregano, and bay leaves. The Dutch oven's ability to work both on the stovetop and in the oven makes it perfect for this recipe. After slow cooking, the pork is tender and juicy, ready to be served in tacos, burrito bowls, or salads.
Beef Stew
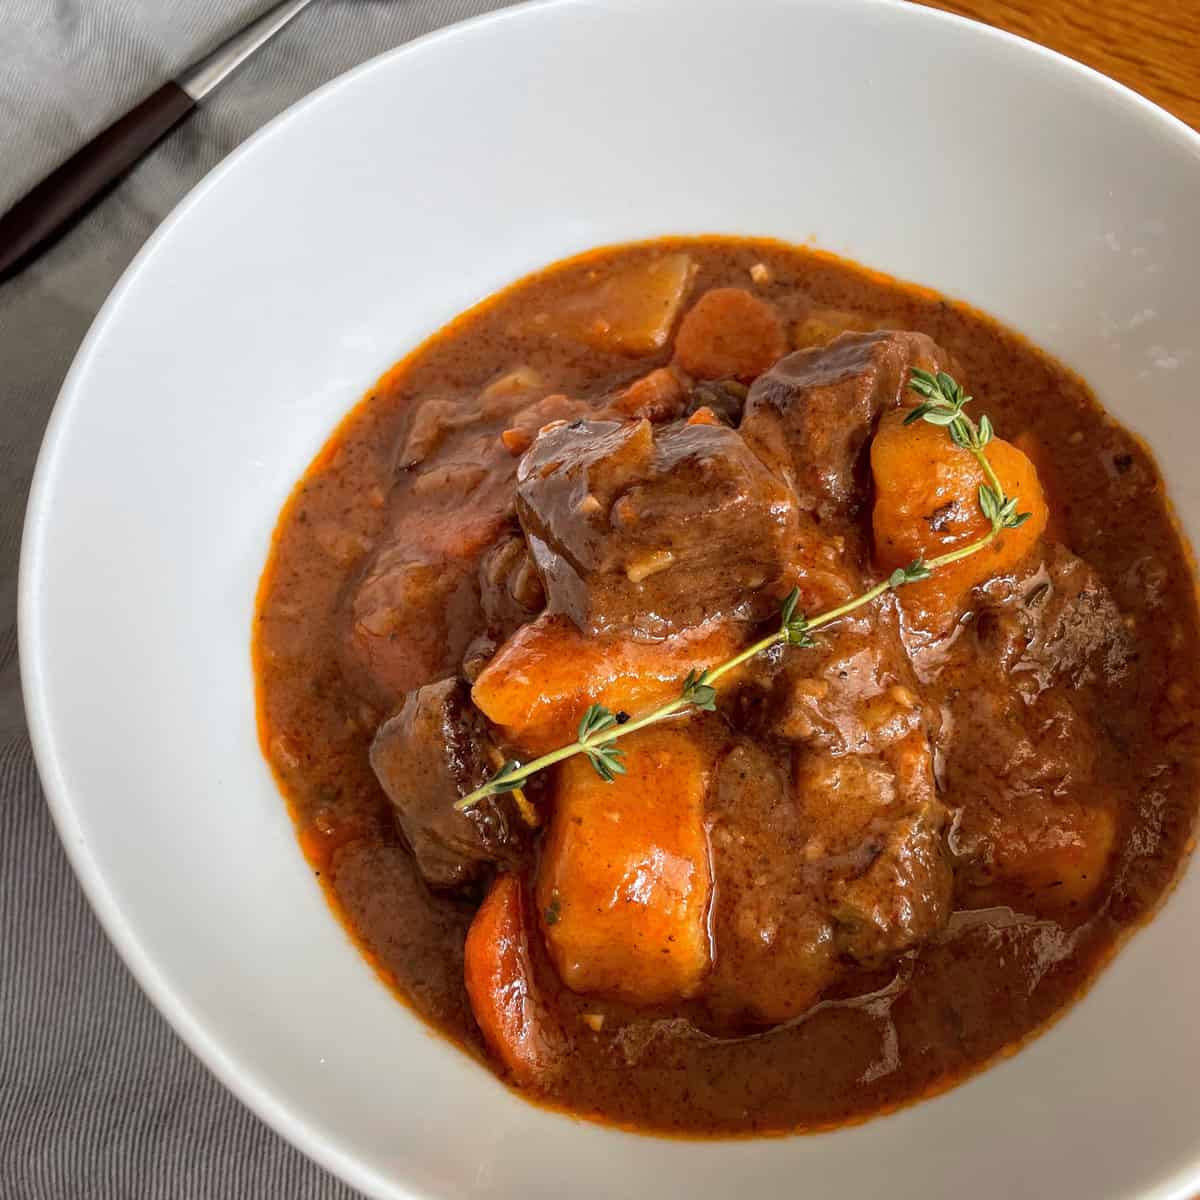
This classic beef stew recipe uses a Dutch oven to develop deep flavors from simple ingredients. The beef is browned in the Dutch oven, then cooked with onions, garlic, red wine, beef stock, tomato paste, carrots, potatoes, and seasonings. The Dutch oven's even cooking and heat retention makes it ideal for this slow-cooked dish. The result is a comforting, hearty stew perfect for a cold day.
These recipes demonstrate the versatility of the Dutch oven, from making soups and stews to slow-cooking meats.
FAQ
Depending on the brand and size, Dutch ovens can range from around $50 to over $350. High-end brands like Le Creuset are often on the pricier end.
Absolutely! Dutch ovens are safe for use in conventional ovens, often up to 500°F, though you should always check the manufacturer's guidelines.
While slow cookers are excellent for convenience, Dutch ovens often yield better results due to their ability to sear and brown food before slow cooking.
While you can store food in a Dutch oven, it's not recommended for long-term storage, especially for enameled Dutch ovens, as acidic foods can damage the enamel over time.
Warm water and a non-abrasive scrubber work best. For stubborn food particles, a paste made from baking soda and water can help loosen them without damaging your Dutch oven.


Comments
No Comments