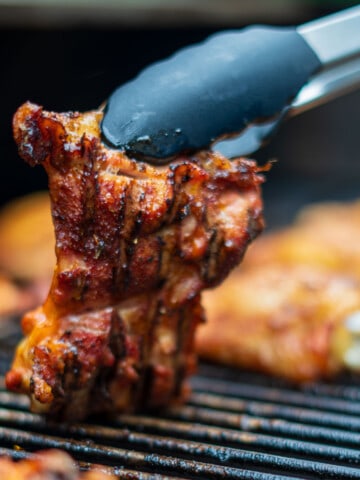
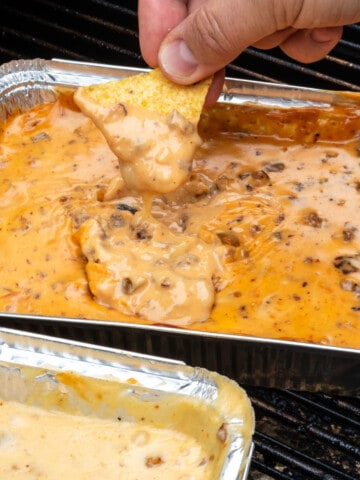
We fell in love with pellet smokers years ago. Whether you're cooking brisket, chicken thighs, ribs, queso, pizzas, a steak ahead of a reverse sear, or even cookies - Pellet Smokers / Grills merry the flavor of a traditional smoker with the "set it and forget it" convenience of an oven.

We've now owned and used several from Traeger, Green Mountain Grills, and Camp Chef and made many briskets on both. One of our favorite foods is classic Texas-style BBQ and making a great Pellet Smoker Brisket really isn't as hard as you might think!
Jump to:
Choosing Pellets for Your Smoker
Any time you're planning to smoke something, you're going to want to consider the type of wood you're going to use. These days, the choices are seemingly endless with all the blends out there, but we'll try to make this nice and simple for you - Stronger-flavored meats like beef require woods that produce stronger flavors like mesquite and hickory while lighter-flavored meats like pork and chicken typically pair better with woods that produce lighter-flavored smoke like apple, cherry, or pecan.
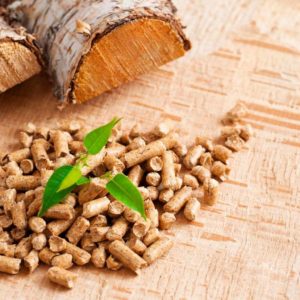
Don't get too caught up on which type of wood you're using - unless you find bags of pellets that actually say they're 100% one type of wood, they're going to be a blend anyway - typically mixed with oak as filler. Here at Tabetha's Table, we use Hickory blends for just about everything - it's robust enough to stand up to beef while light enough to go great with pork or salmon. The only one I'd caution you with is mesquite - it can be very overpowering. If this is your first brisket, start with Hickory and move to mesquite if you want more smoke flavor.
Can I just use the cheaper pellet fuel meant for pellet stoves? You could but that doesn't mean you should! The pellet stove pellets are fuel to be used as a heating source, not cooking food. They're wood biomass byproducts from milling, so they're full of all kinds of nasty stuff! Only use food-grade pellets!
Selecting Your Brisket
Depending on the store you go to, you'll find all sorts of meats in the case labeled "brisket". There's a lot of insider butcher lingo when it comes to cuts of meat.
Cuts of Brisket
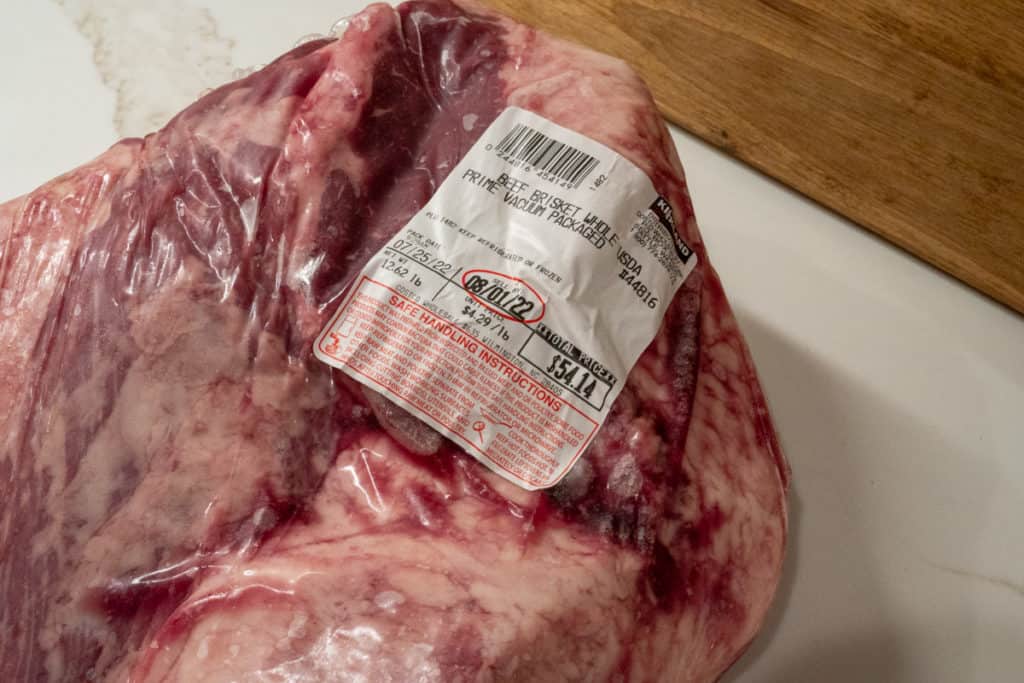
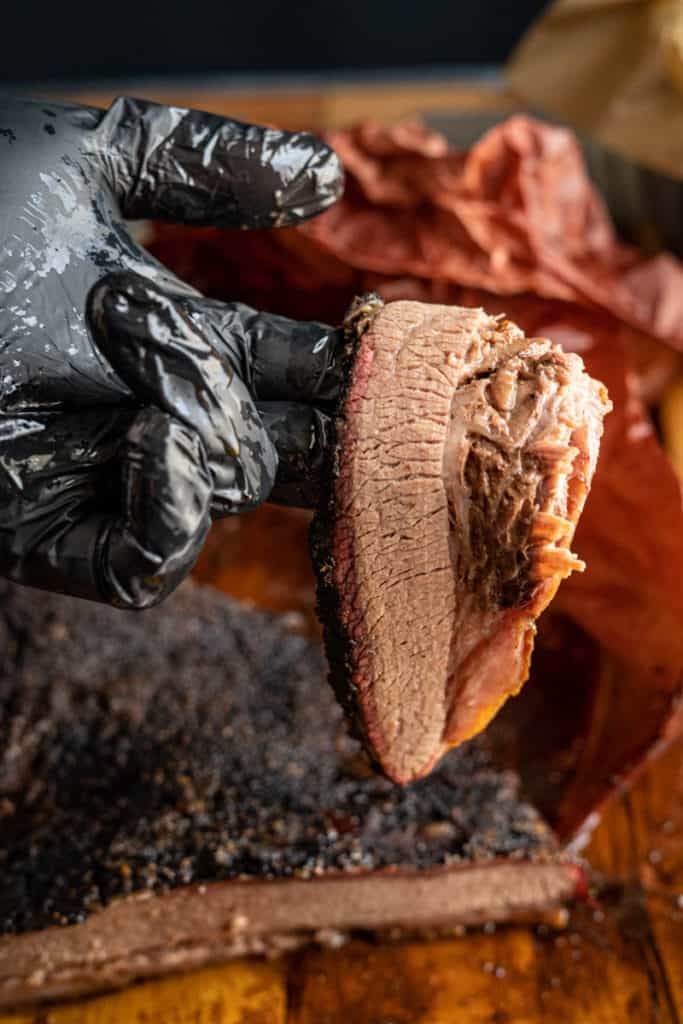
Briskets are usually made up of two different muscles called the "point" or the "deckle" and the "flat" or the "first cut". If you've ever ordered brisket at a Mission BBQ, they usually ask if you want it "lean" or "moist" - usually that's just them serving you the flat (lean) or the point (moist). Most grocery stores will carry smaller cuts of either the "point" or "flat" meant to fit in a dutch oven or crock pot - stay away from these if you're able. Some will carry what's called a "whole", "packer", or an "untrimmed" brisket - these are usually both muscles still together and range from 10 to 25+lbs. Weber actually has a pretty decent write-up explaining the differences.
USDA Beef Grading
Just a quick word on grading - Most beef at the stores is going to be USDA Choice. You may see some Angus stuff out there but these are just a type of cow. USDA Choice will typically be fine but if this is your first time making brisket, go for the Prime - you'll have quite a bit more room for error. Typically you can find it at Costco, especially around the holidays. Sometimes it'll even be on sale.
If you are wondering how much you're going to be spending on a brisket, we have a whole article about average costs, plus how much brisket you'll need per person.
If you're interested in learning more about the differences, check out the USDA's site on Beef grading.
Our Recommended Brisket Cut
We recommend going for a USDA Prime grade whole packer brisket. You'll lose a good bit of weight after cooking due to trimming and shrinkage, so shoot for around 1lb per person pre-trimming.
The Rub - Seasoning for Your Brisket
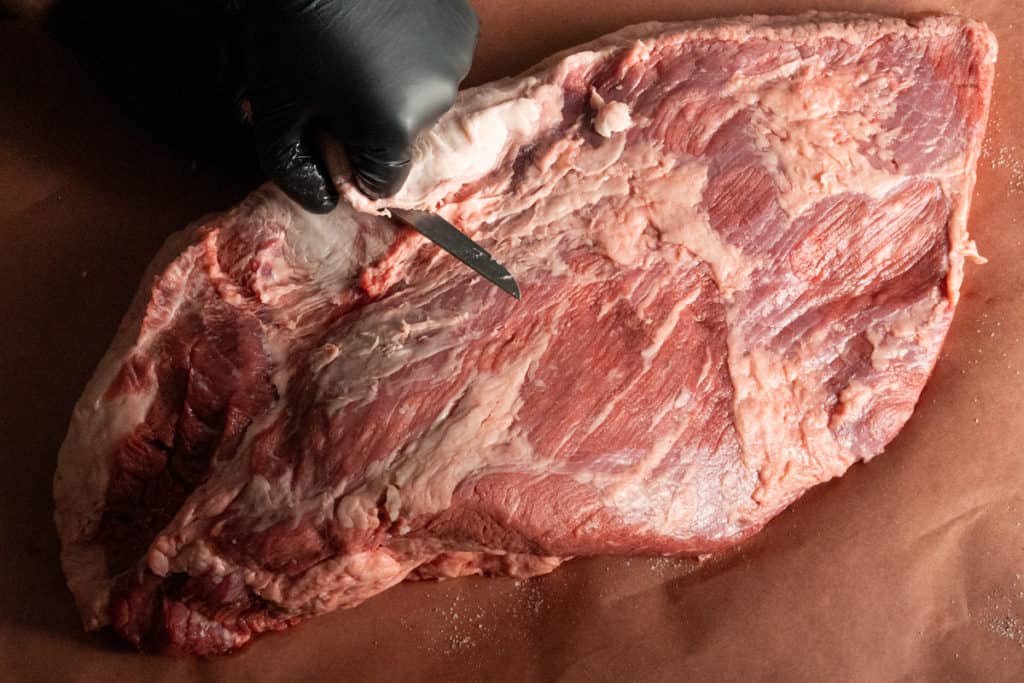
Again I'd recommend trying to keep it simple here. Don't get all caught up with the different rubs out there. Traditional Texas Brisket calls for a simple 50/50 mix of kosher salt and ground pepper. You usually can't go wrong with that but we love us some garlic over here, so we go with "SPG" - that's Salt, Pepper, and Garlic powder at a ratio of 2:2:1. A lot of folks will use binders like mustard or oil, but we find that the fat content is so high on a USDA Prime Brisket, that you don't really need it.
When doing your rub, start with the bottom - the side you plan on putting down on the grill grates - first. That side is going to get a bit knocked off anyway so we typically start there before moving to the sides, and then finishing with the top. This helps ensure you have good coverage and produce really nice "bark" on the outside.
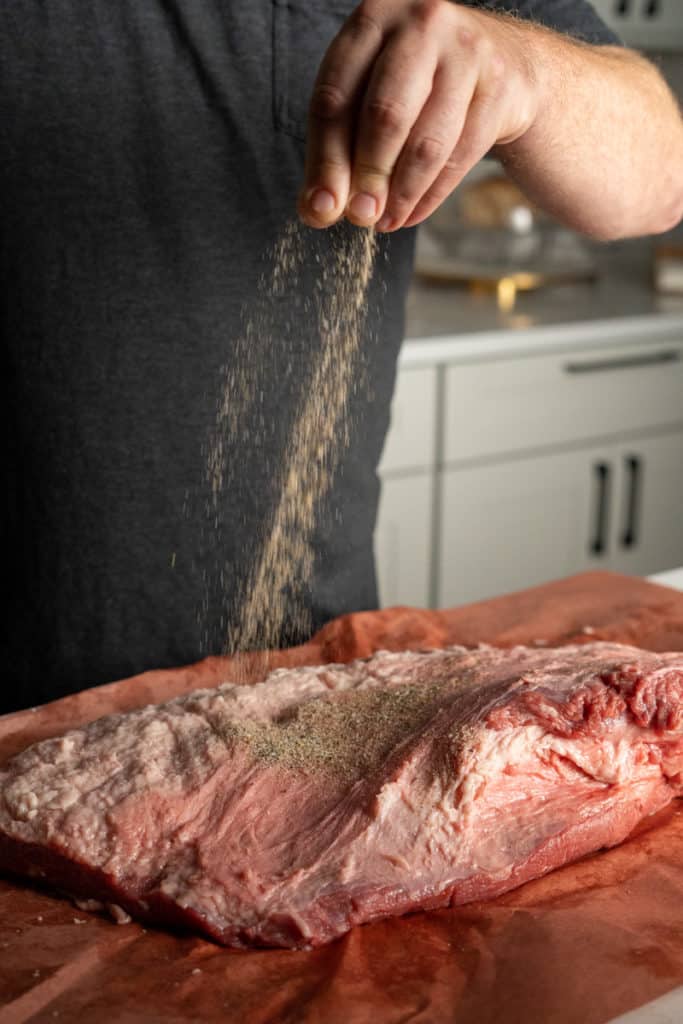
I also recommend letting it rest and adhere for ~15 minutes before flipping and doing the other side. This helps let the salt start drawing some moisture out and adhere better.
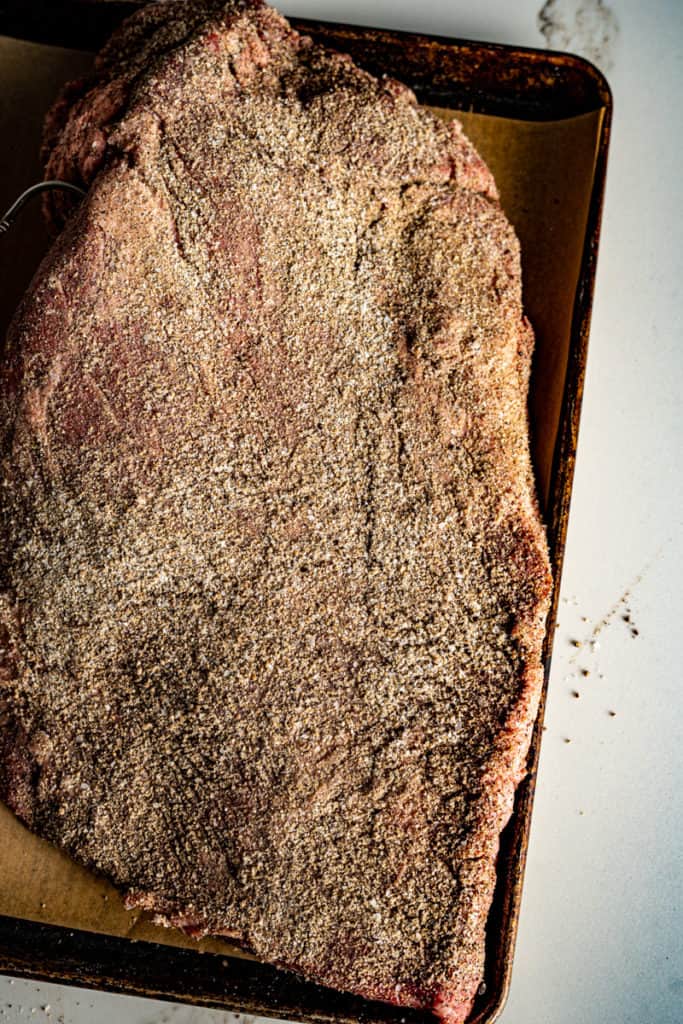
Lastly - You want to aim to cover this thing till it's dry and you're not really seeing any meat anymore. It seems like a lot of salt, but trust us - It's all about the meat-to-surface area here! Rubs don't actually penetrate the meat and this is such a thick cut of beef, the slices we carve off will only end up with a very thin layer of seasoning around the outside.
Cooking Technique
One of the biggest downsides of a pellet smoker is that they use a fan to stoke the fire and this means they're constantly moving air through the cooker. This is great if you're making jerky, but it can definitely dry things out because the air movement also carries moisture out of the smoker with it. Some people put a heat-proof pan of water in there to increase the humidity levels - this can definitely help if you've got the room in there. Time spent in the cooker also makes a big difference here - we want to cook this low and slow to let that fat render and the connective tissue break down, but we don't want to cook it too low that it's in there for so long that it dries out either - it's a bit of a balance.
Time & Temperature
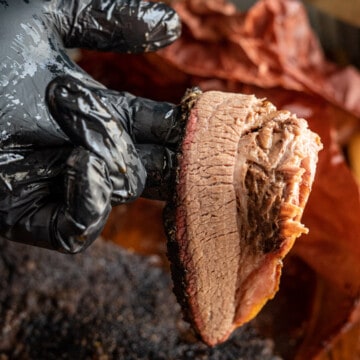
When planning your cook, you should plan on about 1.5 hours per pound plus an hour or two to rest. Our 12.5lb brisket here took about 7 hours to cook at 225 degrees. While you could cook it longer at a lower temp, we recommend sticking to 225 to ensure it doesn't have to cook for too long and dry out.
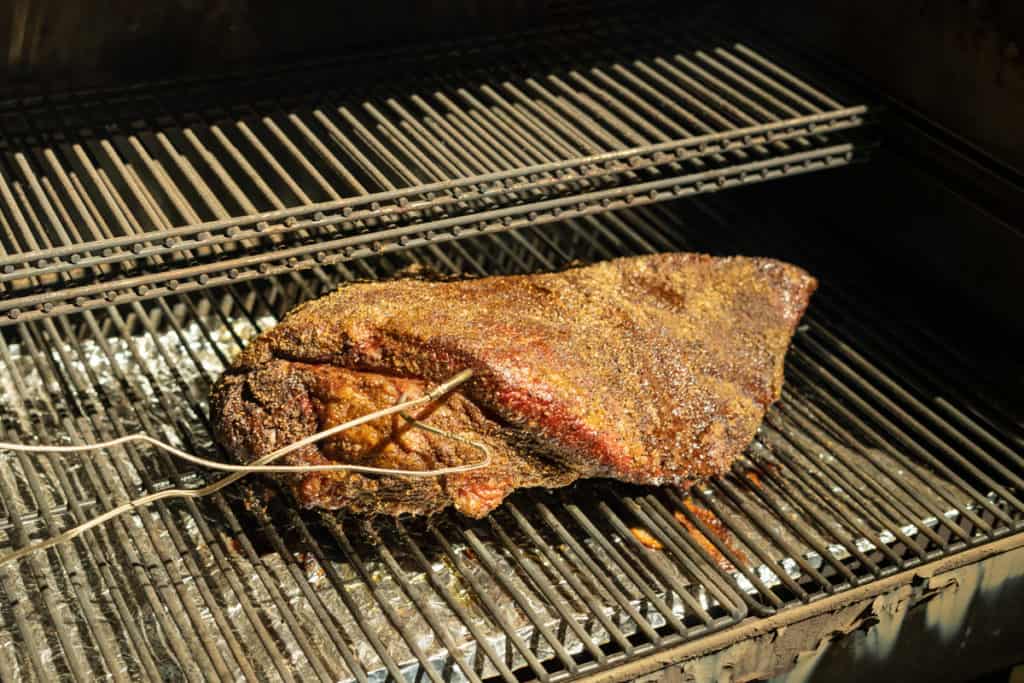
Fat Up or Fat Down?
This is a big debate in the BBQ community. Traditional Texas Brisket calls for fat up, but we have definitely over-cooked the bottom of the brisket before by cooking it fat side up due to the proximity of the firebox below. We plan on testing the next one on the upper grates, fat side up to see how that goes but for now, our recommendation is fat side down. You'll also want to put the thicker part of your brisket on the side closest to the firebox and put it at the far side of your smoker to help get it away from the firebox - this applies no matter what type of smoker you have.
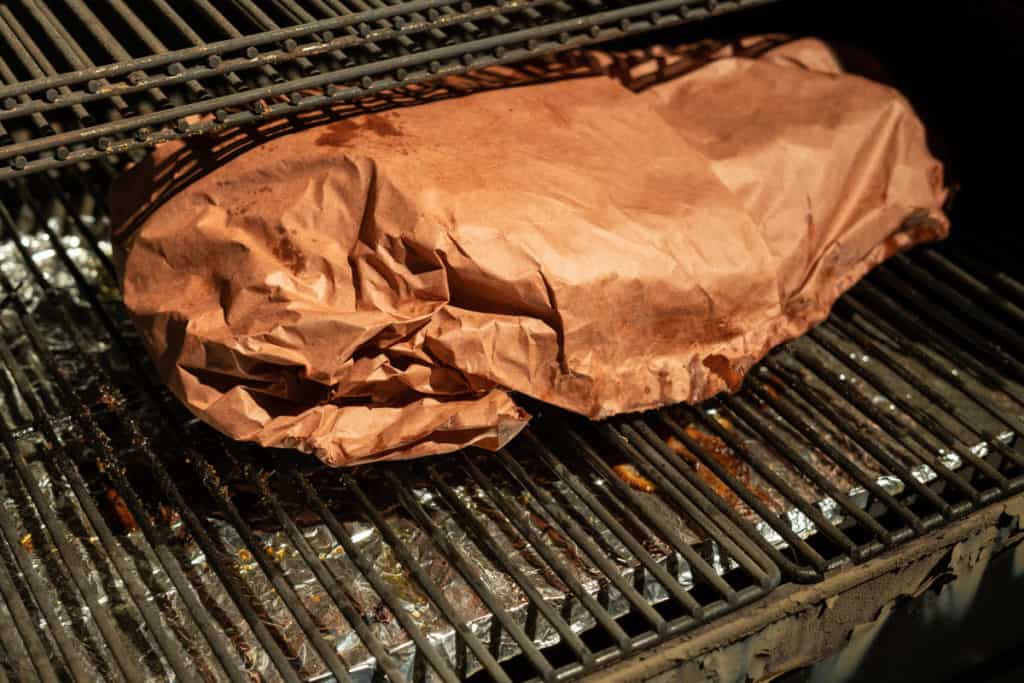
Wrapping The Brisket Midway - AKA The "Texas Crutch"
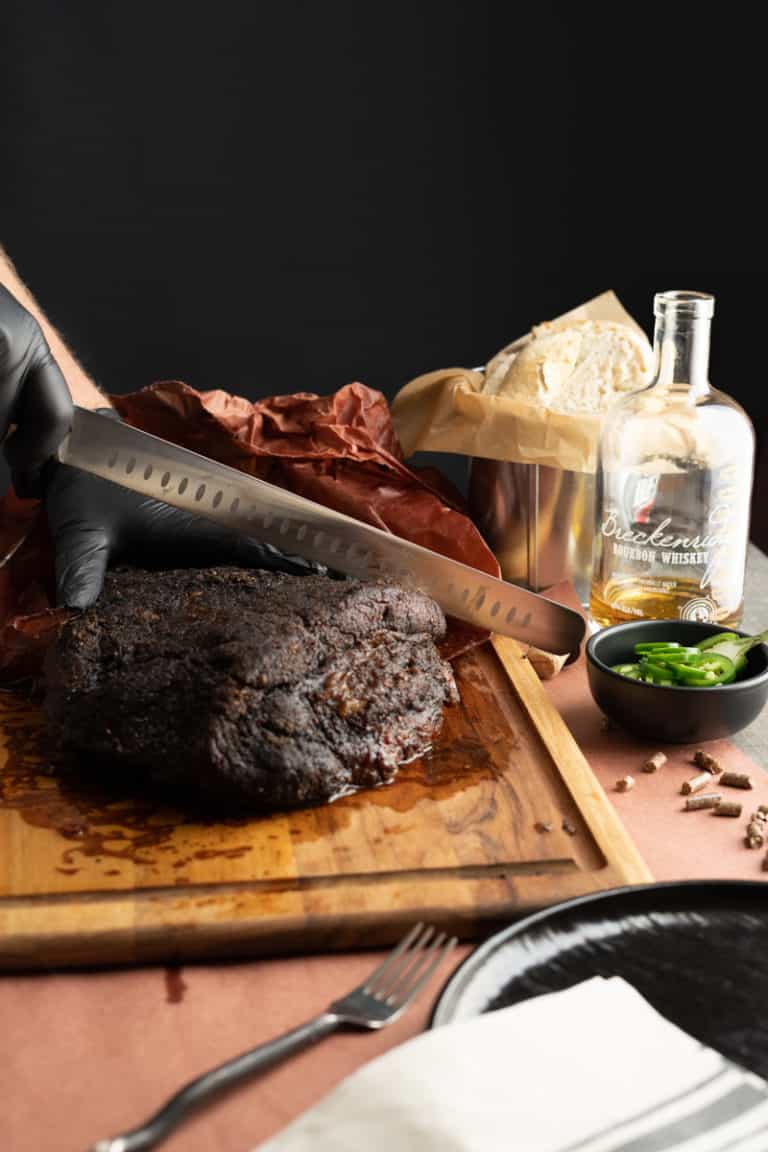
This might be the most important step of the entire process - the Texas Crutch. This made a significant difference in the tenderness and speed to cook for our briskets. Cook until the center gets to about 165, remove, and wrap with either foil or unwaxed butcher paper. Not only will you retain moisture - which is more difficult to do in a pellet smoker - you'll also speed up the cook time significantly.
Foil vs. Butcher Paper
Wrapping with foil is fine, but if you're a fan of that delicious smokey crispy bark on your brisket, you're going to want to order yourself some unwaxed butcher paper. Moving from foil to butcher paper made a massive improvement to my bark - it allows the meat to breathe some - something that foil won't do for you. We've found that this really gives you the best bark while retaining that moisture and speeding up the cooking time.
Lay out two overlapping pieces of butcher paper and wrap the brisket tightly. You can spray the paper with a bit of apple juice or apple cider vinegar to make it easier to work with.
Should I Add Liquid?
Some recipes call for you to add apple juice, cider vinegar, broth, beer, or some other liquid when you crutch - We've found in our testing that this really just results in a similar meat texture to what you'd get out of a crock pot because you're cooking it in liquid like you would a crock pot. In our opinion, this ruins that amazing bark and causes the meat to get too mushy. Skip the liquid - especially if you're cooking a USDA Prime Brisket.
Resting & Serving
This is another crucial piece that made a significant difference in the quality of our brisket - resting. After it's been on for hours, that meat needs to rest to cool, redistribute juices, and continue to cook a bit. Toss your brisket in a dry cooler for a couple of hours or your oven at 180 to hold it for longer. If you don't want to have to clean your cooler out afterward, we'd recommend putting some sort of tray underneath it to catch the drippings or wrapping it in foil.

You'll want to only cut what you plan on eating and slice against the grain so you don't get a bunch of semi-stringy meat mush. Once you get to the middle, we typically separate the two pieces (the point and the flat) because the grain runs in different directions. This lets us slice them individually and still do so against the grain.
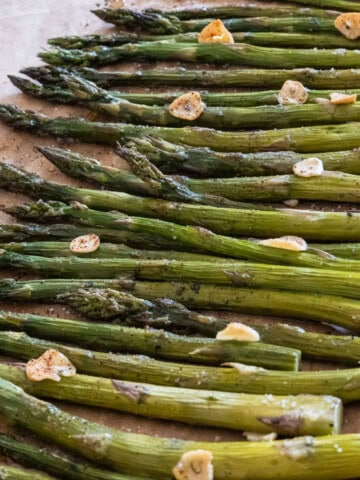
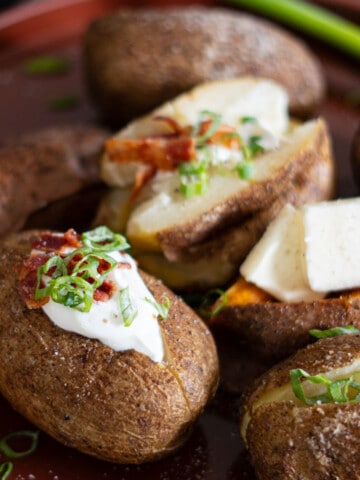
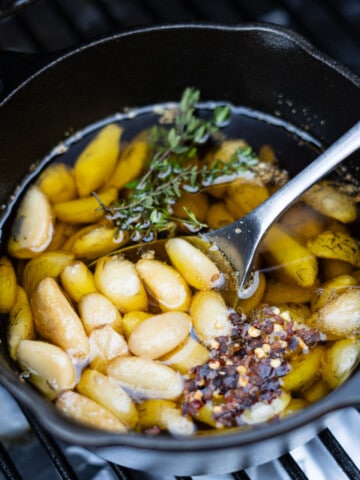
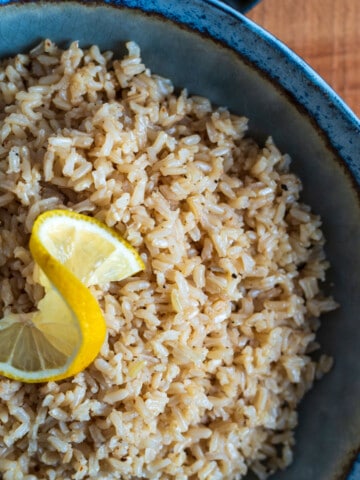
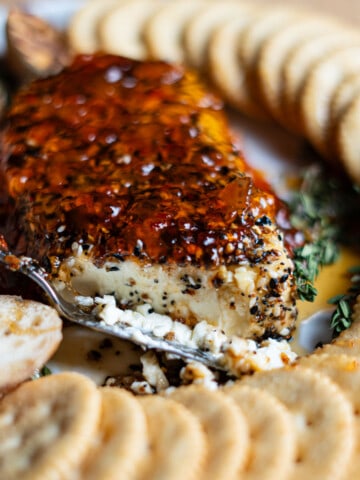
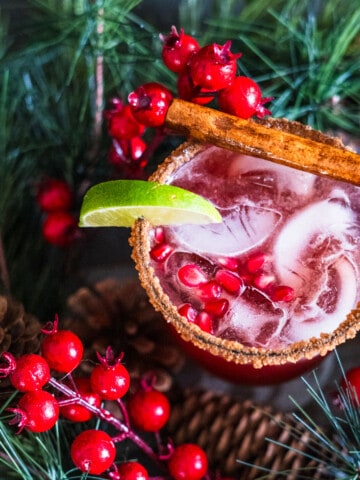
Serve Alongside
More Smoked Recipes
You must use the category name, not a URL, in the category field.📖 Recipe
Pellet Smoker Brisket
Ingredients
The SPG Rub
- ½ Cup Kosher Salt
- ½ Cup Fresh Ground Pepper
- ¼ Cup Garlic Powder
The Meats
- 12 Pound Brisket
Instructions
Make the SPG Rub
- Add all dry ingredients together in a bowl
- Mix until fully combined
Prep the Meat
- Trim hard excess fat, leaving approximately ¼" layer of fat on the fattier side
- Apply a liberal coating of SPG to fat side until the meat is barely visible
- Let rest & adhere for 15 minutes
- Repeat for the sides of the brisket
- Repeat for the lean side of the brisket
- Let rest & adhere for 15 minutes
Cook
- Fill up your pellet hopper with hickory pellets
- Start up your pellet smoker & set temp to 225 degrees F
- Place the brisket fat side down directly on the grill grates on the side furthest from the firebox with the thickest part of the meat towards the firebox
- Cook until 165 degrees F in the thickest part and wrap in unwaxed butcher paper or aluminum foil
- Continue cooking until thickest part reaches 203 degrees
Rest, Slice, & Serve
- Remove from the smoker and let it rest in a dry cooler or 180-degree oven until you're ready to slice and serve
- Slice against the grain into pencil-thick slices until you get about halfway through
- Separate the top piece of meat from the bottom and slice each individually (again against the grain)
Comments
No Comments